Creating Cluster with more than 2 Nodes
For eEVOS clusters with more than two nodes, we recommend using either shared storage or integrated Ceph-based storage functionality. Shared storage is suitable when all nodes require access to the same central storage backend, while Ceph is recommended when a distributed, highly available storage architecture is required. This ensures that virtual machines can be migrated, restarted, or failed over between nodes without depending on local storage only.
eEVOS supports cluster configurations of up to 32 nodes,nodes. thoughFor optimal performance, scalability, and manageability, we recommend limiting yourstandard setupdeployments to no more than 16 nodes unless the environment has been specifically planned for optimala performancelarger andconfiguration. manageability.
eEVOS,eEVOS Live Migration optionsallows allowrunning youvirtual machines to be moved seamlessly movebetween livecluster nodes. Depending on the storage configuration, VMs not only between nodes butcan also be migrated across different cluster installations.
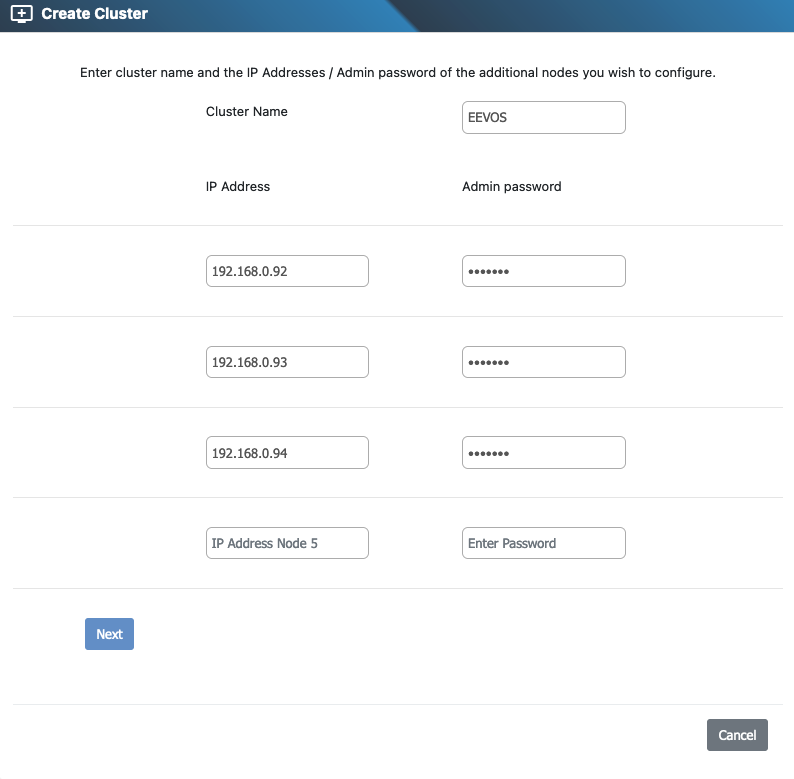
Initial setupDuring allowsthe creationinitial ofsetup, you can create a cluster with up to 5 nodes. ButAdditional younodes can addbe additionaladded nodeslater at any time.
Network Requirements
For a robust and redundant setup, we recommend a minimum of three network ports. Configuring network bonds is highly advised to enhance redundancy and ensure continuous operation.
Heartbeat Network
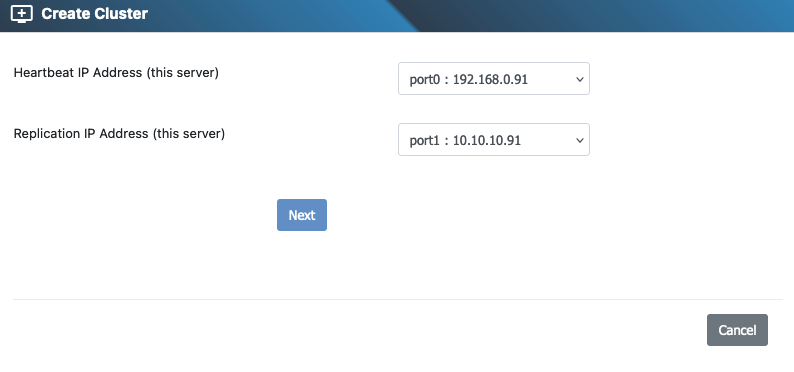
The Heartbeat Network is crucial for cluster communication between nodes.
Replication Network
The Replication Network serves as a fallback in case the Heartbeat Network fails. In dual-node configurations, it is used for server mirroring, and in CEPH configurations, this network will be utilized by CEPH. For setups with a shared drive, this network can be used to connect to the shared storage.
Virtual Network / Virtual Switch
This network is dedicated to the virtual machines.
Creating a Multi-Node Cluster
After installing eEVOS on all nodes and configuring the network settings, you can begin the cluster creation process by following the wizard.
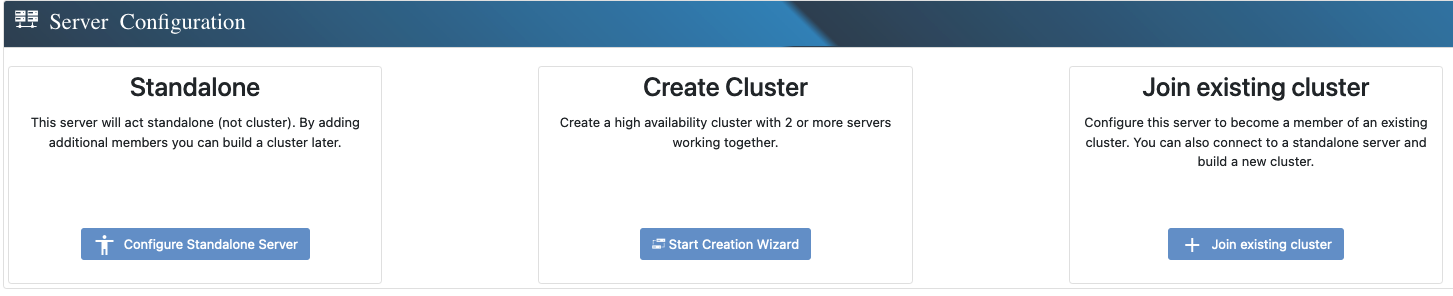
1. Start the Cluster Creation
Click on “Create Cluster” to initiate the process.
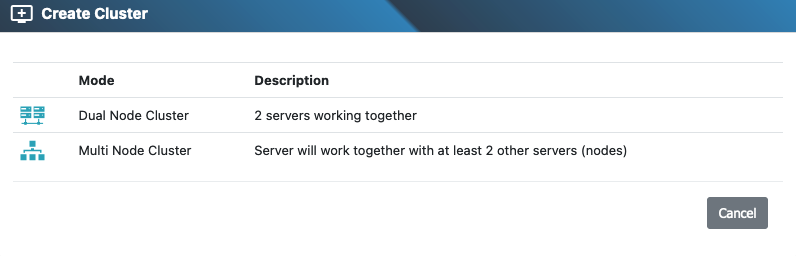
In this example, we will be creating a 4 node configuration. Select “Multi Node Configuration”
2. Cluster Naming and IP Configuration
In the next step, select a name for your cluster and enter the IP address of the other nodes.
3. Configure Heartbeat and Replication Networks
Choose the Heartbeat and Replication IP addresses for this node.
4. Configure the Other Nodes
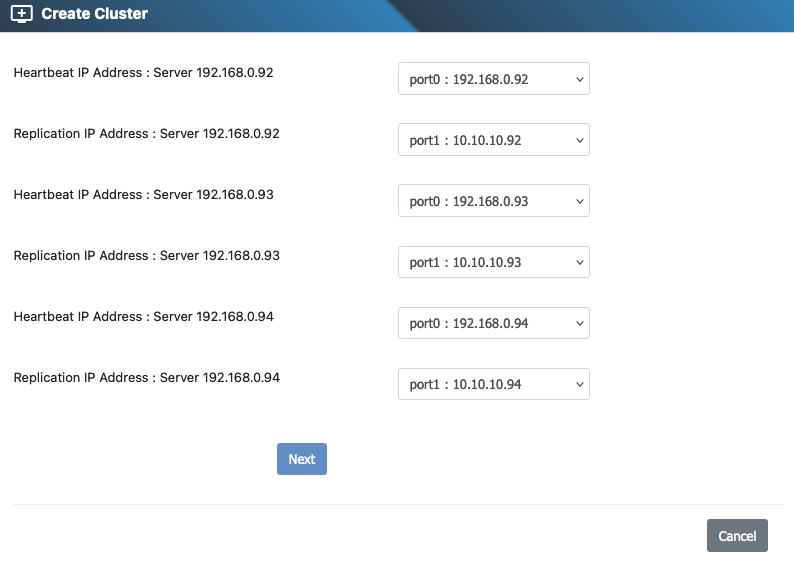
Next, configure the Heartbeat and Replication IP addresses for the other nodes.
5. Review and Confirm Settings
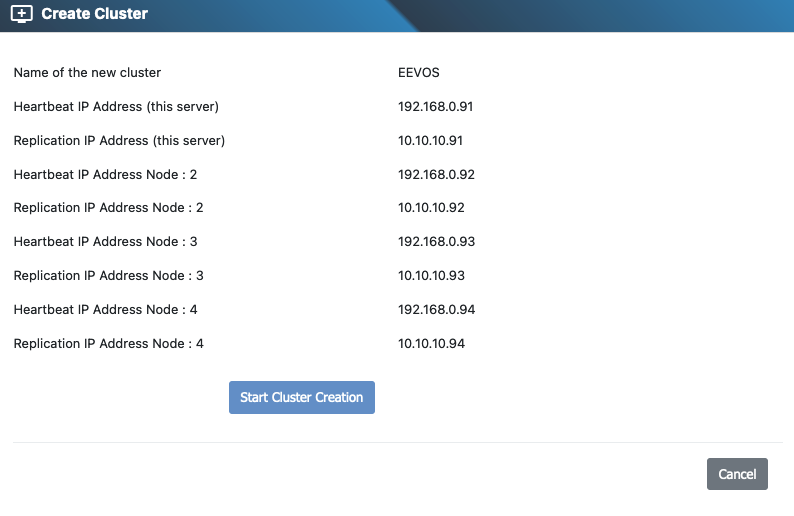
Review your settings carefully and start the cluster creation process.
6. Cluster Drive Creation / Dashboard
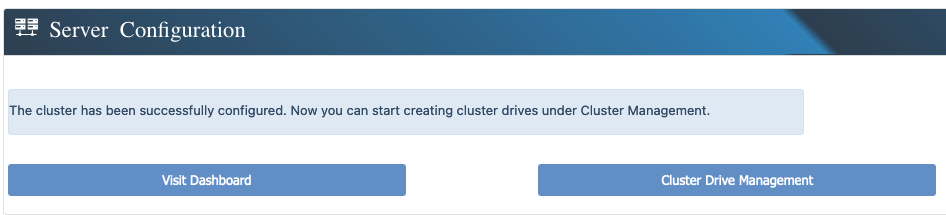
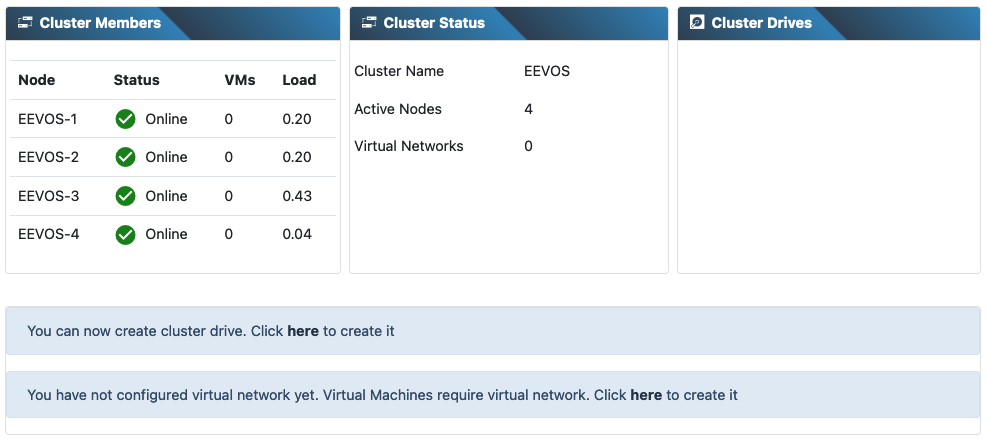
After the cluster is created, you can begin creating cluster drives or check the cluster status on the dashboard.