SMB Access Setup
This section covers configuring how storage is presented to clients. This includes SMB for file access, along with iSCSI and NVMe over TCP for block-based access. NVMe over RoCE is also supported where RDMA-capable infrastructure is available.
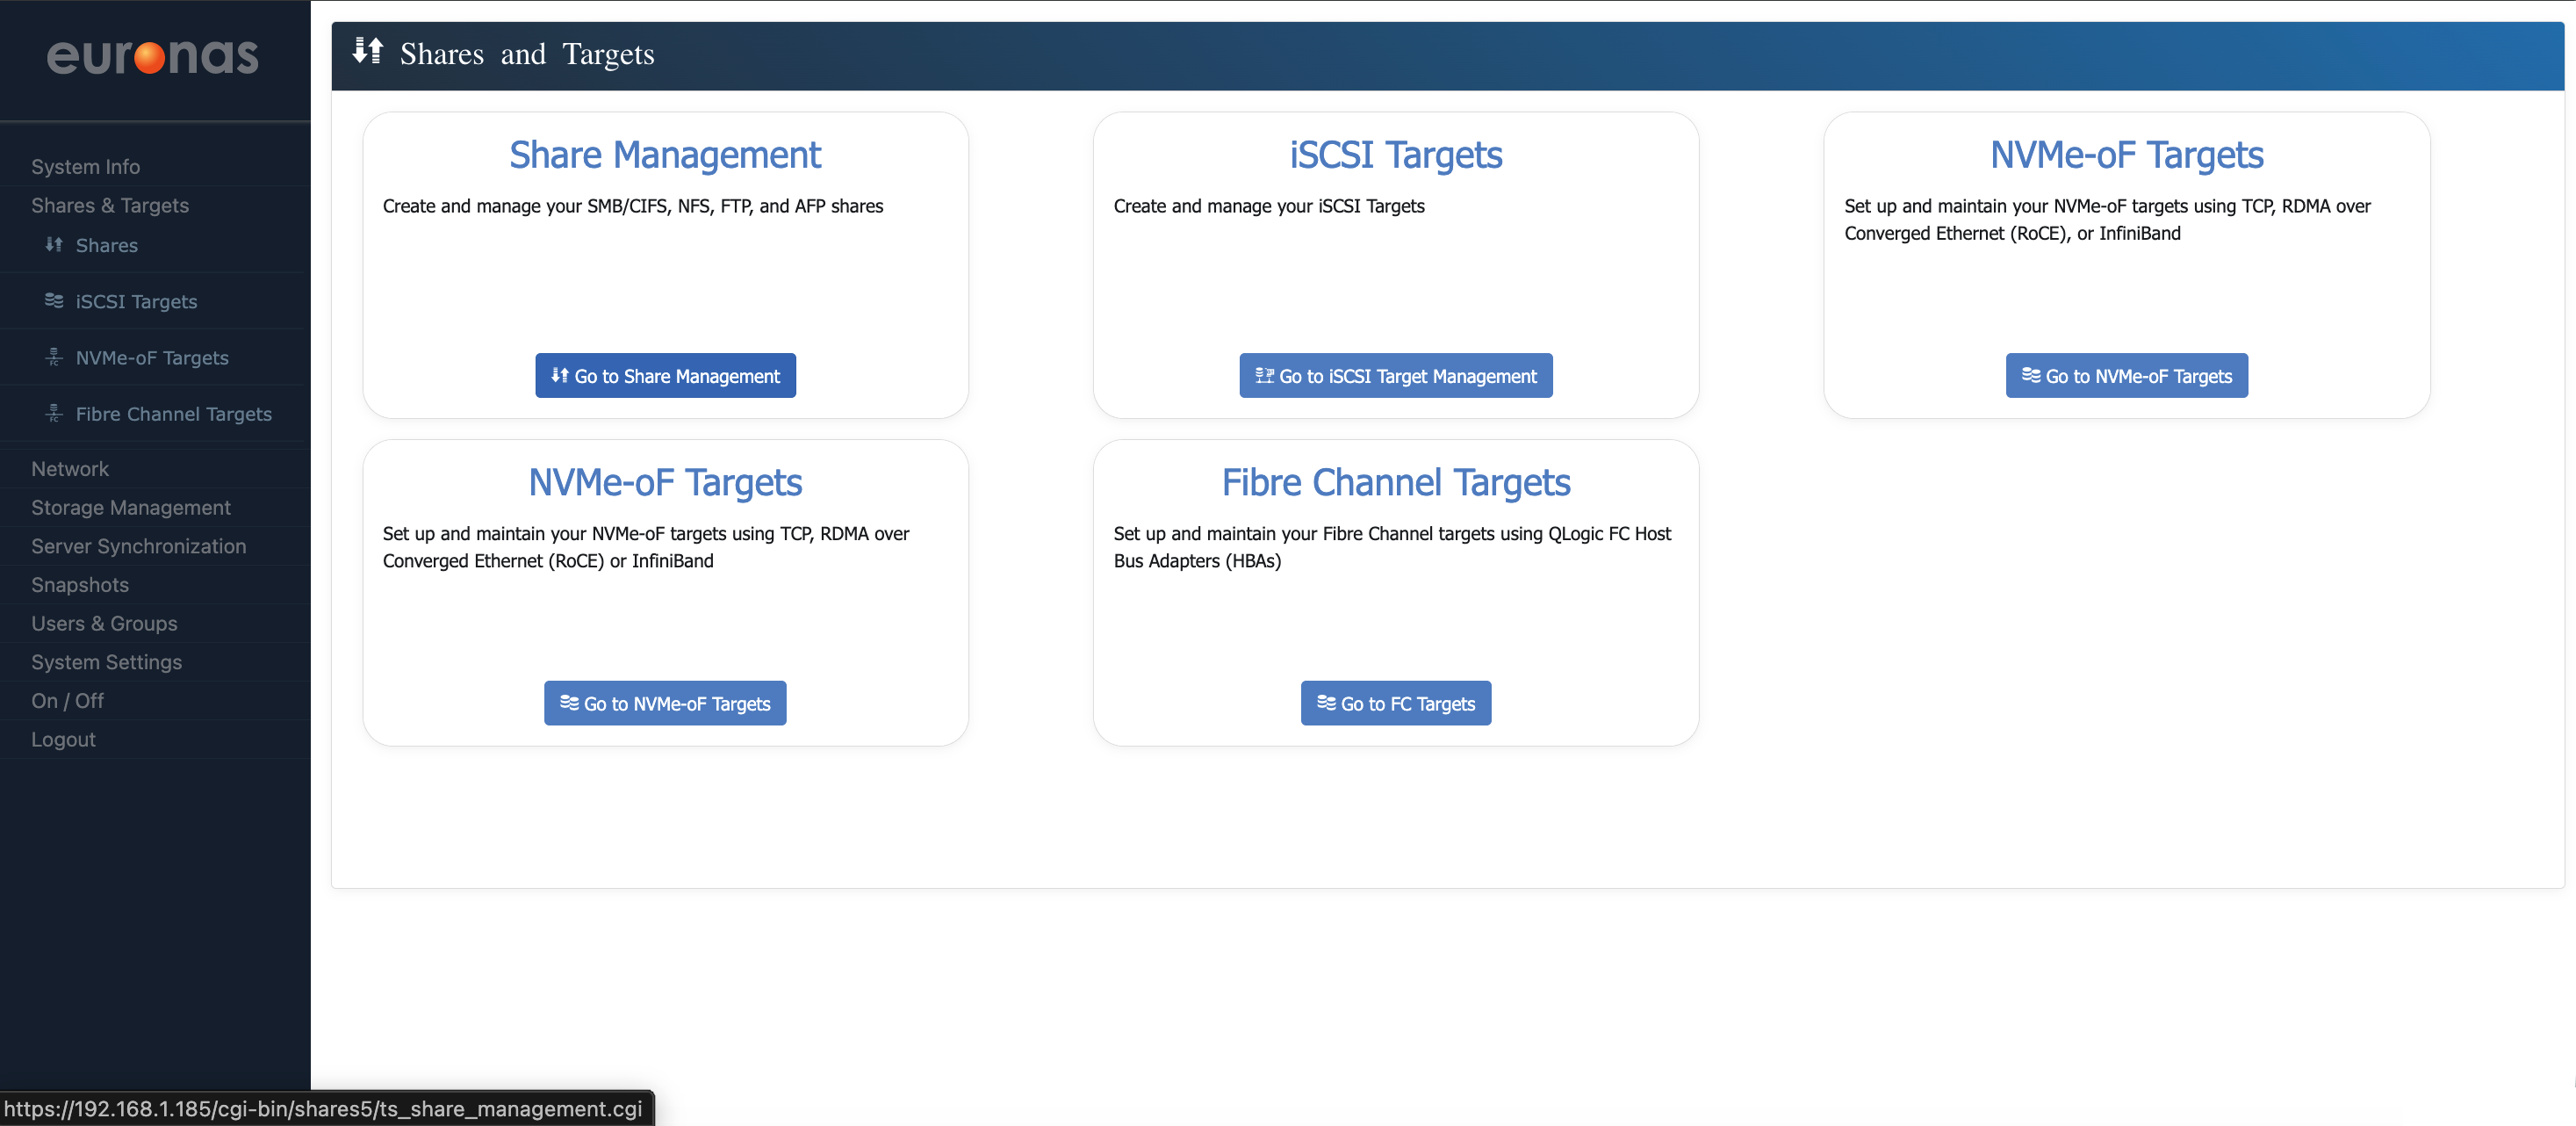
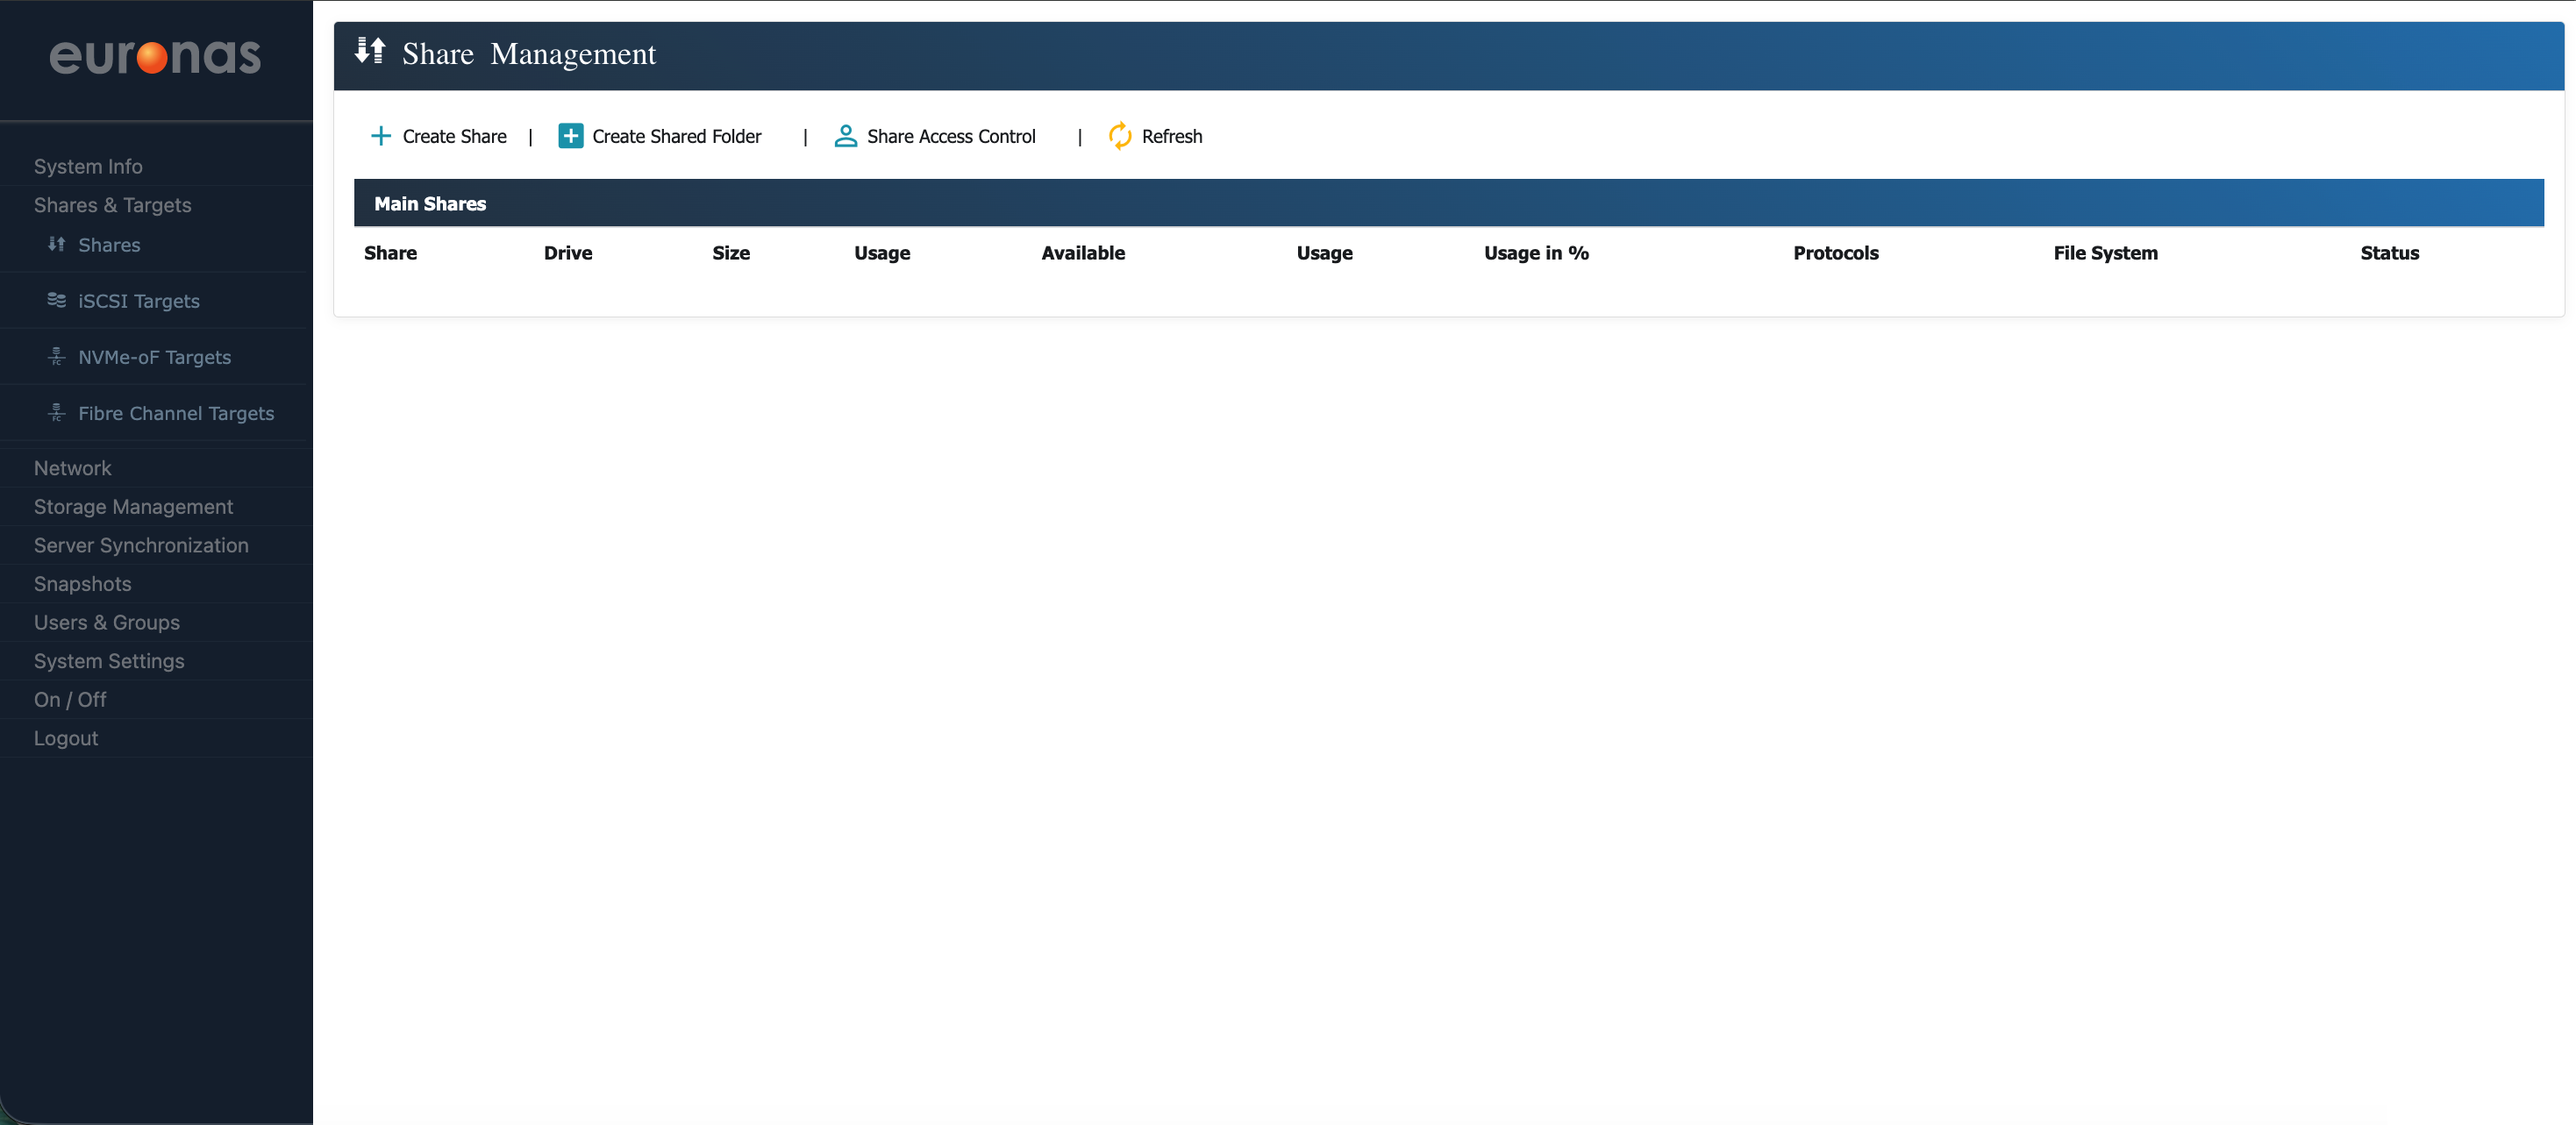
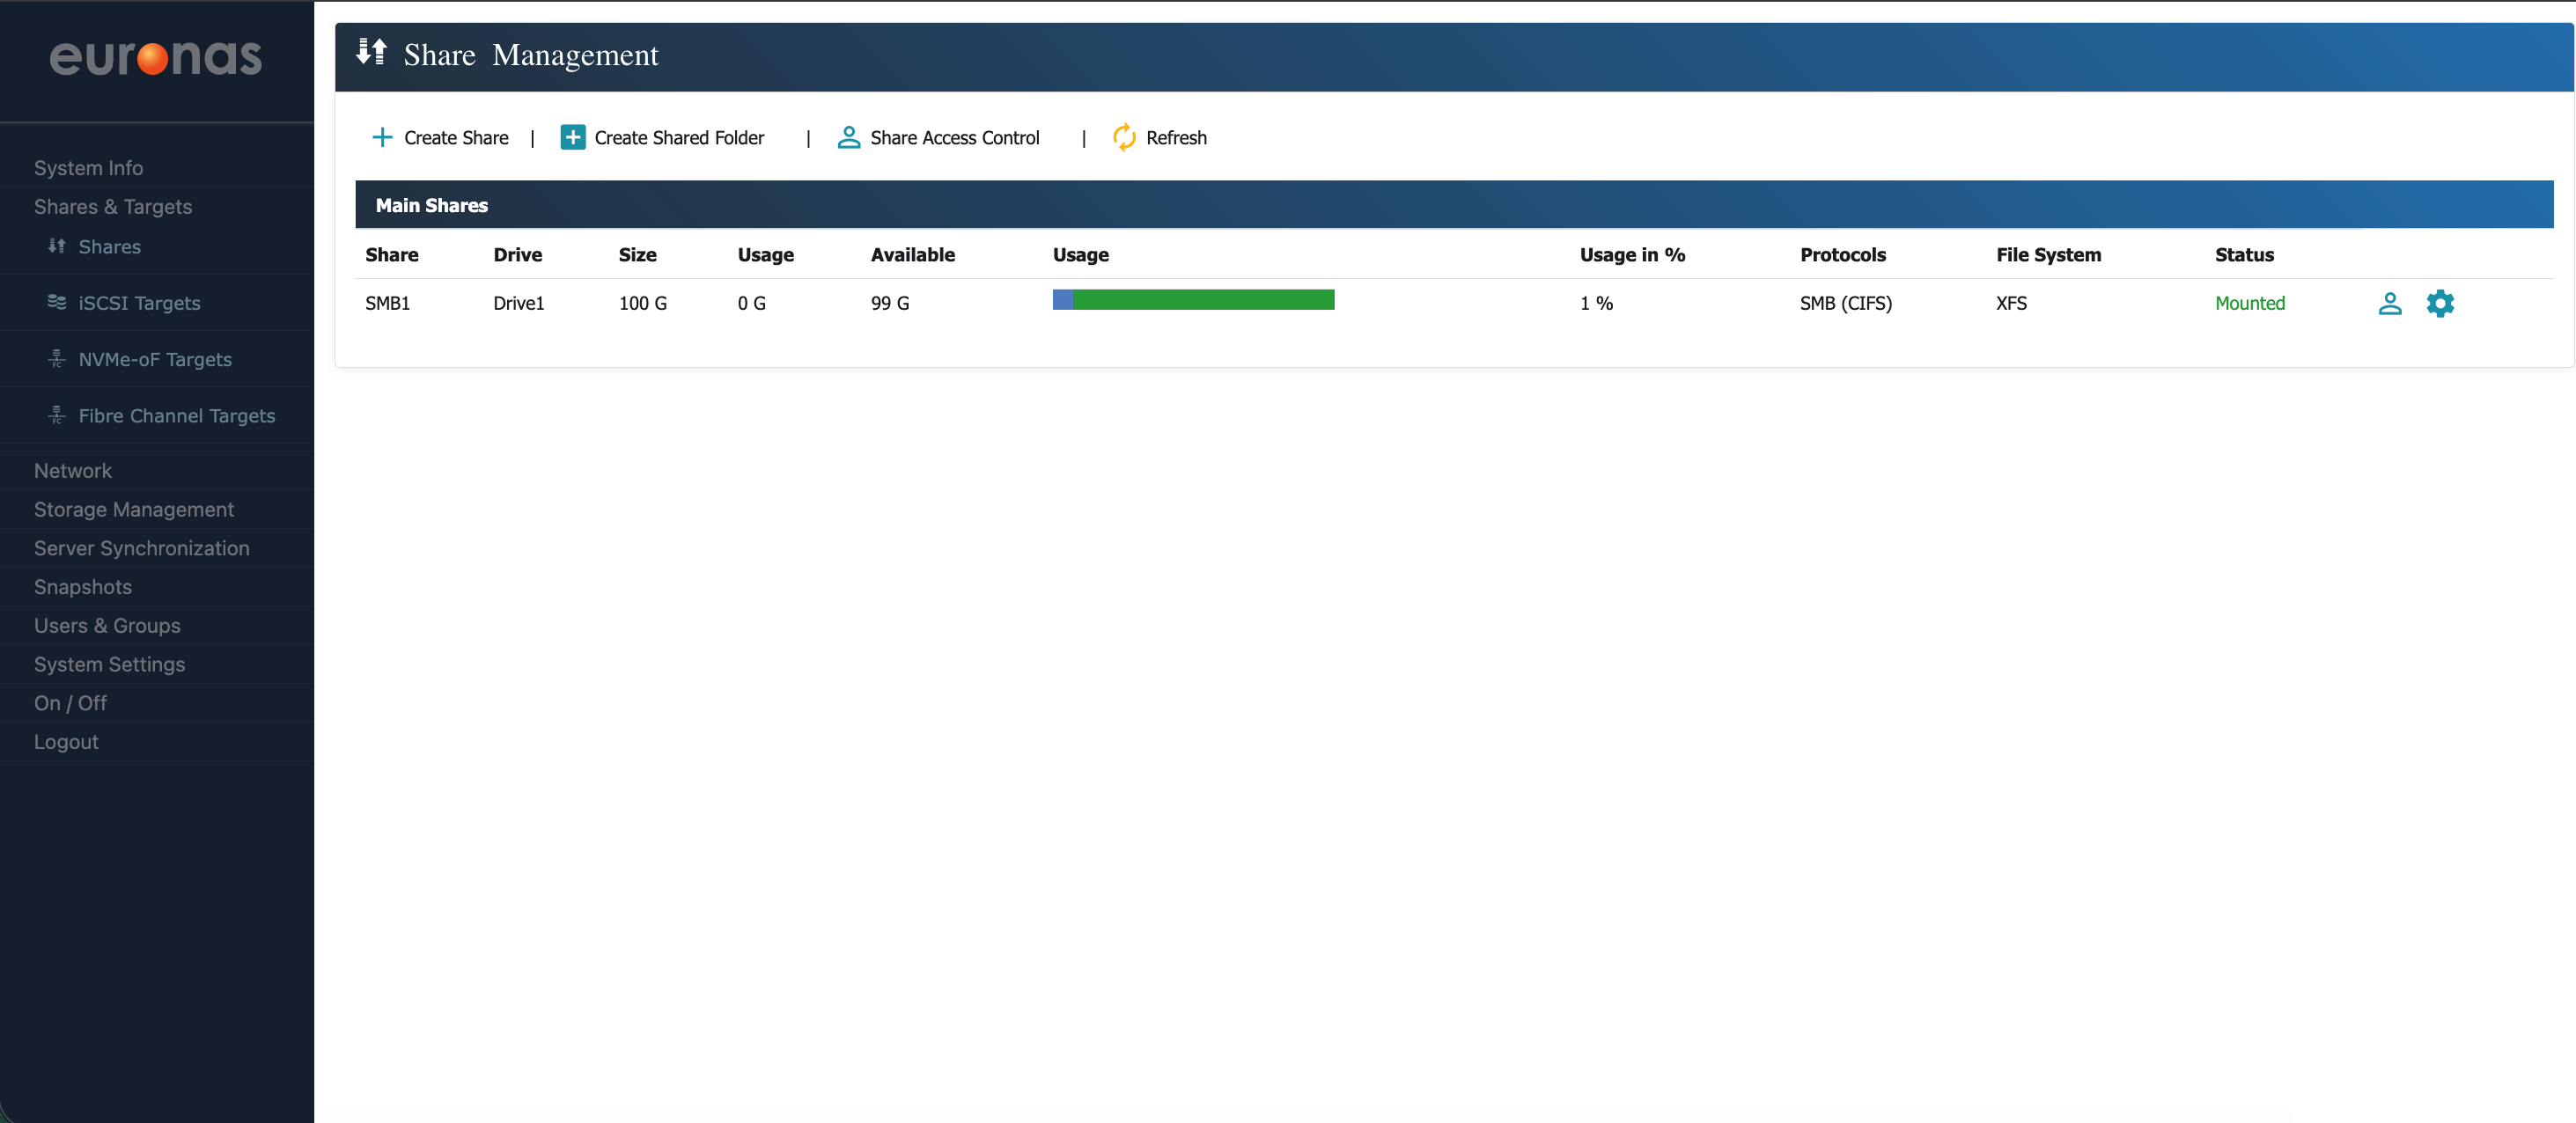
This will open the Share Management screen, where file-based access is configured. From here, SMB and NFS shares can be created and managed, providing access to storage for client systems. Now go ahead and click the + Create Share option

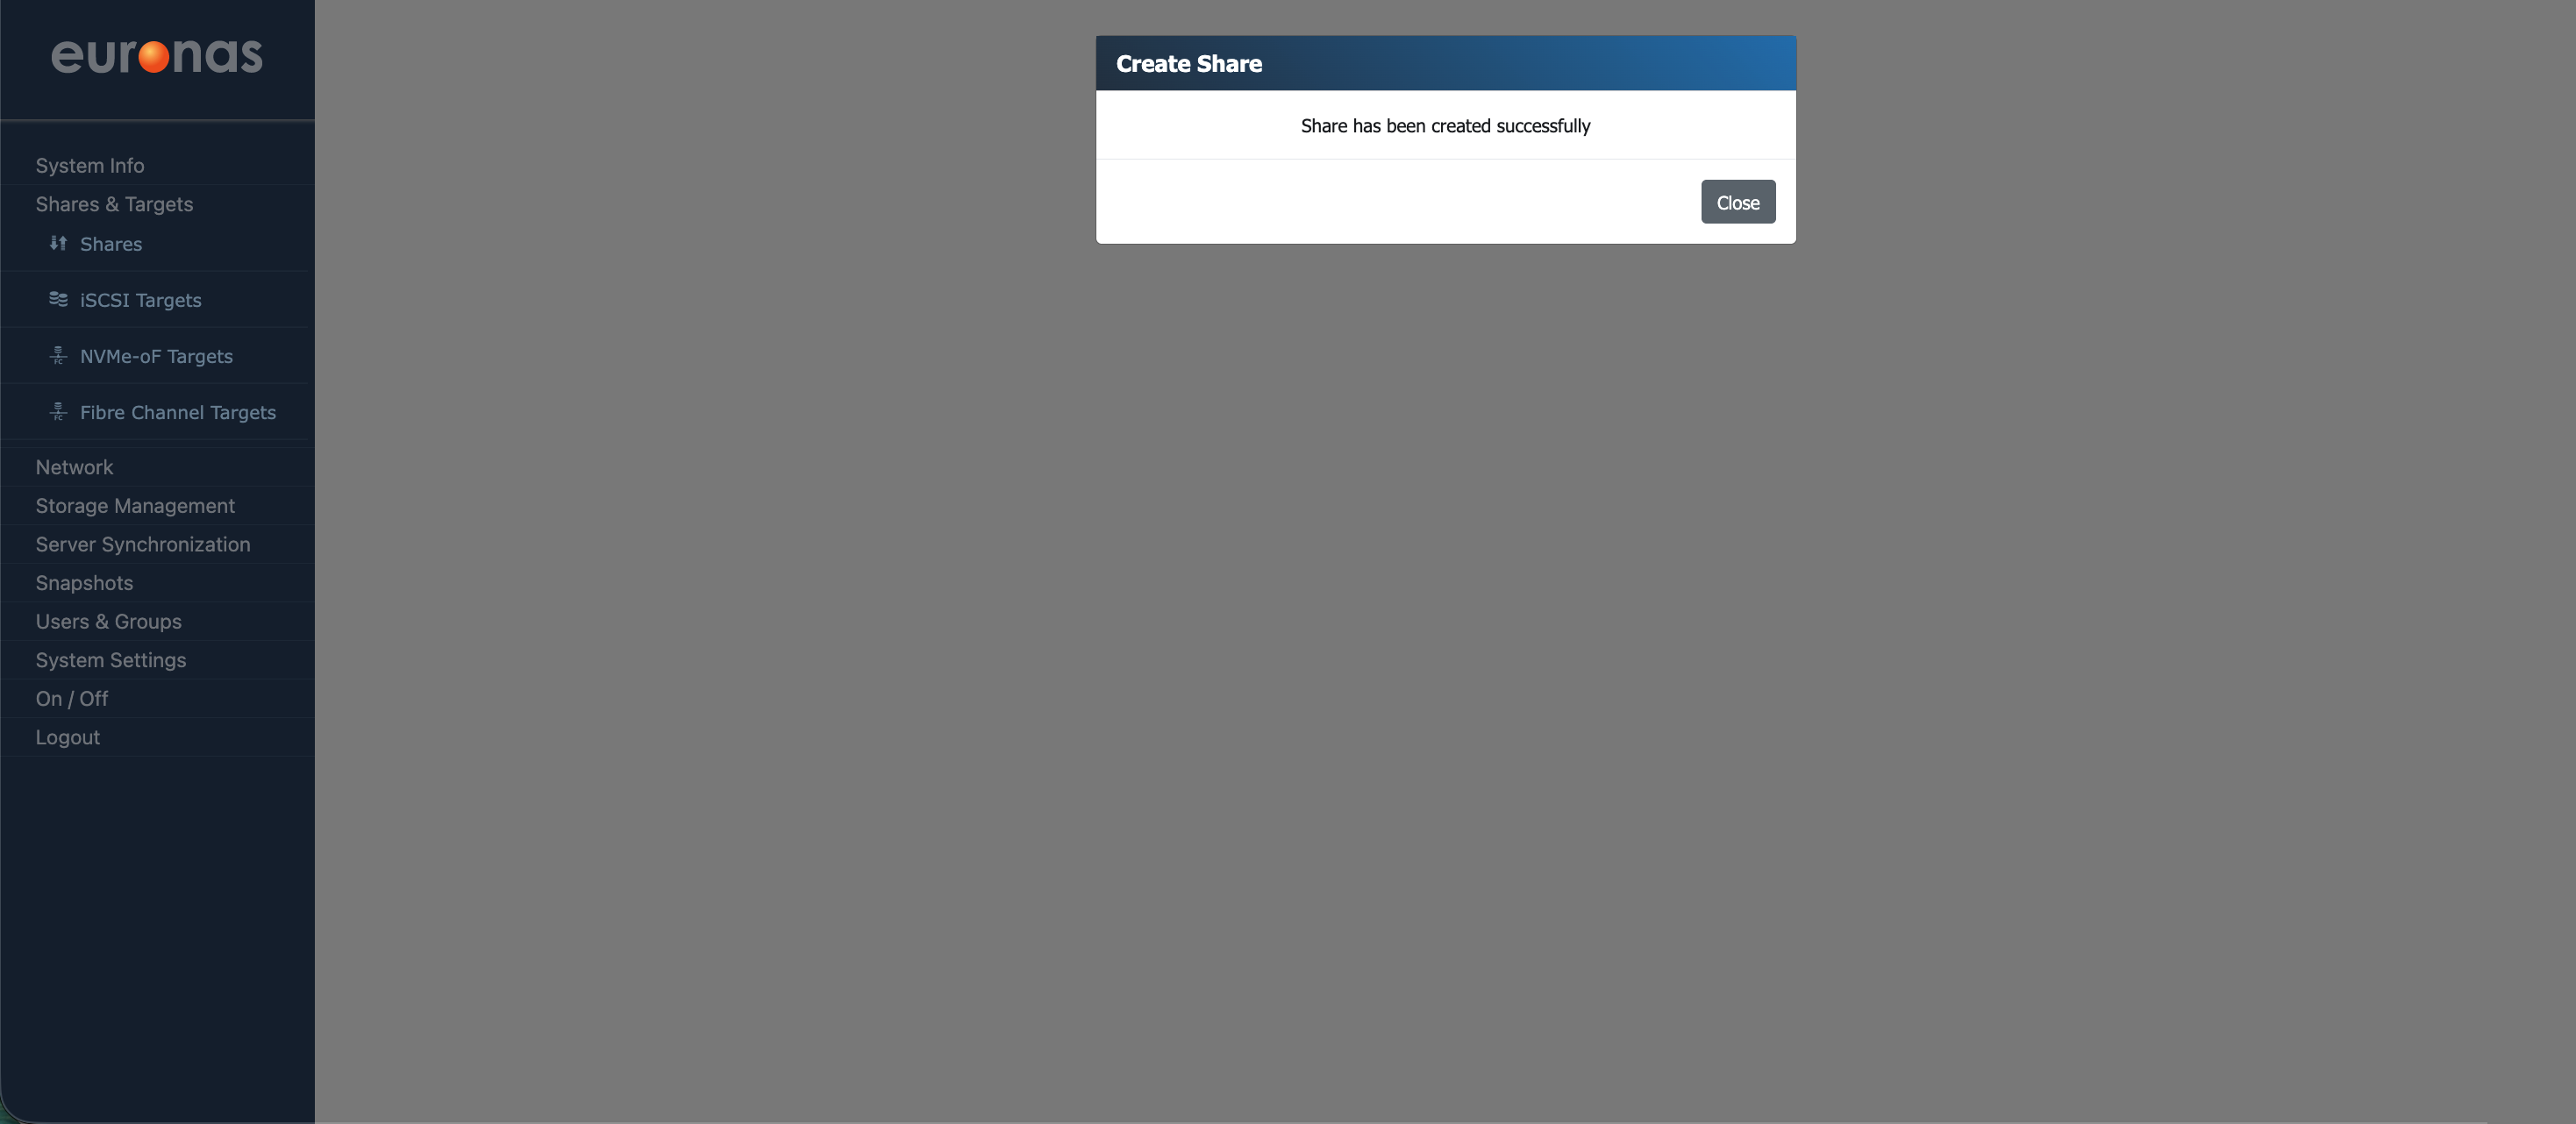
This will open the Create Share configuration wizard. As shown, the system has automatically selected the volume Drive1, and the share has been named SMB1.

In this example, a size of 100 GB has been selected for this share from the available 1 TB drive.
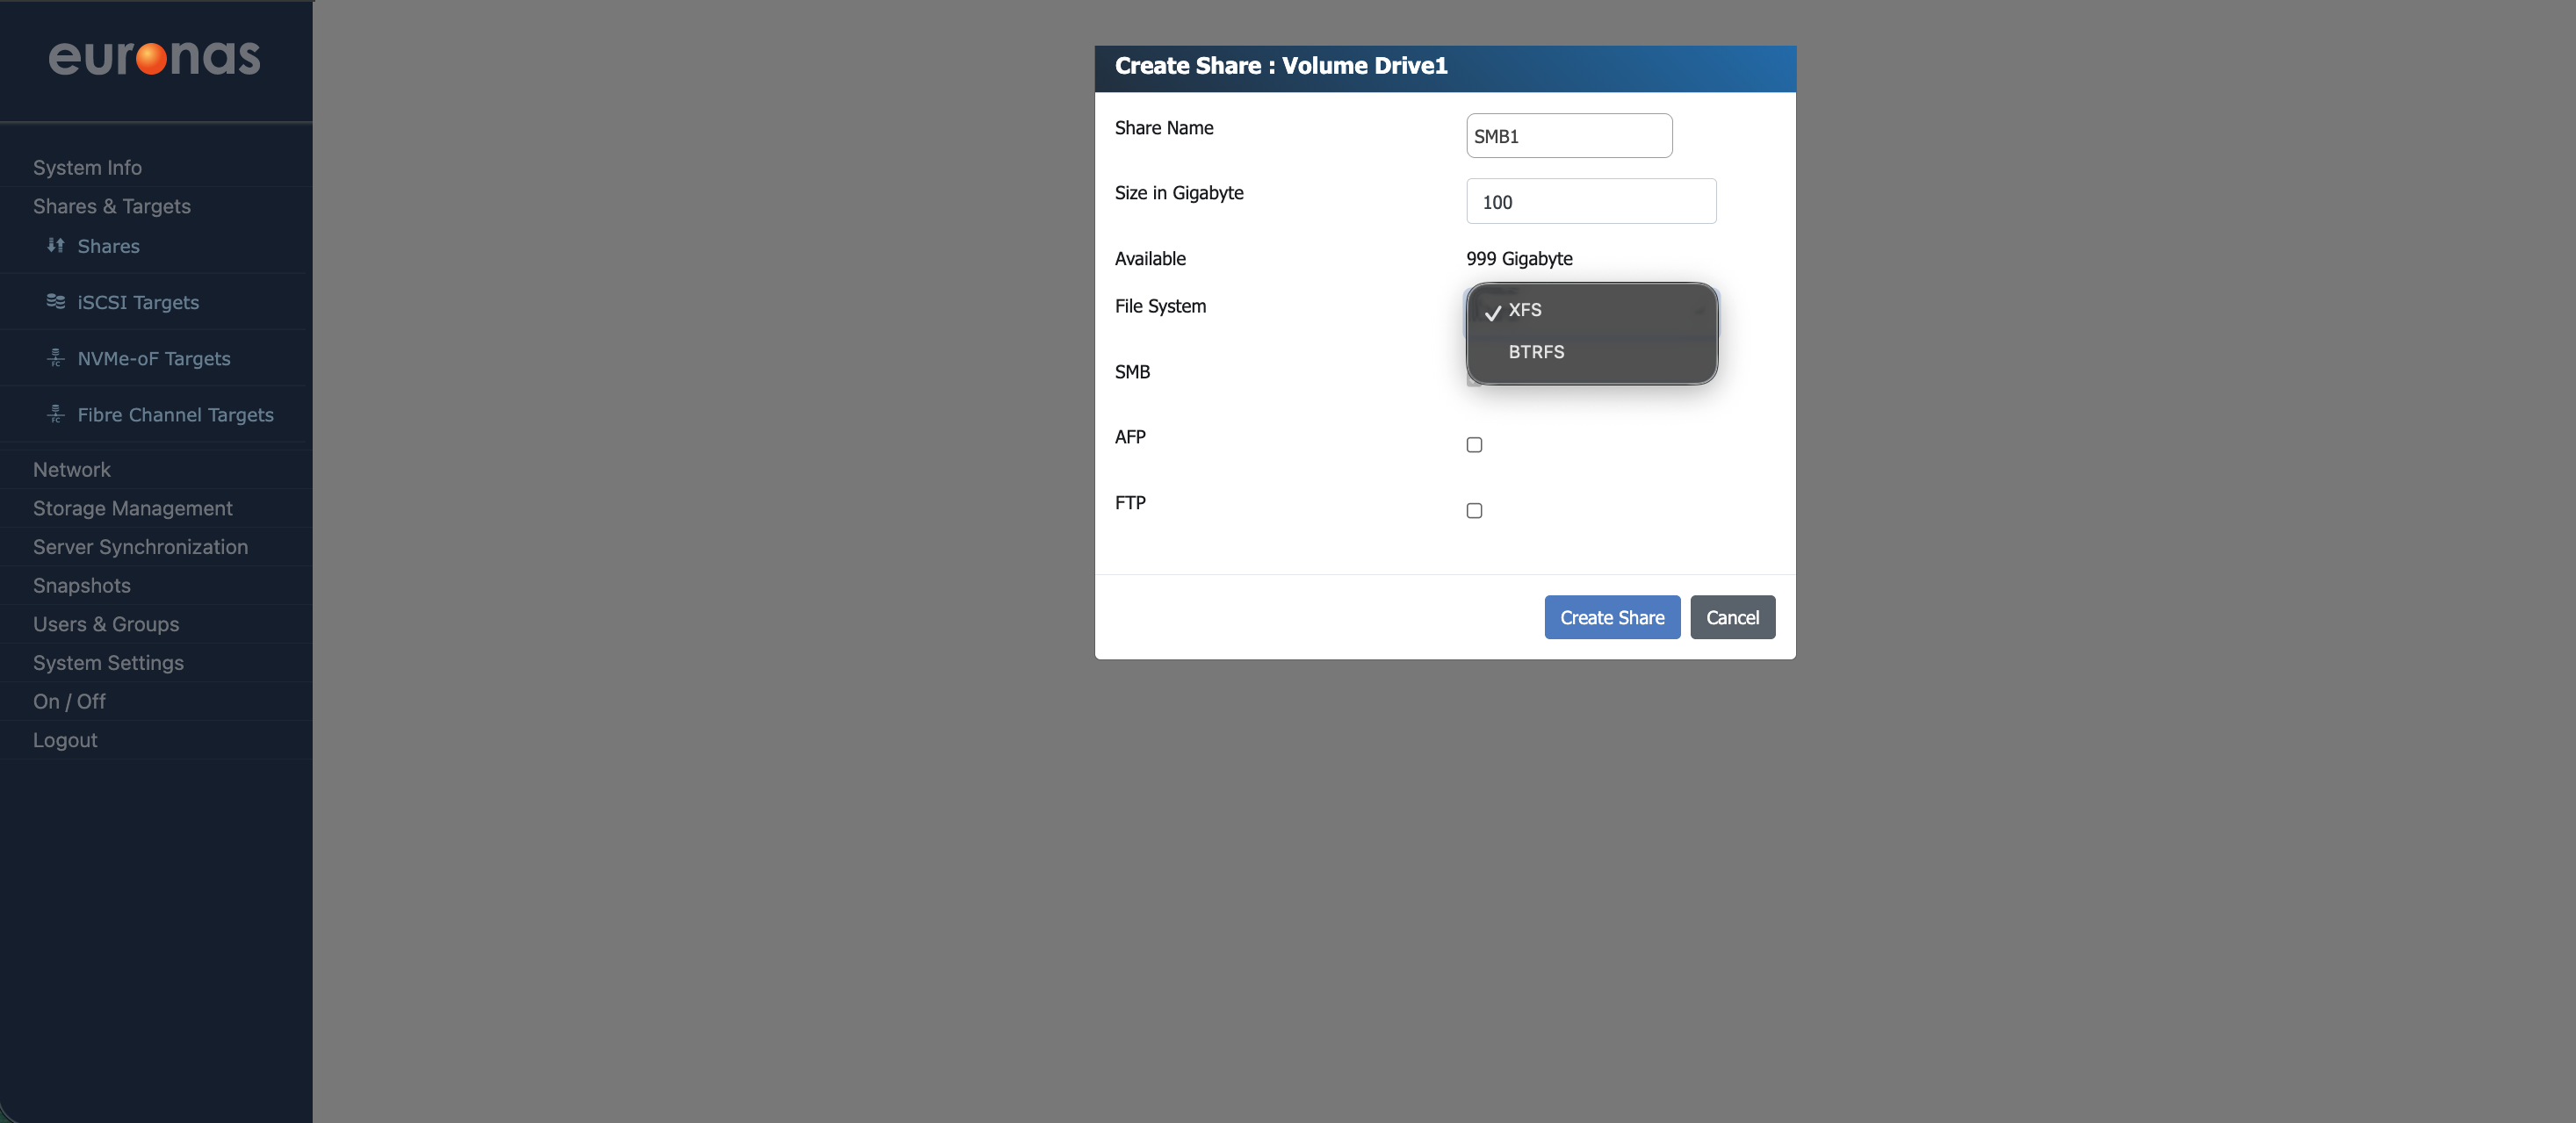
At this stage, select the file system for the share. This determines how data is written to disk and how the storage is handled.
In this example, XFS is selected as it is simple, predictable, and performs well, particularly with larger files and sequential workloads. Data protection is handled by the underlying RAID layer, so the file system can stay focused on doing its job properly without adding unnecessary overhead.
Other file systems such as BTRFS bring additional features like copy-on-write, snapshots, and more advanced data handling. Those features have their place, but they also come with additional overhead in terms of memory usage, write behaviour, and ongoing management. In this scenario, that complexity is not needed, and the focus is on keeping things stable and consistent.
As with all design choices, the appropriate file system will depend on the specific workload and operational requirements.
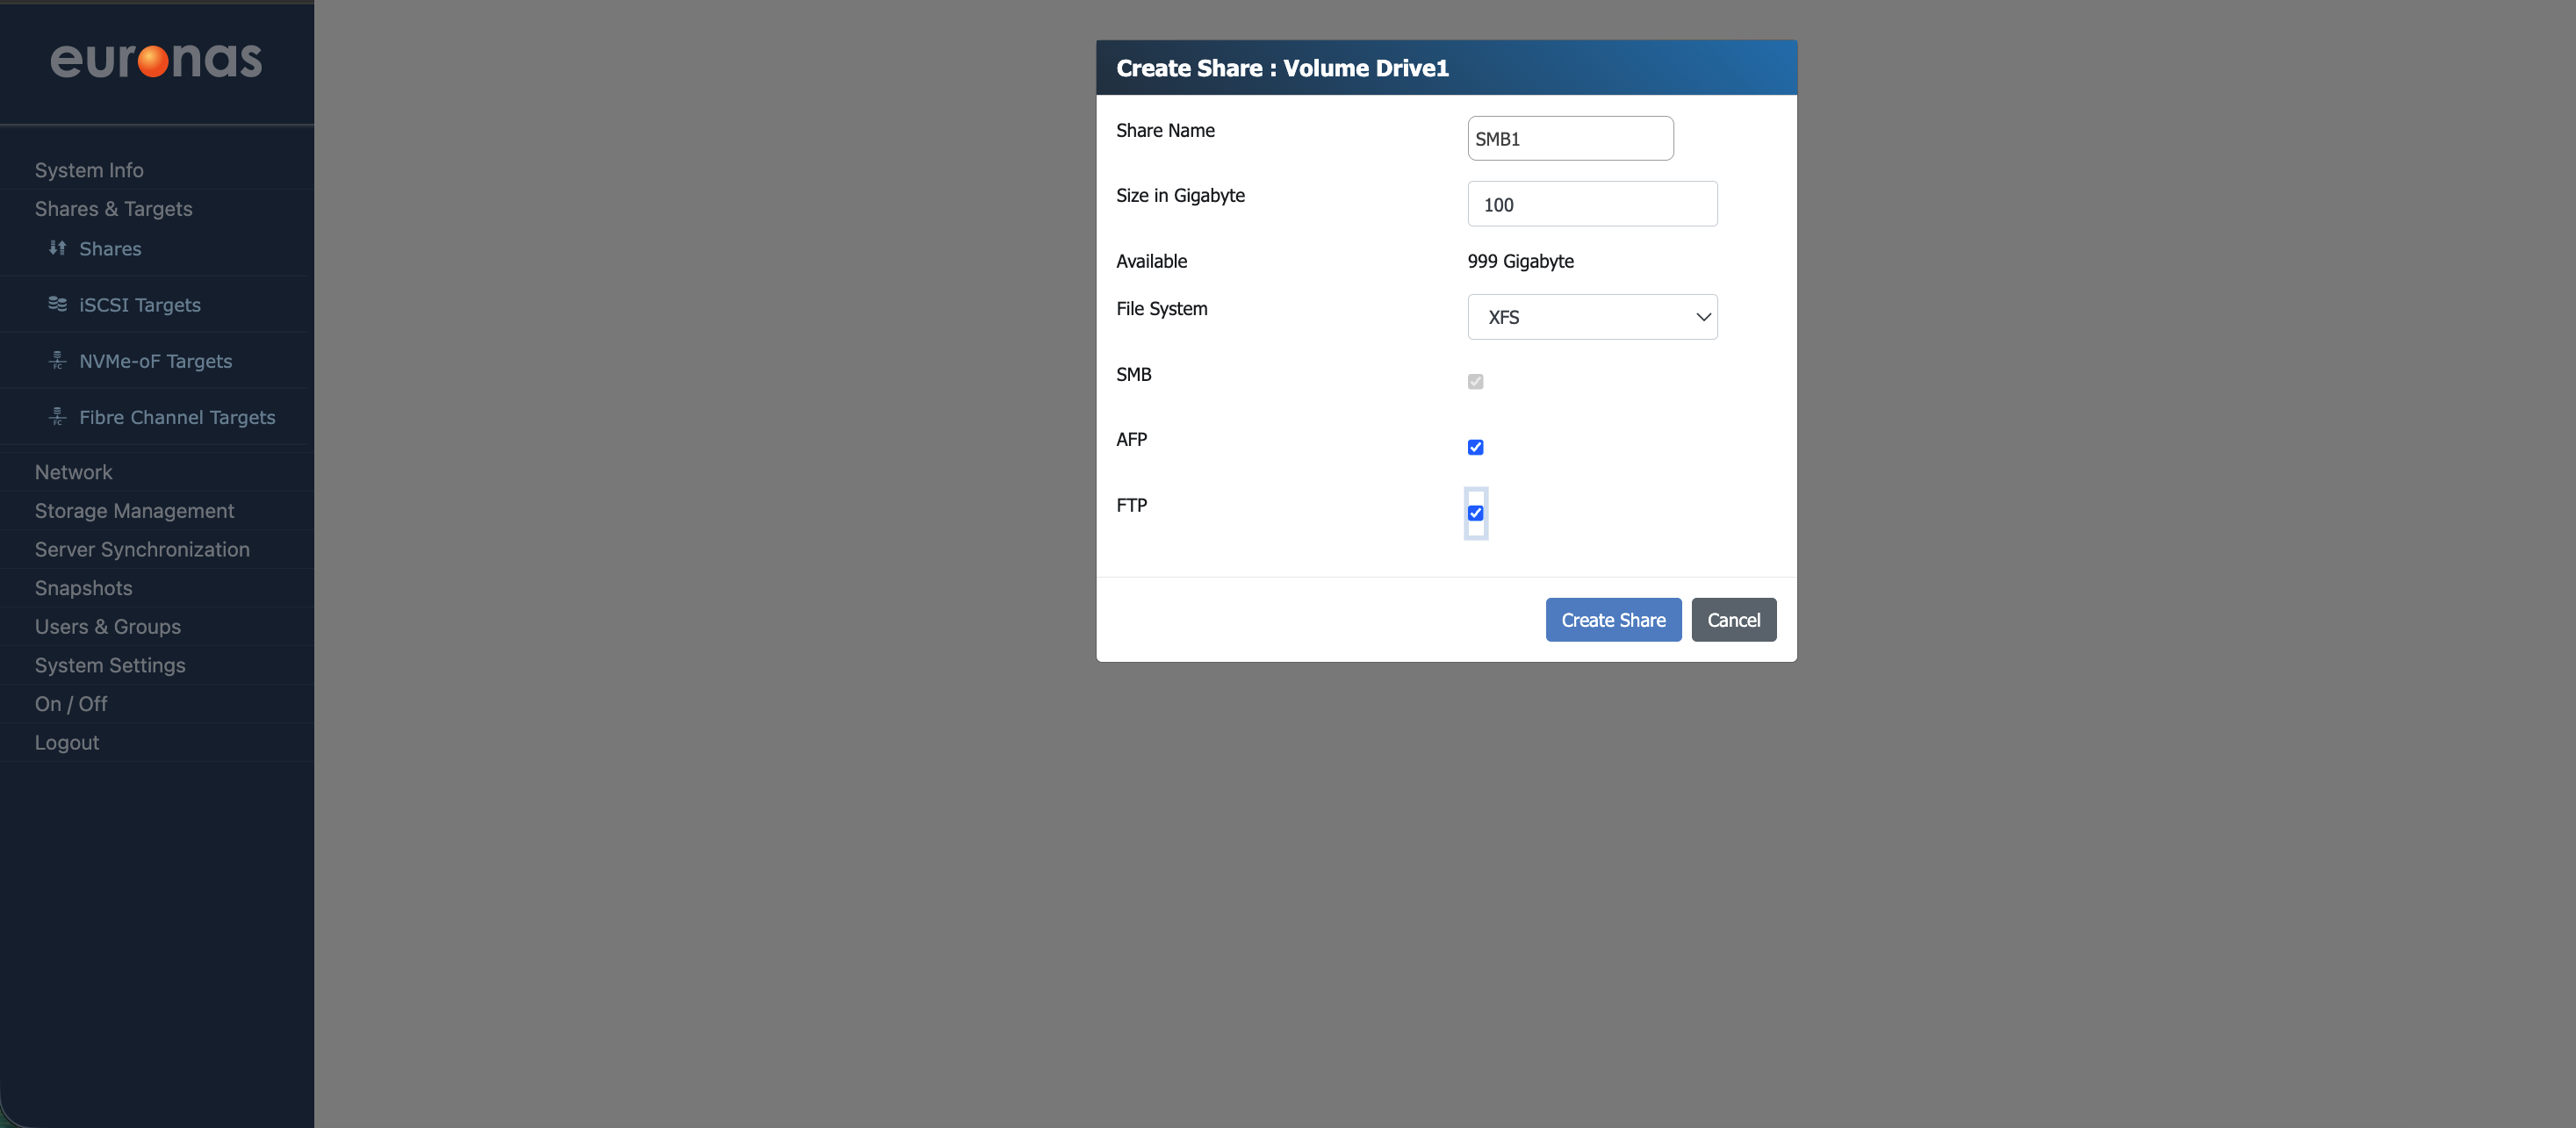
Please note while AFP remains available for compatibility with older macOS systems, it is now considered a legacy protocol. In most environments, SMB should be used as the primary access method.
Additional subfolders can be created within the share by selecting the + Create Shared Folder button. Select this option to continue.
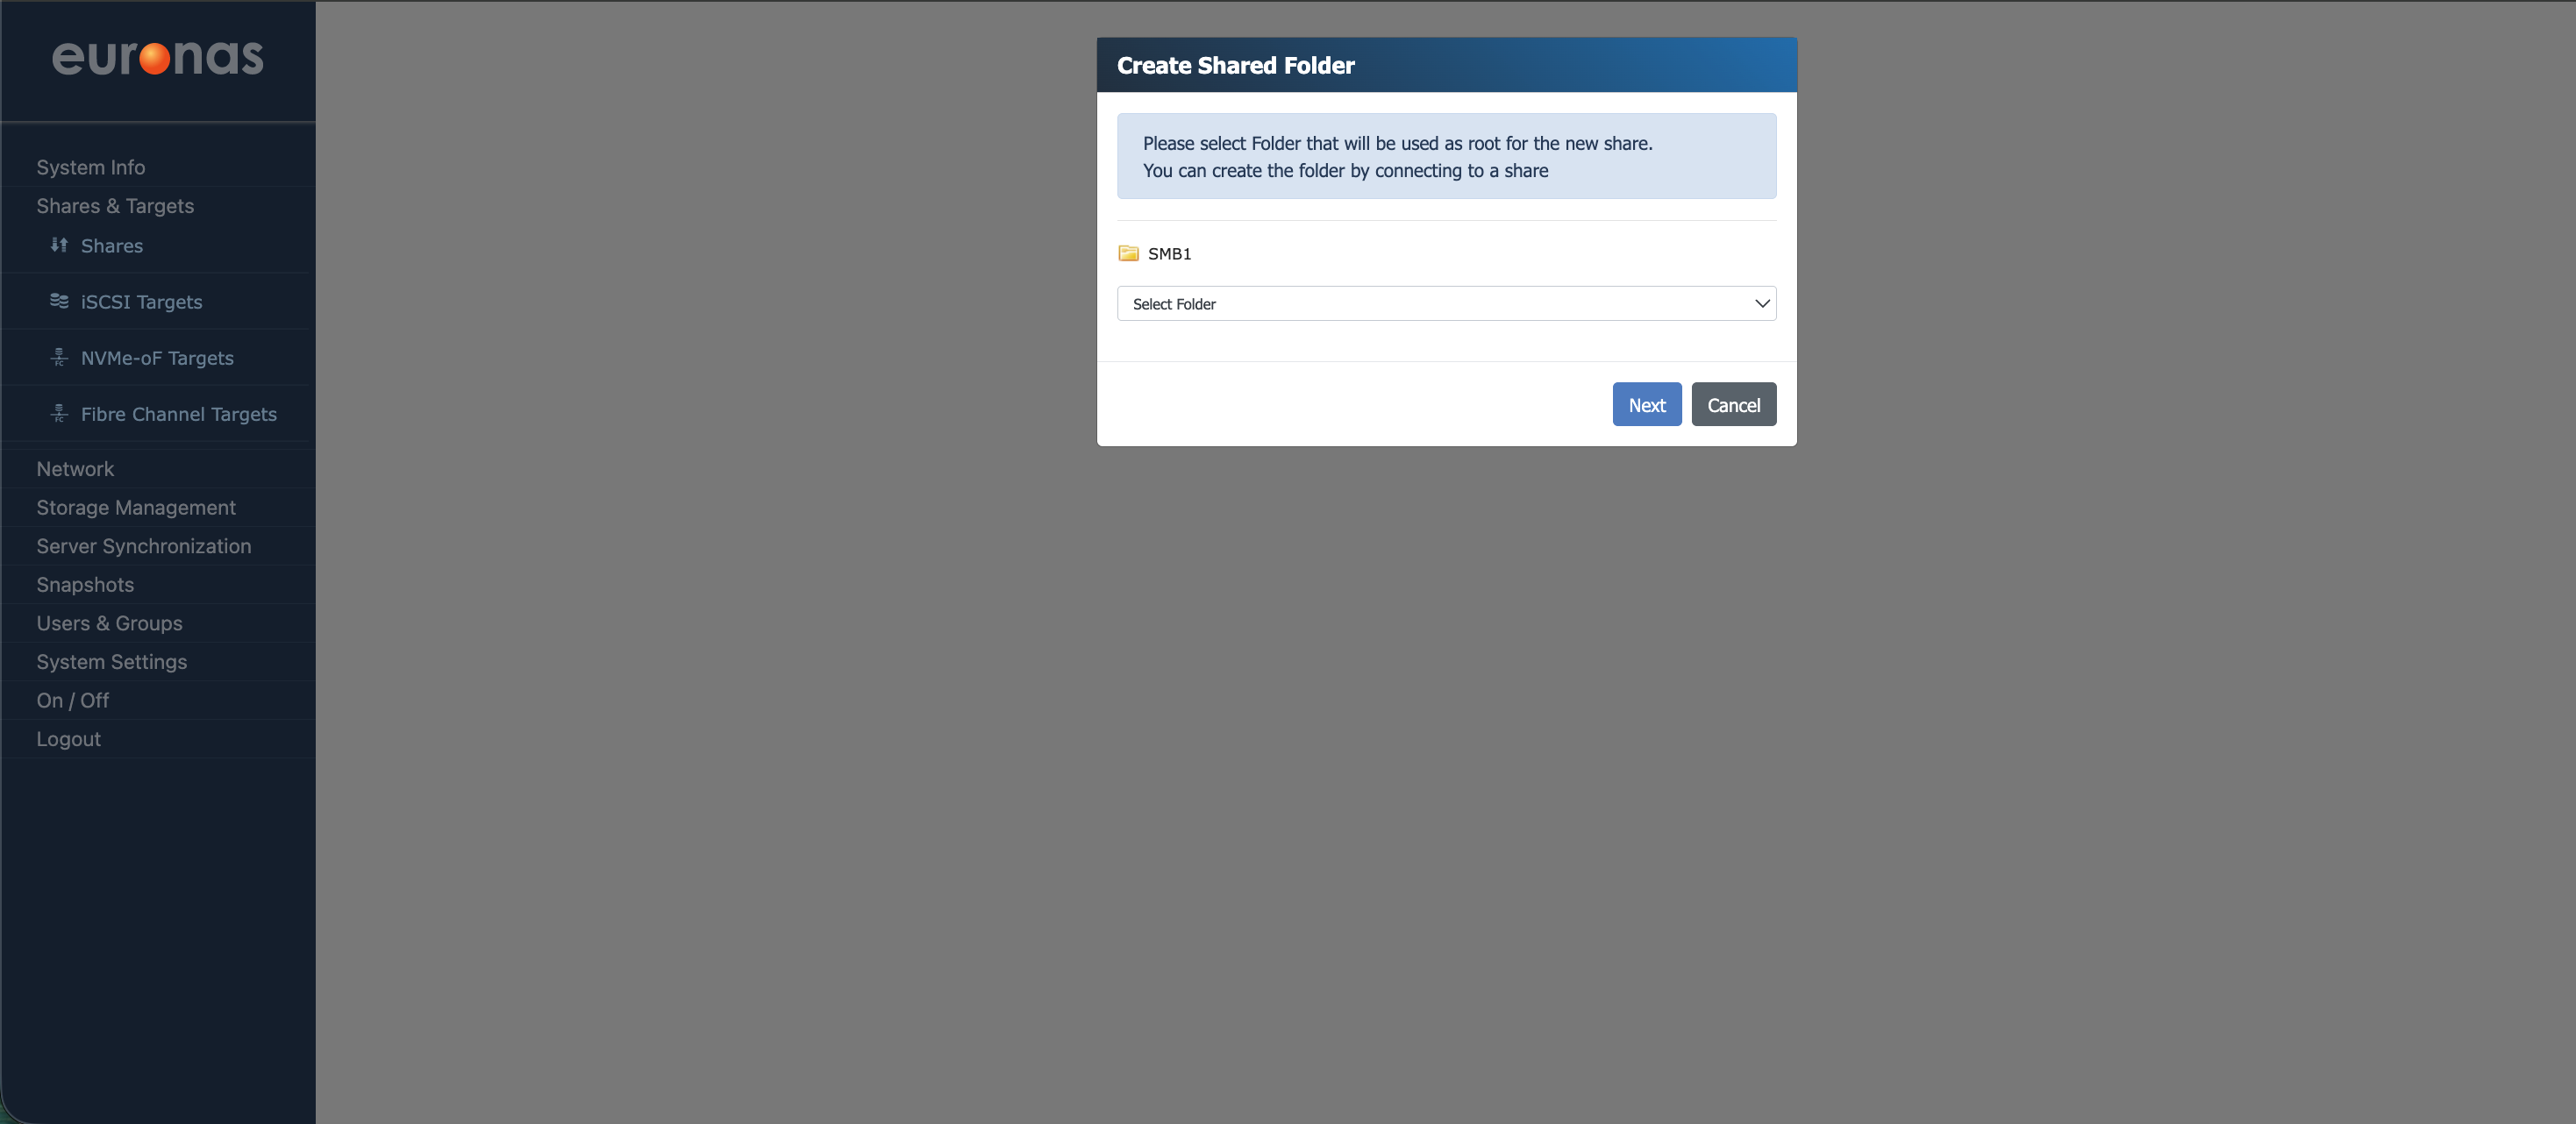
This will open the Create Subfolder Share wizard.
As shown, the top-level share SMB1 is available for selection. If multiple shares exist, they will be listed here.
This allows you to create subfolders within an existing share and present them as individual shares from within the system.
Select SMB1 and choose Next to continue.
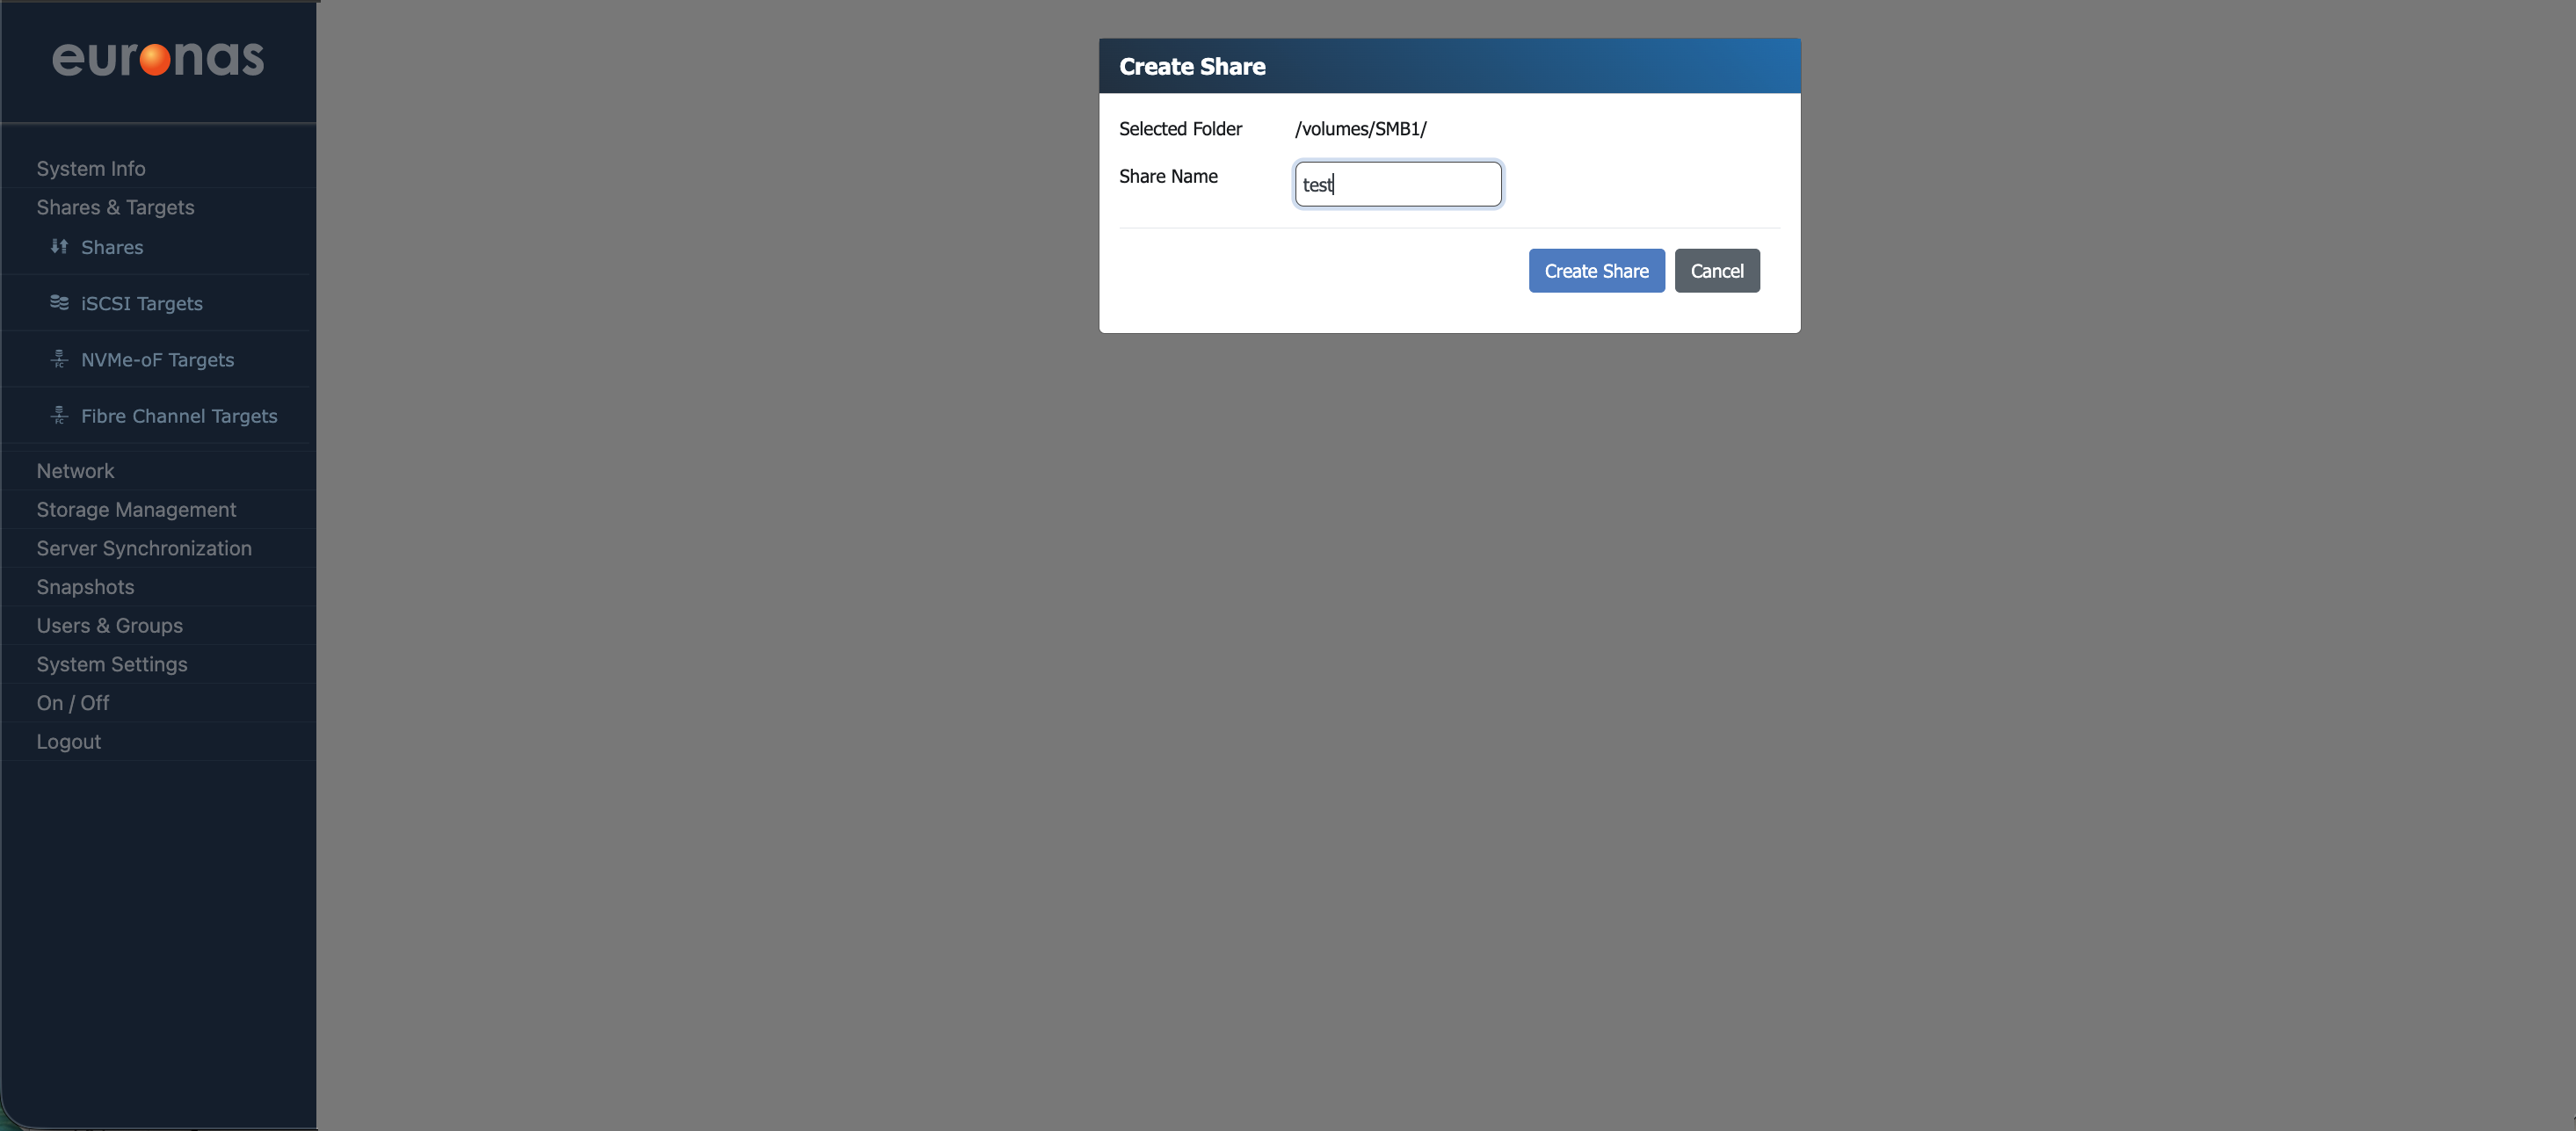
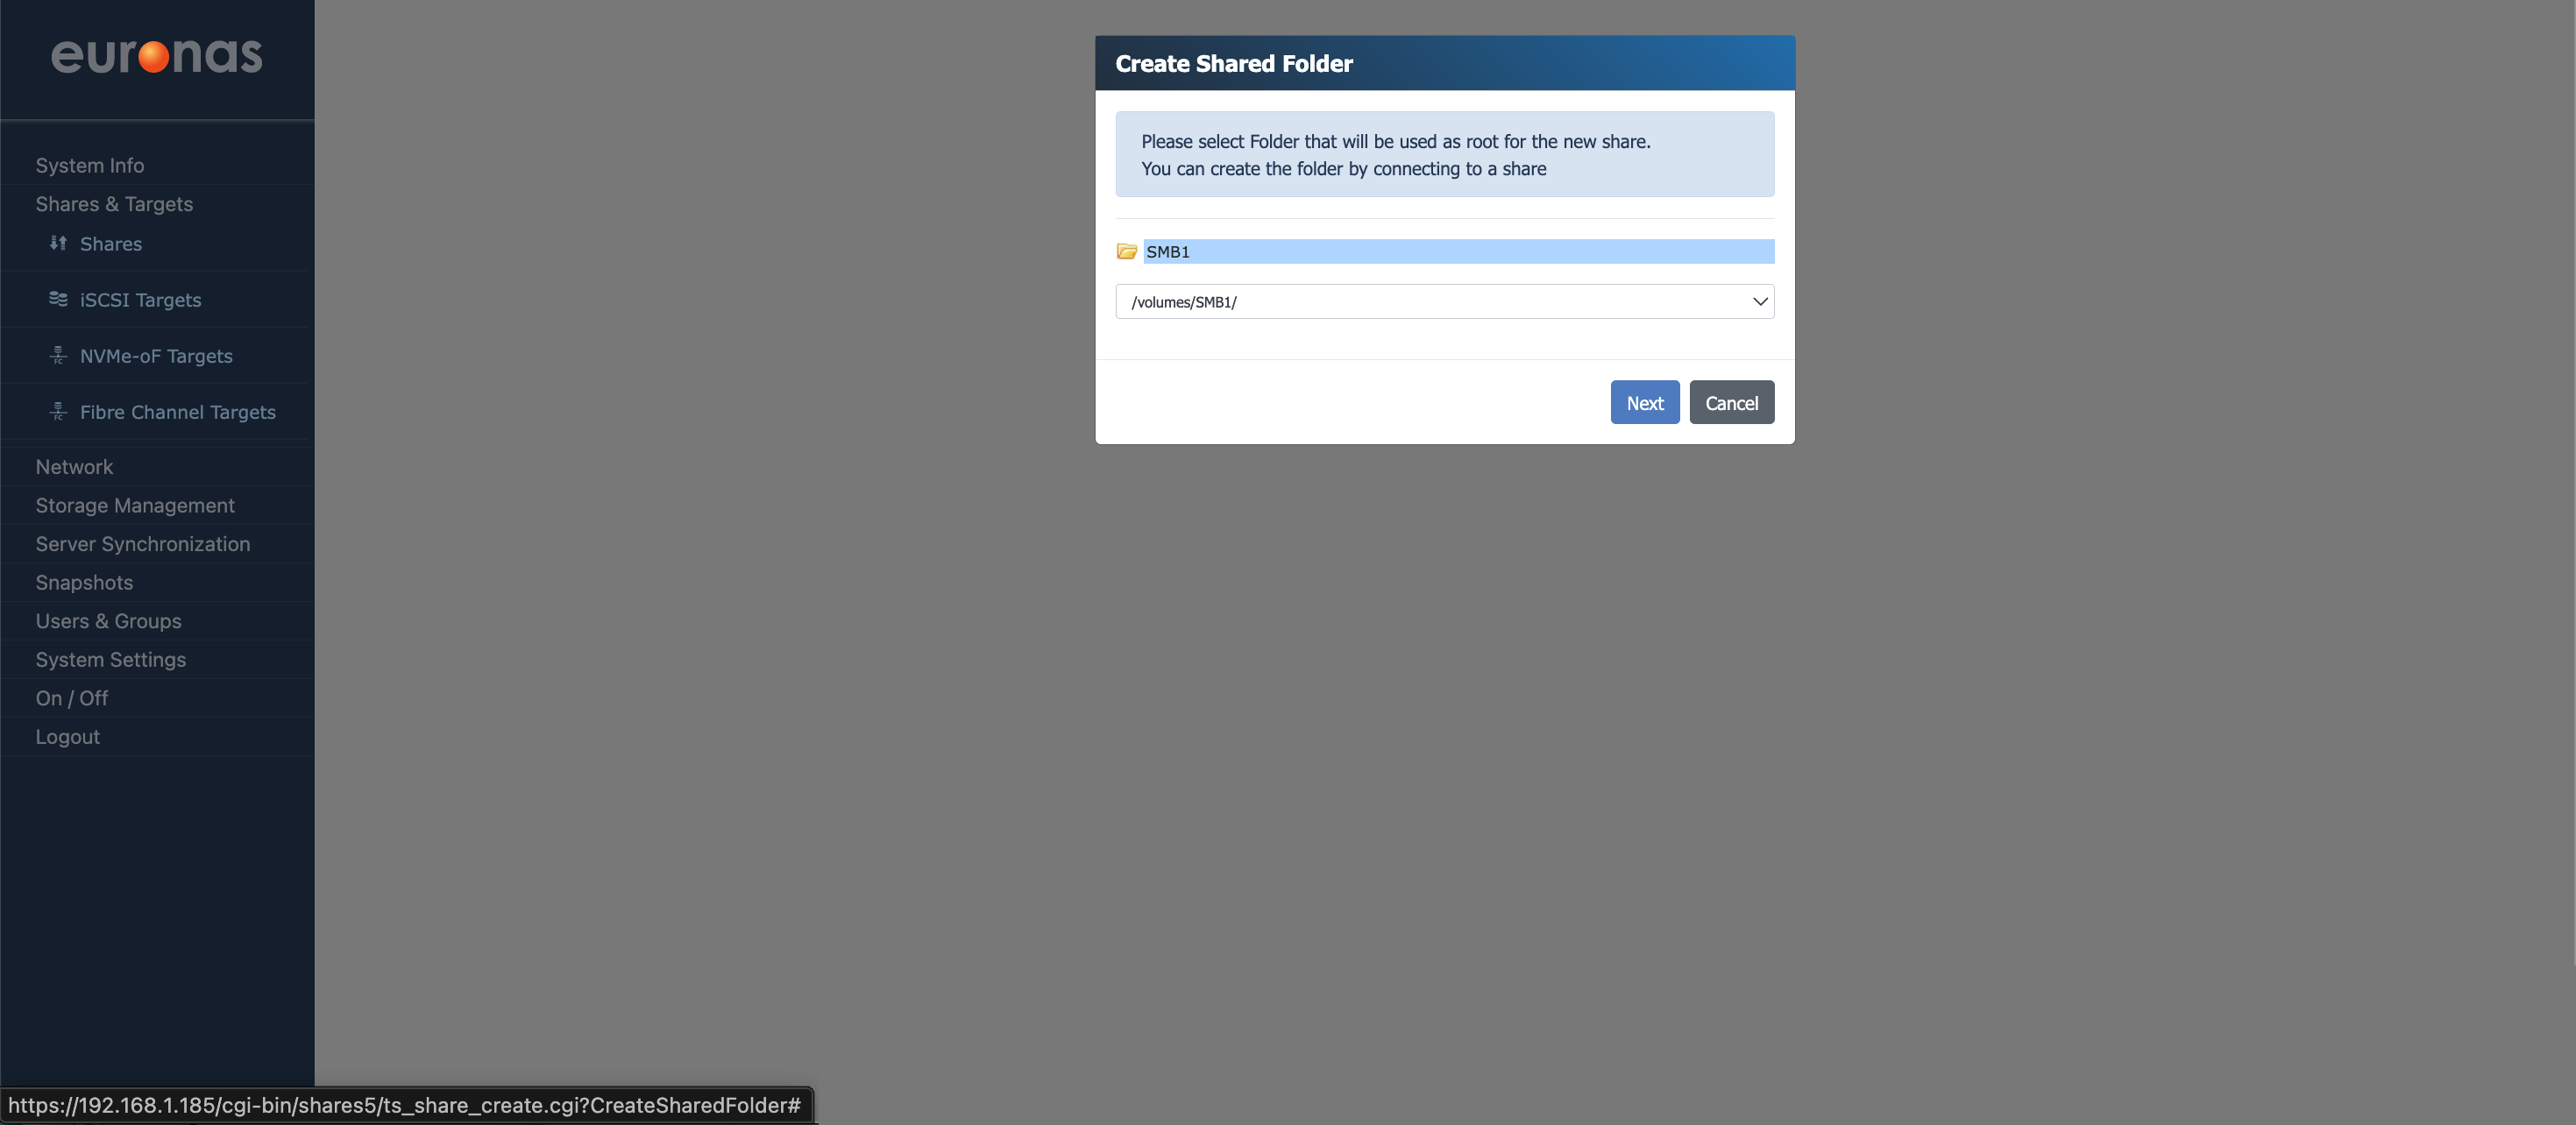
This screen is used to create a subfolder within an existing share. In this example, the subfolder test is created under the SMB1 share. The selected volume represents the parent share, and the Share Name defines the name of the new subfolder that will be presented to users.
This allows a larger share to be broken down into smaller, more manageable areas without creating additional top-level storage. It also provides a straightforward way to organise data and apply more granular access control where required.
Enter the required share name and select Create Share to continue.
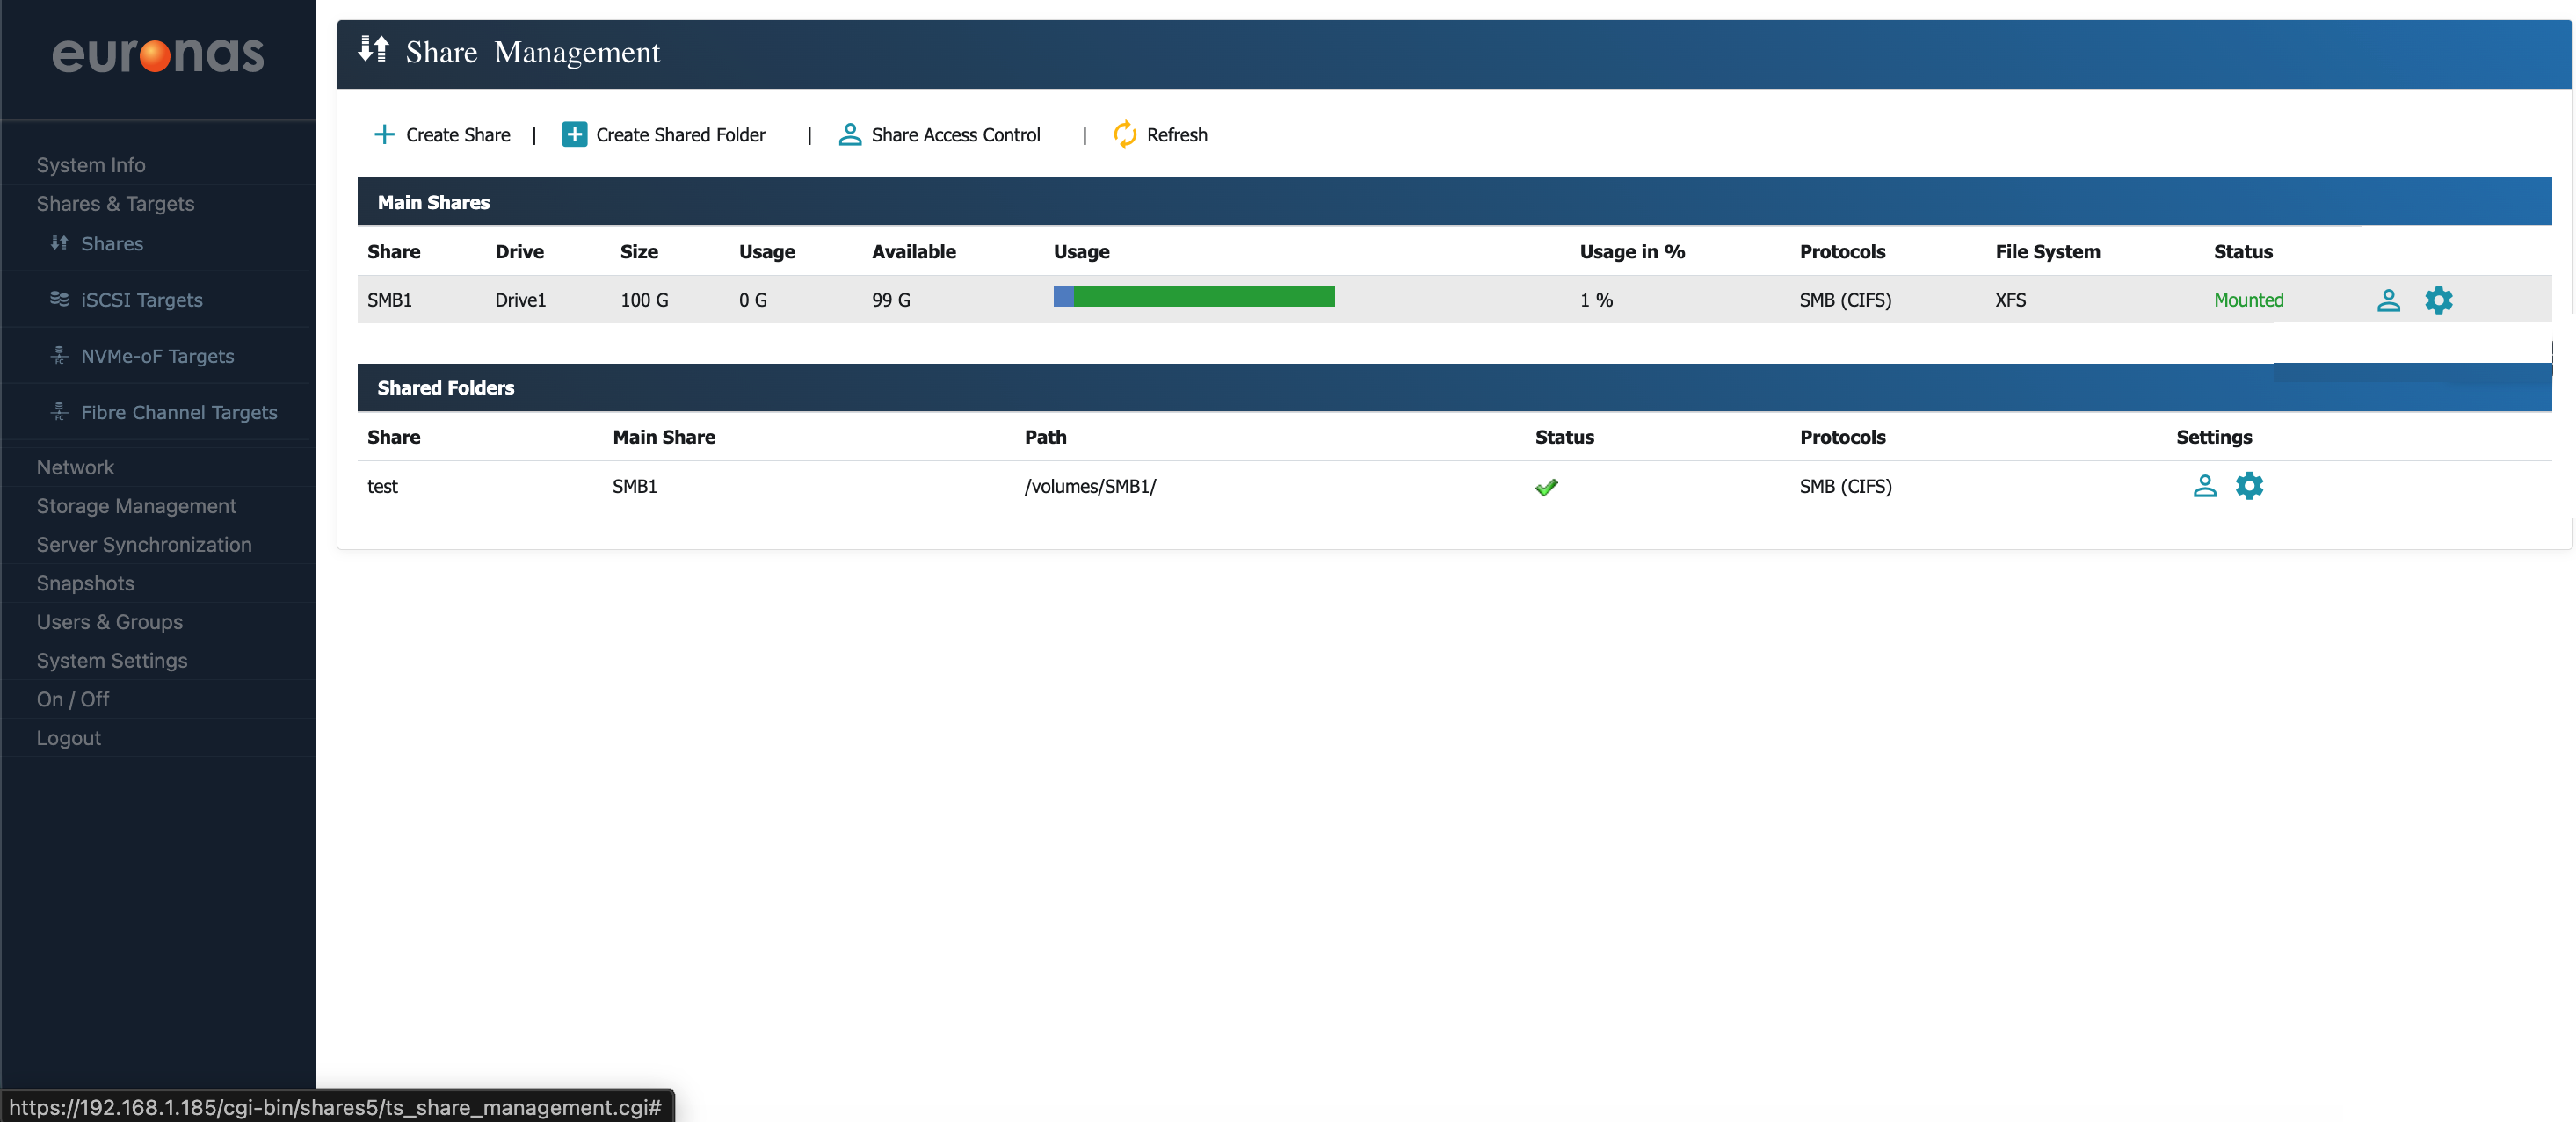
As shown, the SMB share has now been successfully created and is available for use. The main share (SMB1) is visible along with the subfolder share (test), confirming that both have been configured correctly.
From this screen, you can review share status, usage, and access settings, as well as make further changes if required.