Node Configuration
With the base configuration now complete, all future configuration will be performed via the GUI. Once connected to the running node, log in using the default credentials: admin / euronas
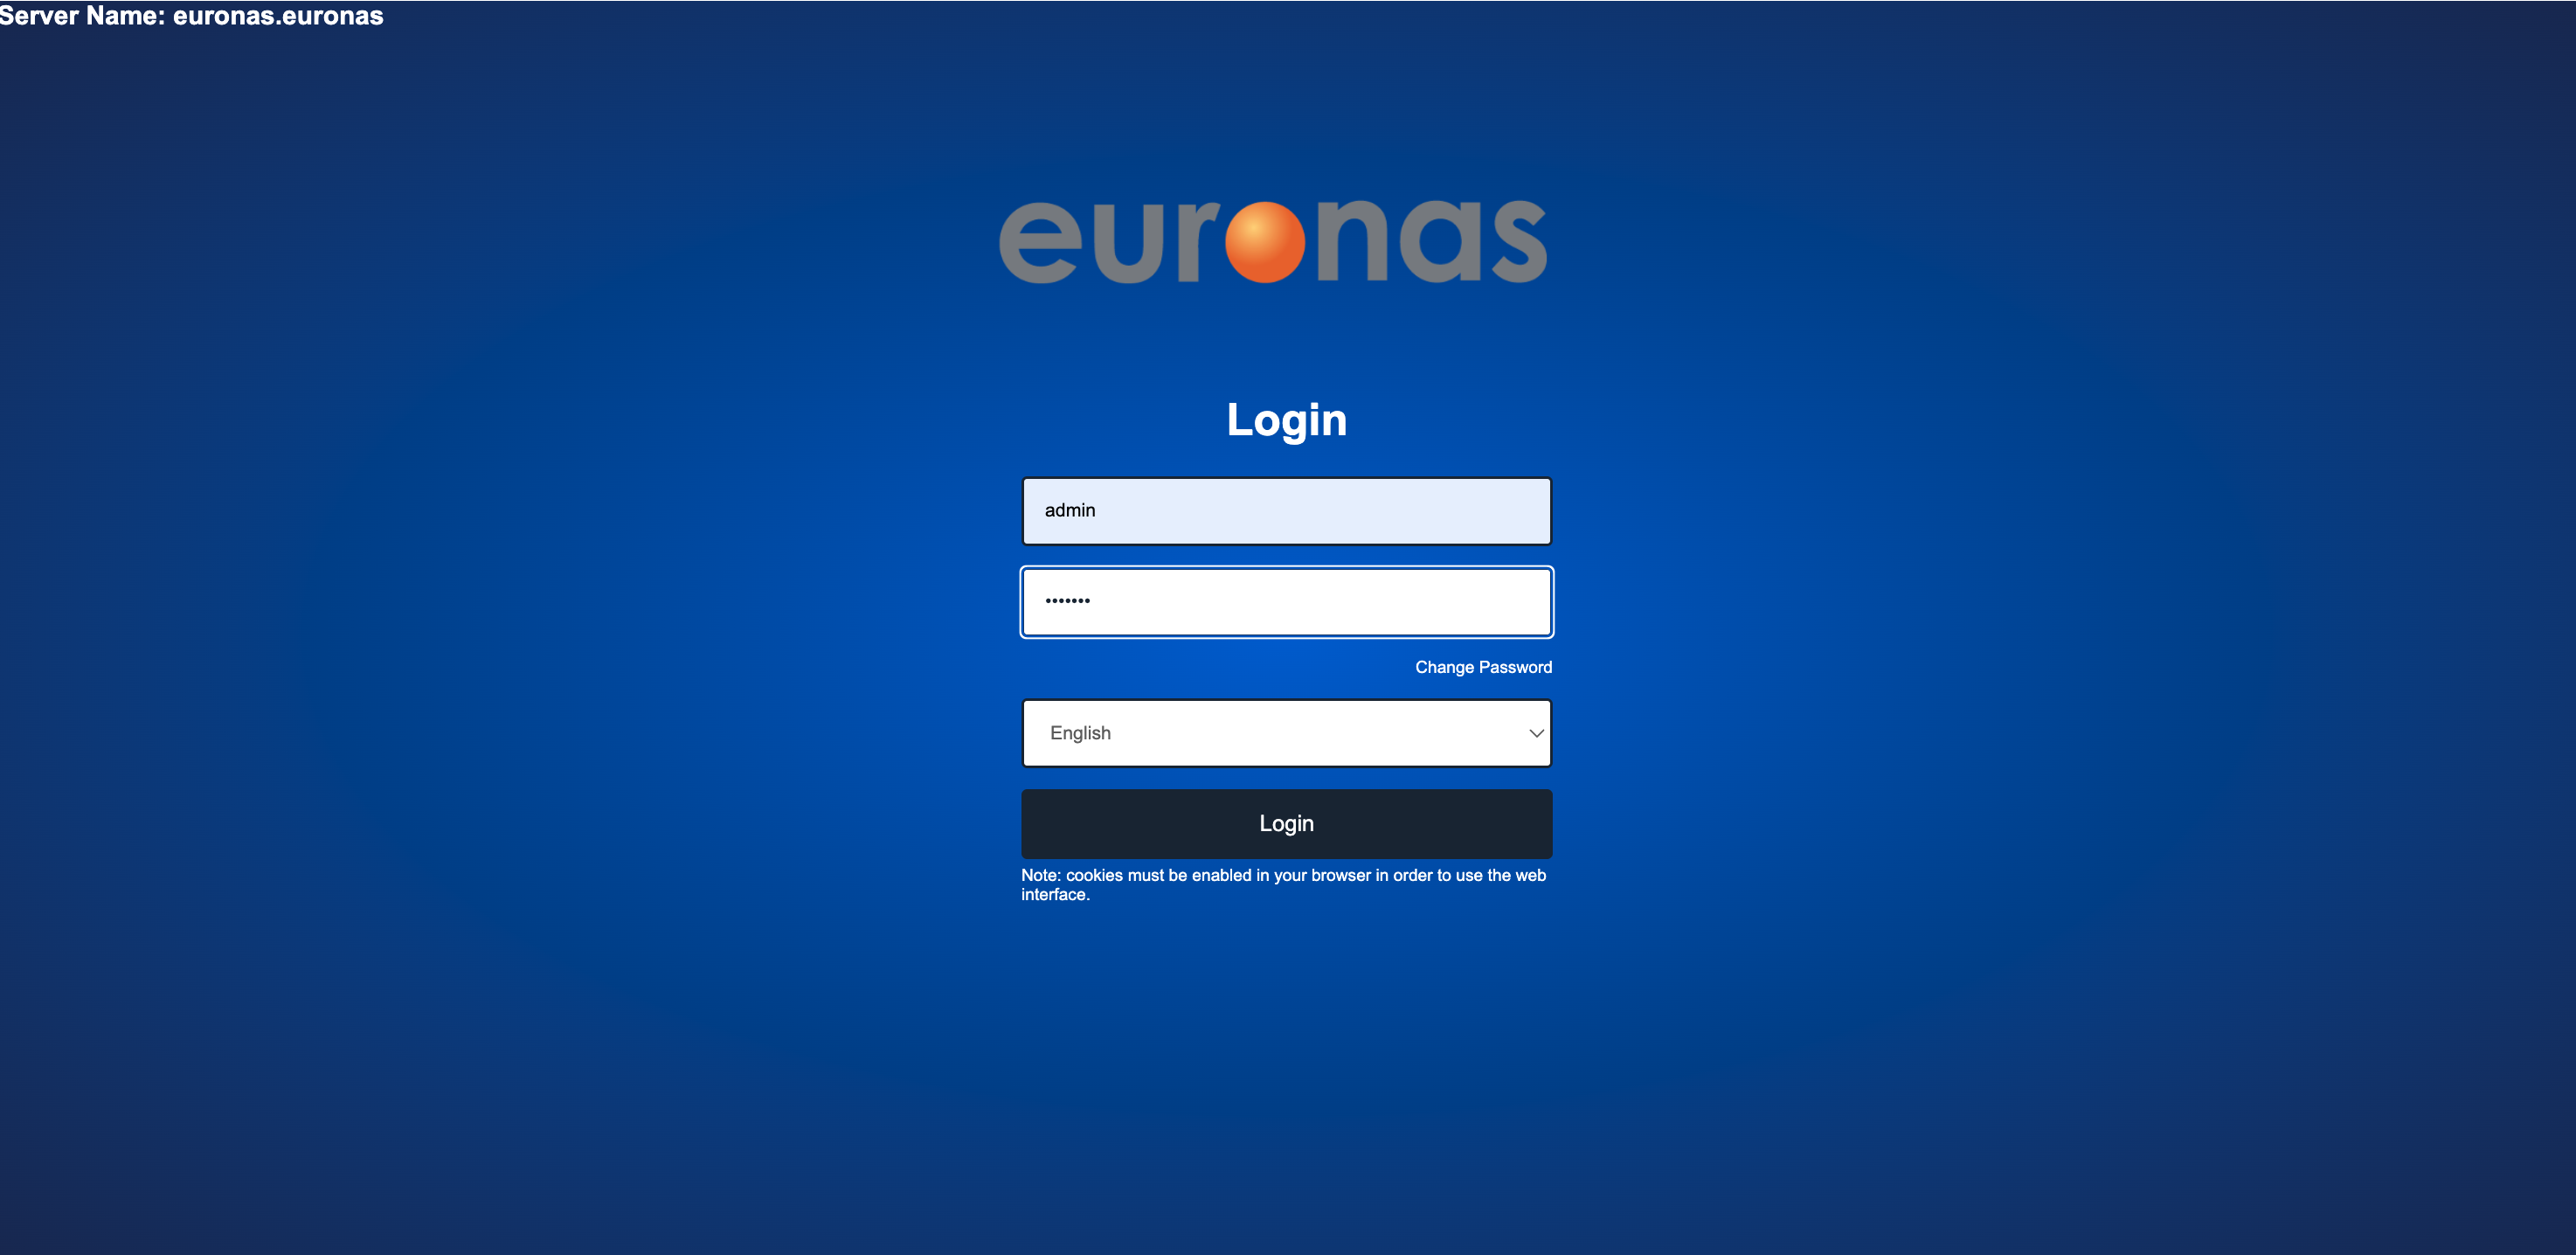
Press the Login icon
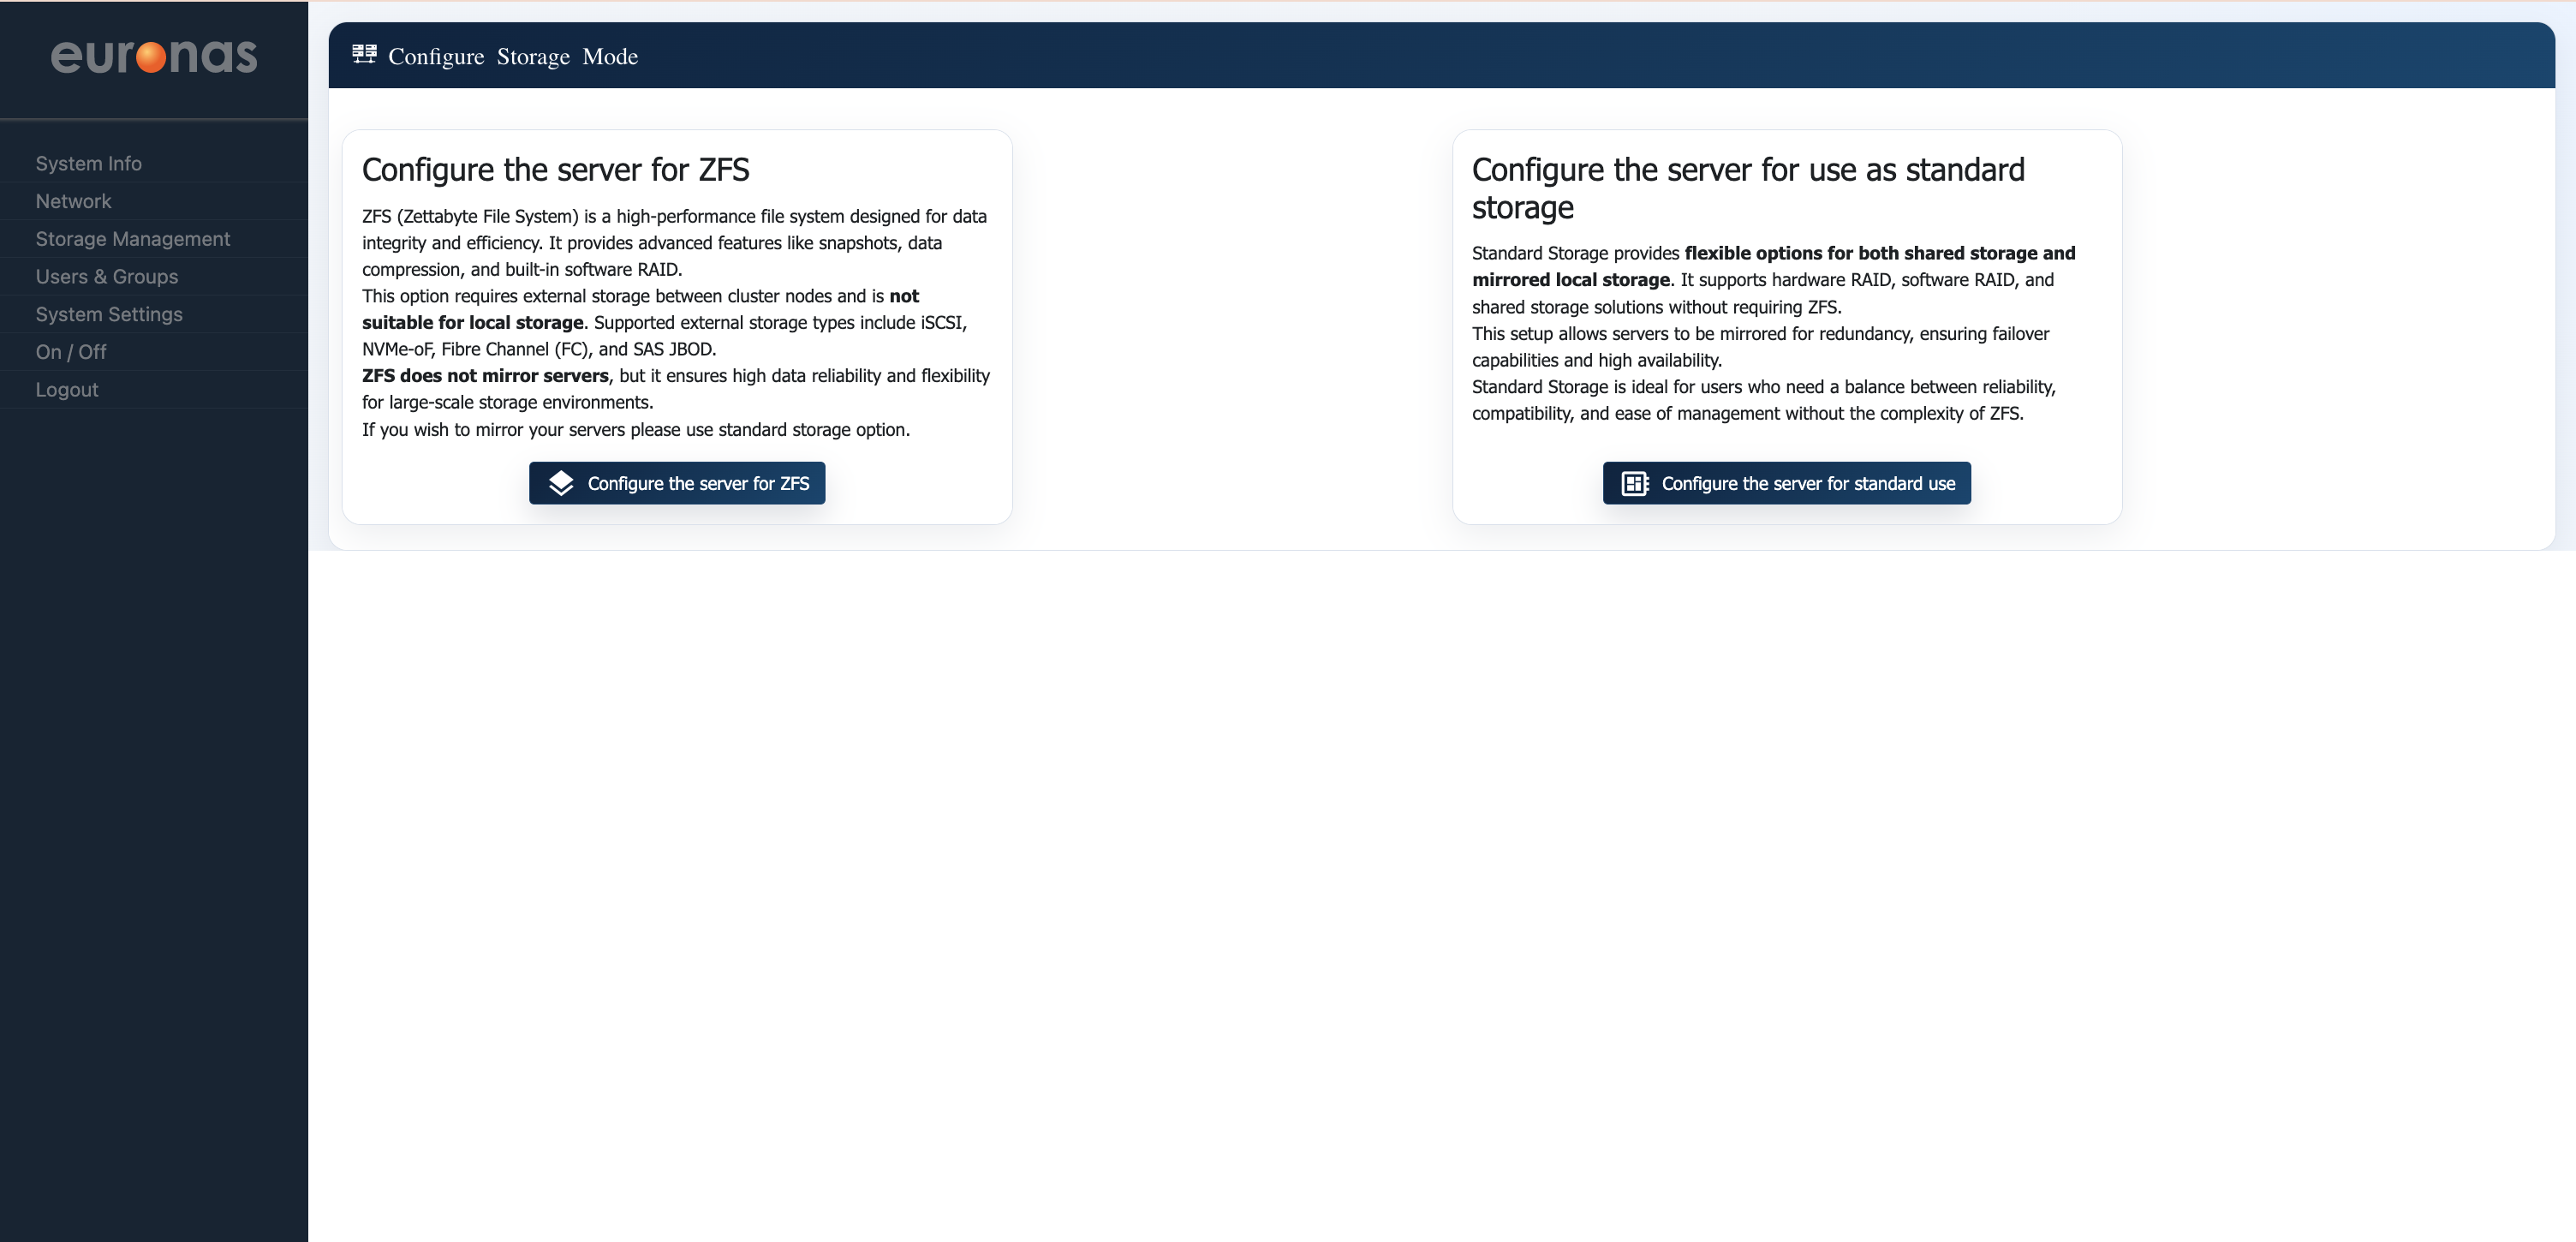
Upon first access to the GUI, you will be presented with the Storage Mode Configuration screen, where you must select the operating mode for the system.
Two options are available:
- ZFS Mode – Enables advanced data integrity features, including snapshots, deduplication, compression, and software-defined storage management. This mode is suited for environments where data protection and flexibility are prioritised, typically using independent storage per node.
- Standard Storage Mode – Utilises euroNAS clustered drive technology to provide shared or mirrored storage across nodes. This mode is designed for high availability, enabling continuous operation and transparent failover without application disruption.
For this example we will select the ZFS option

Once the process is complete, a confirmation screen will be displayed. Select Close to proceed.
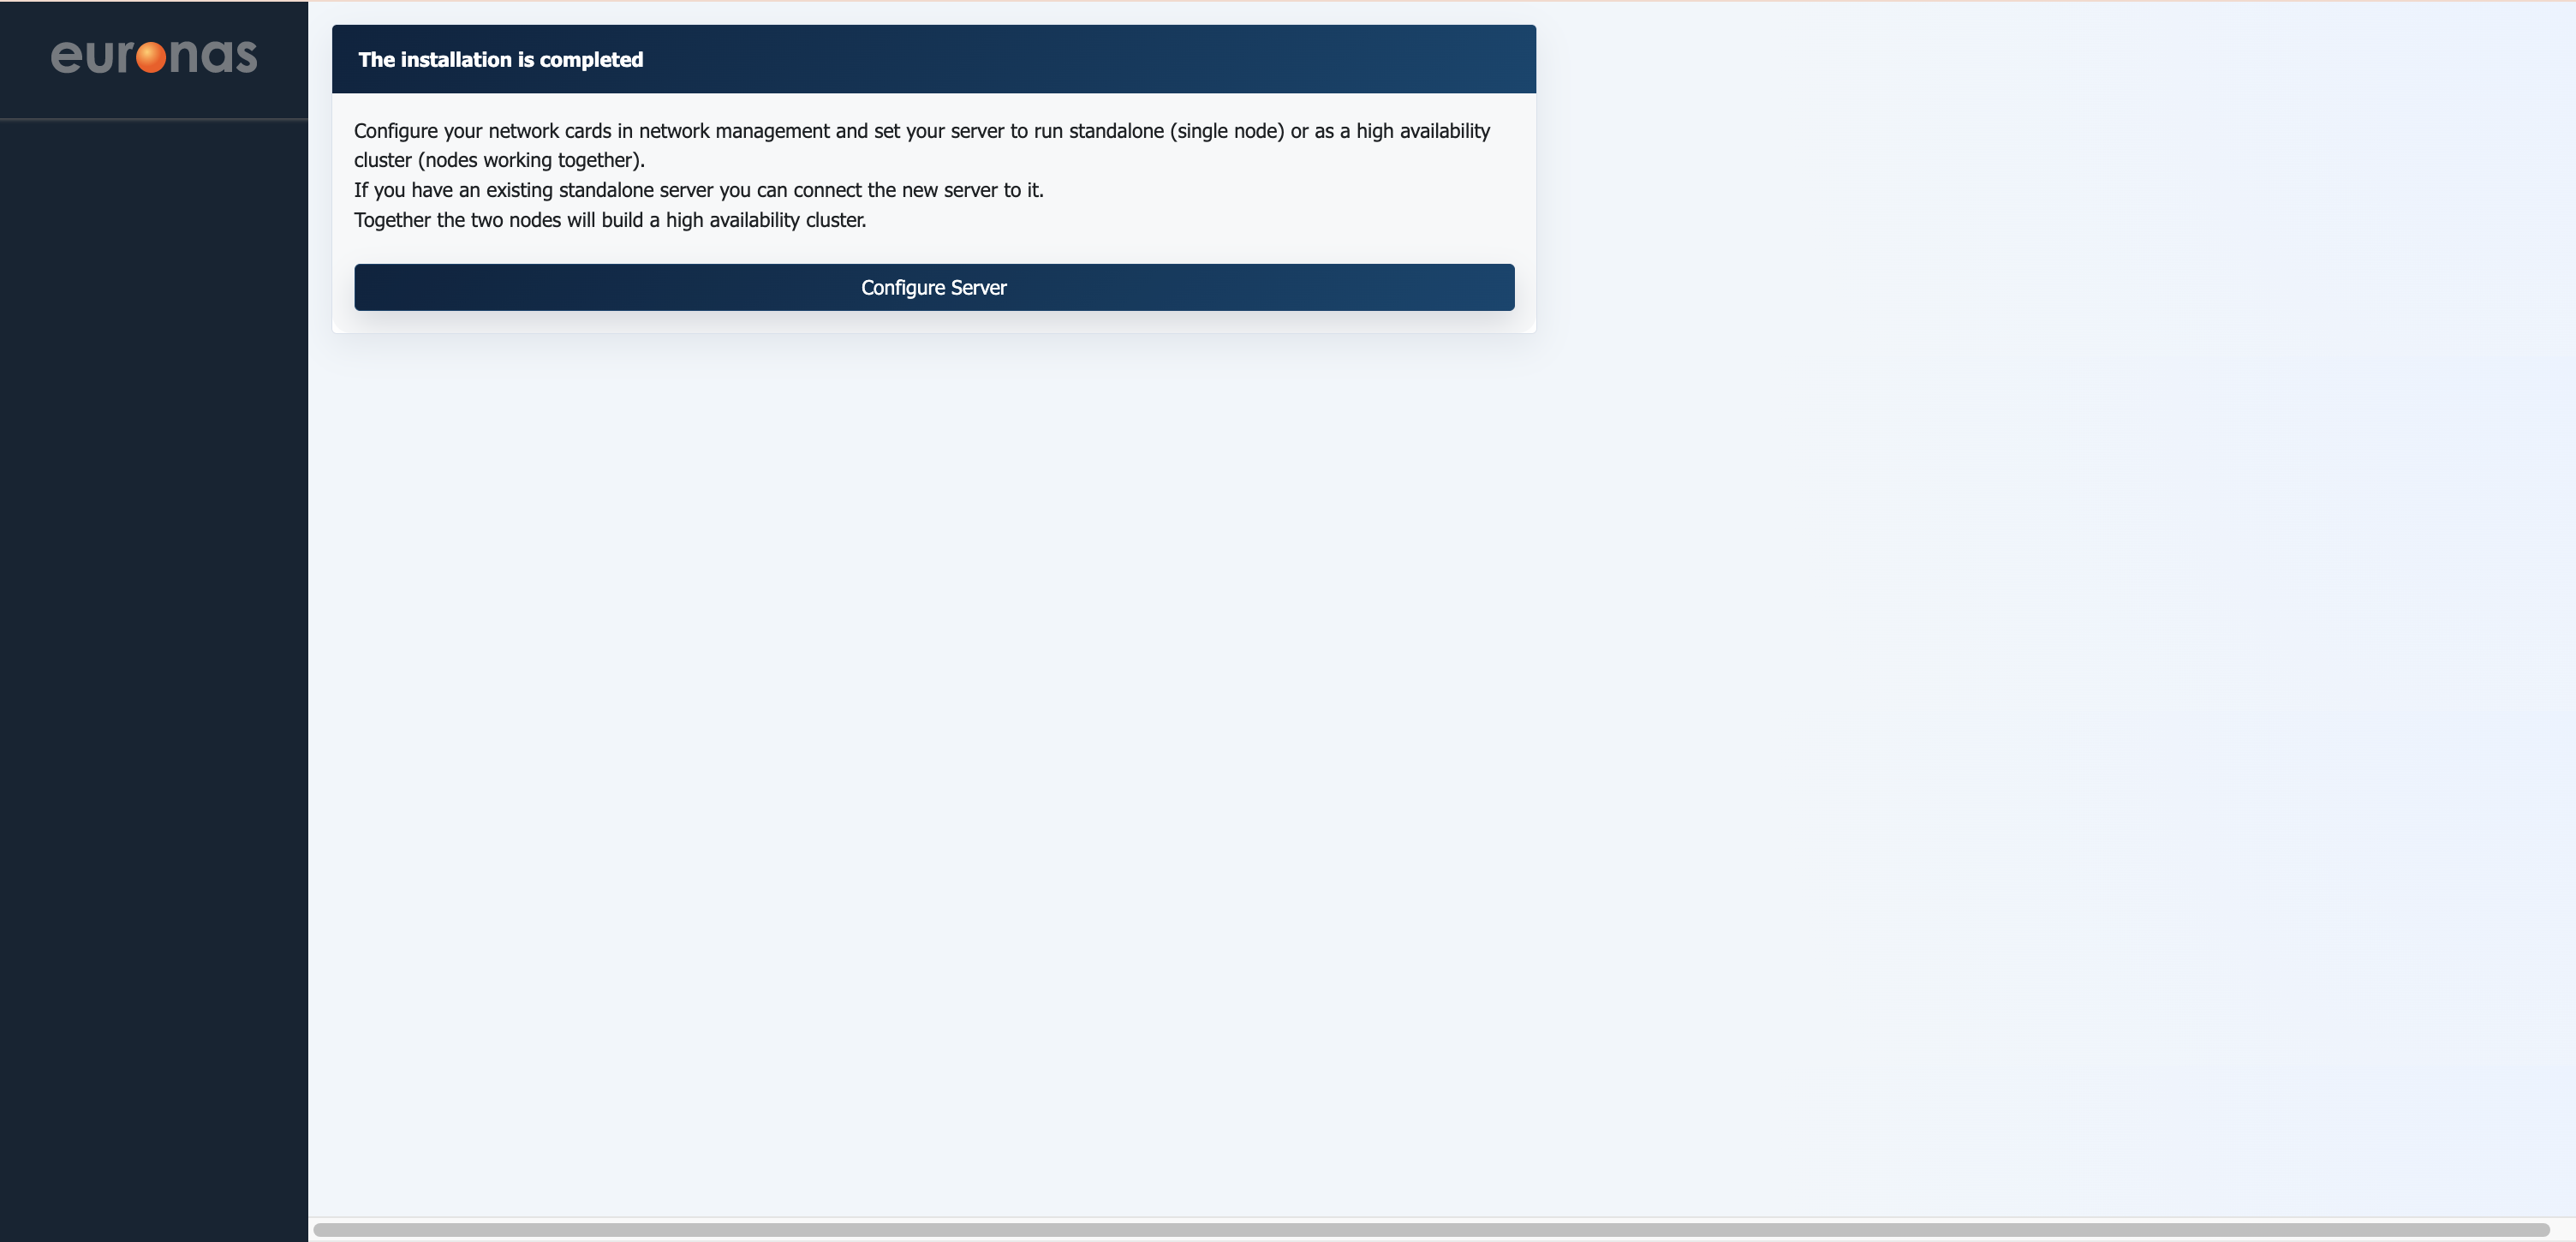
The base installation is now complete and storage mode confirmed. Select Configure Server to proceed.

Upon completion of the initial setup, you will be presented with the Server Configuration screen, where the role of the node is defined.
Three options are available:
- Standalone – Configures the server as an independent system with no cluster membership. A cluster can be created later by adding additional nodes.
- Create Cluster – Initiates the creation of a new high availability cluster, typically starting with two nodes that will operate together and share data.
- Join Existing Cluster – Adds this server to an already configured cluster.
For this guide, select Create Cluster to begin configuring a dual-node high availability environment.

From the Create Cluster window, select the Dual Node Cluster option (far left). This initiates the configuration of a two-node high availability cluster, where both servers operate together to provide shared services and automatic failover.
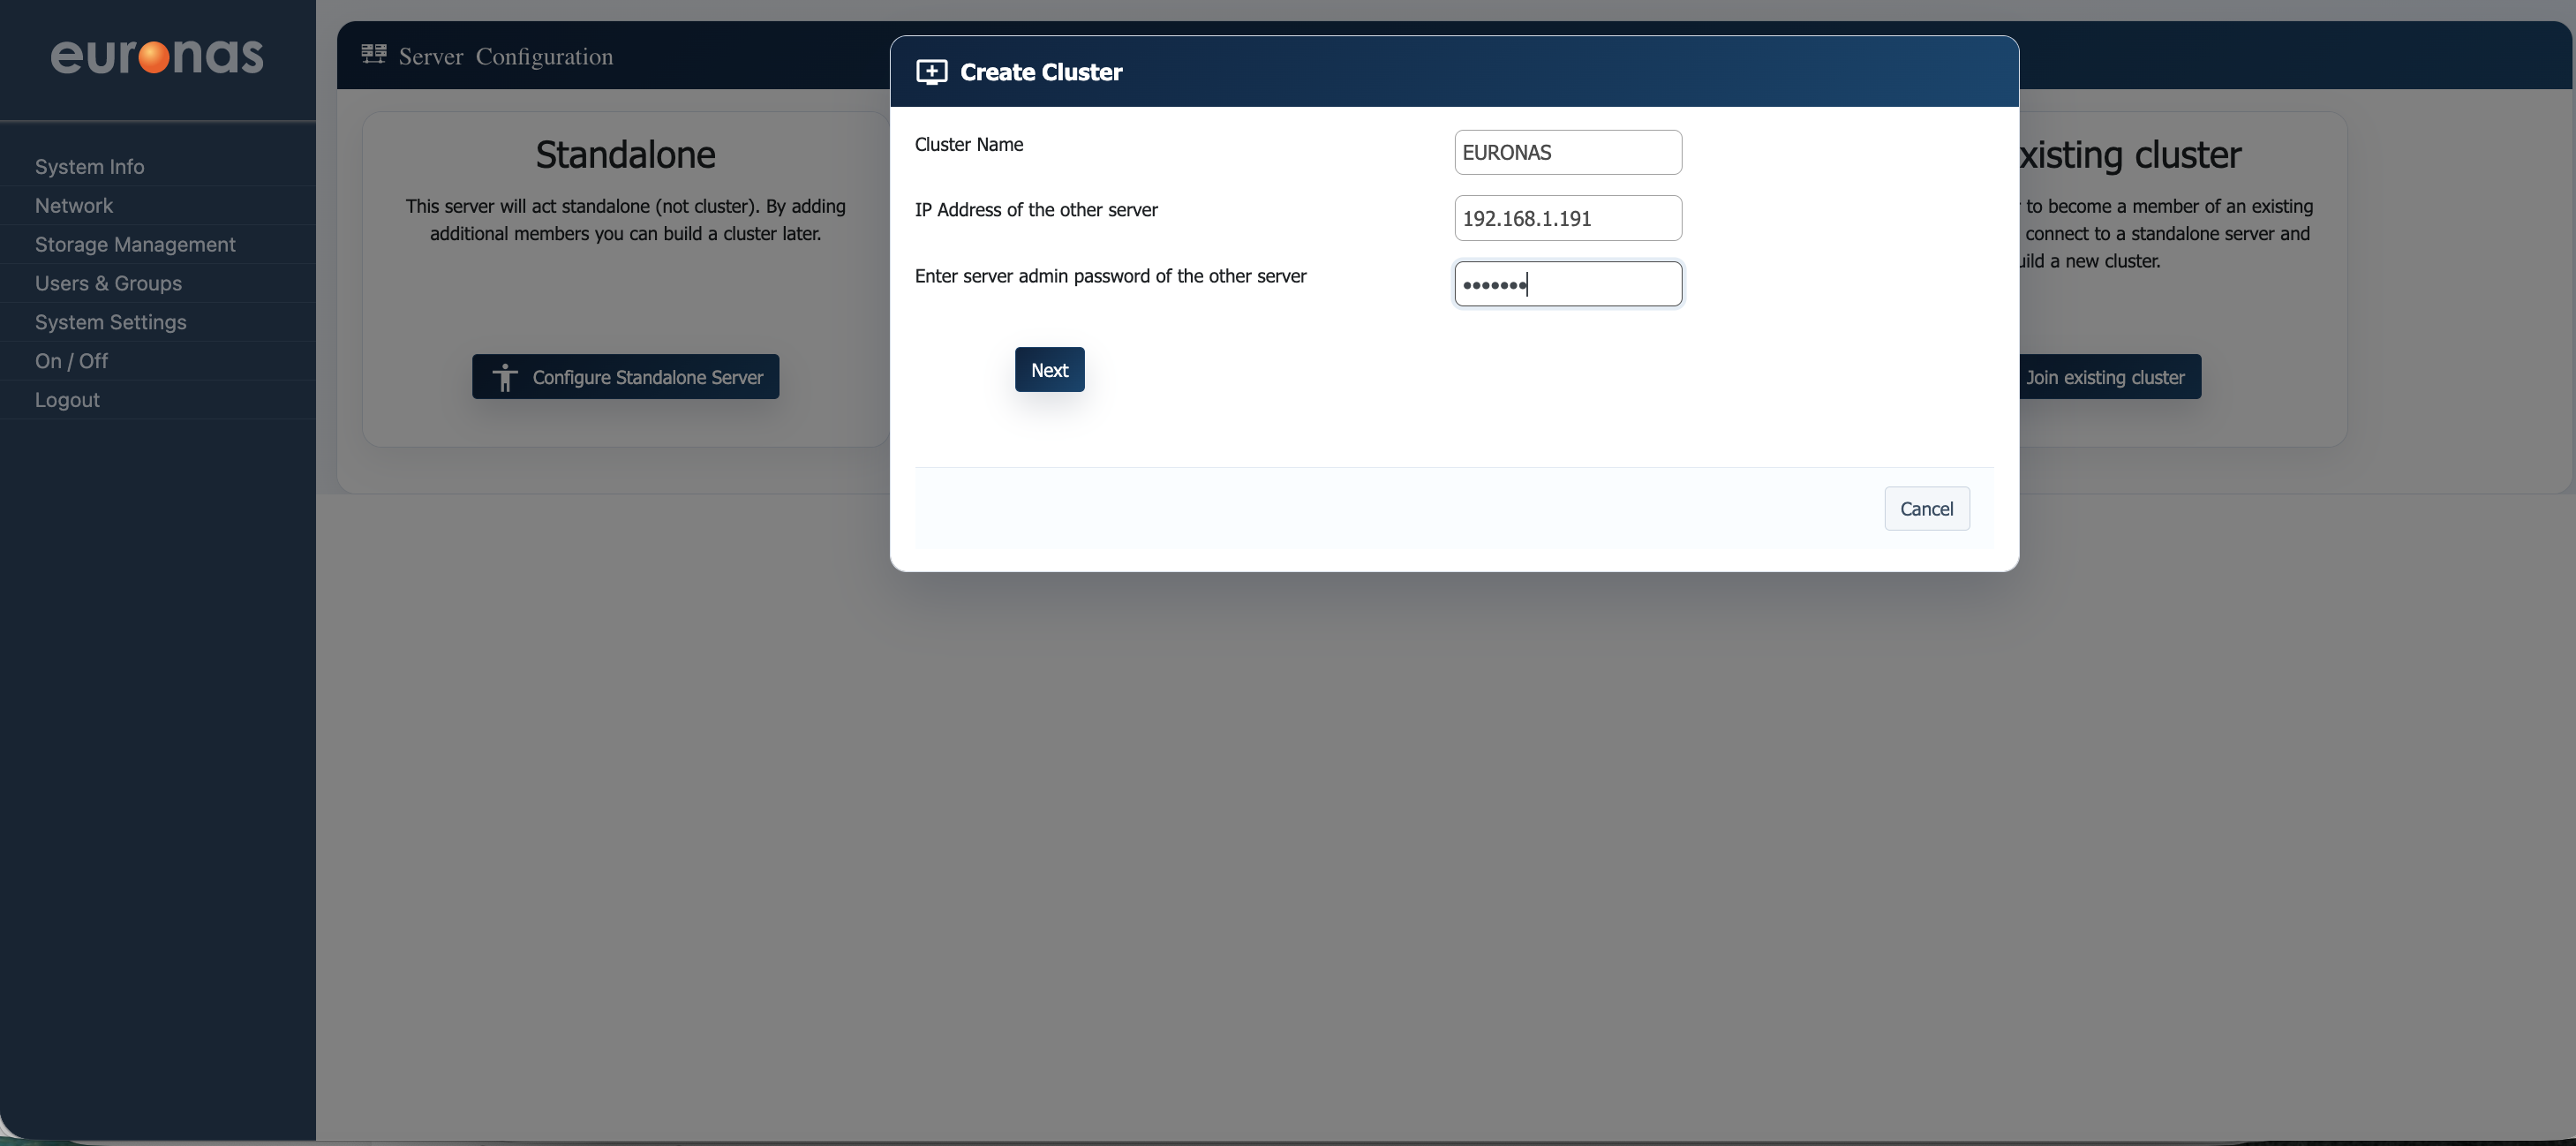
After selecting Create Cluster, the cluster configuration window will be displayed.

In this step, you can define the core cluster parameters:
- Cluster Name – A logical name for the cluster (e.g. EURONAS).
- IP Address of the other server – The management IP address of the second node.
- Admin Password of the other server – The administrator password for the second node, used to establish trust between both systems (admin / euronas).
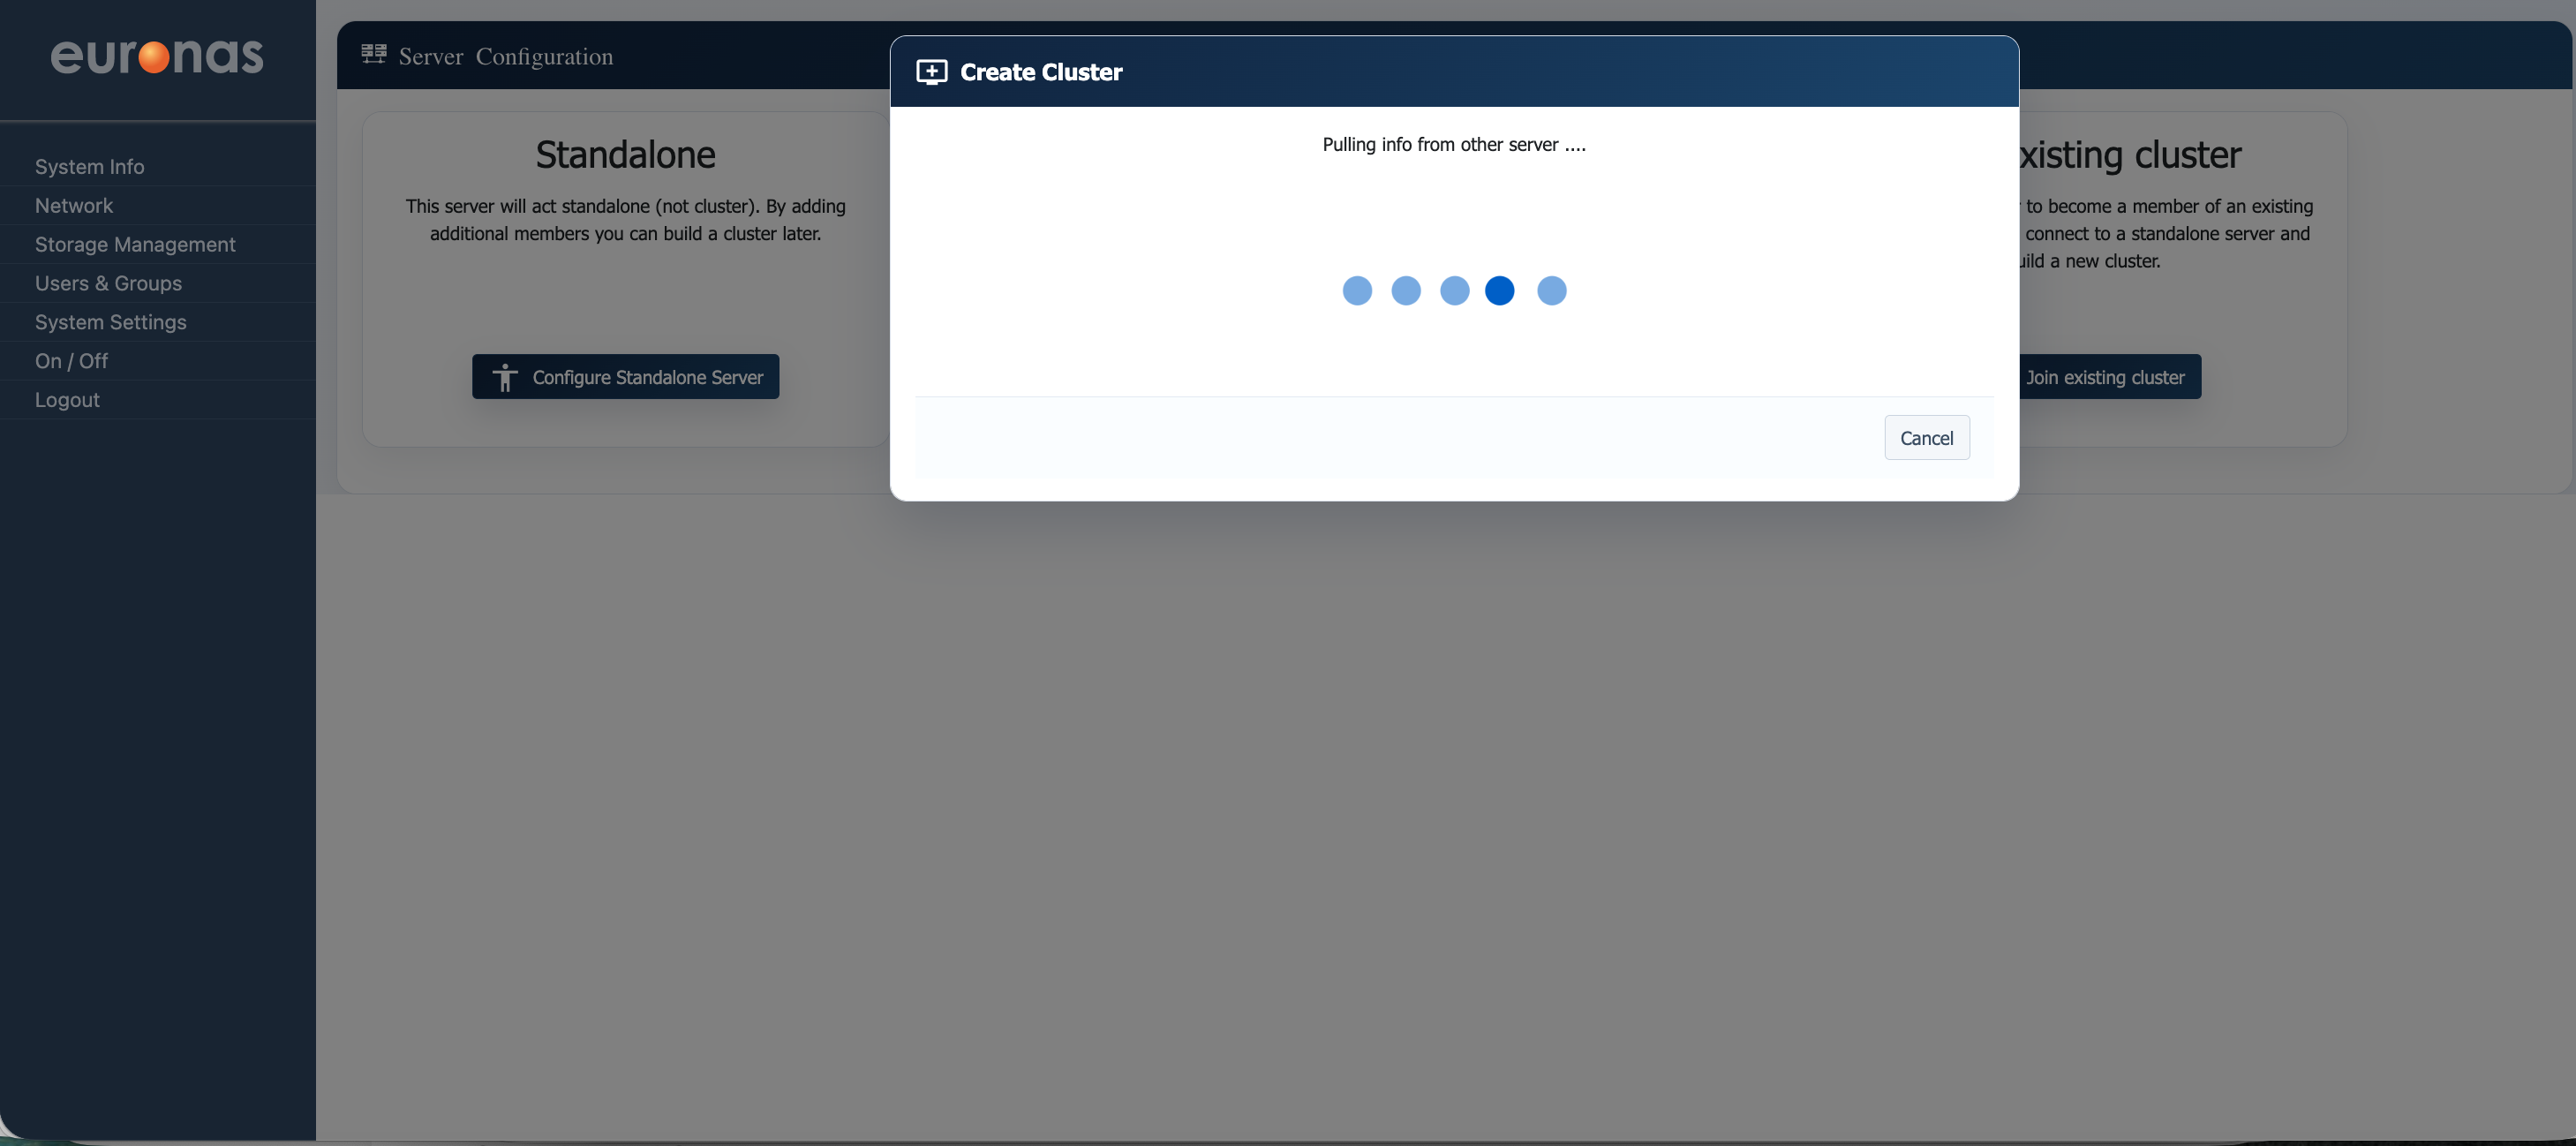
At this stage, the system is establishing communication with the second node and retrieving its configuration details. This process validates connectivity, exchanges required information, and prepares both nodes for cluster formation. No user input is required.
Once complete, the configuration will automatically proceed to the next step.
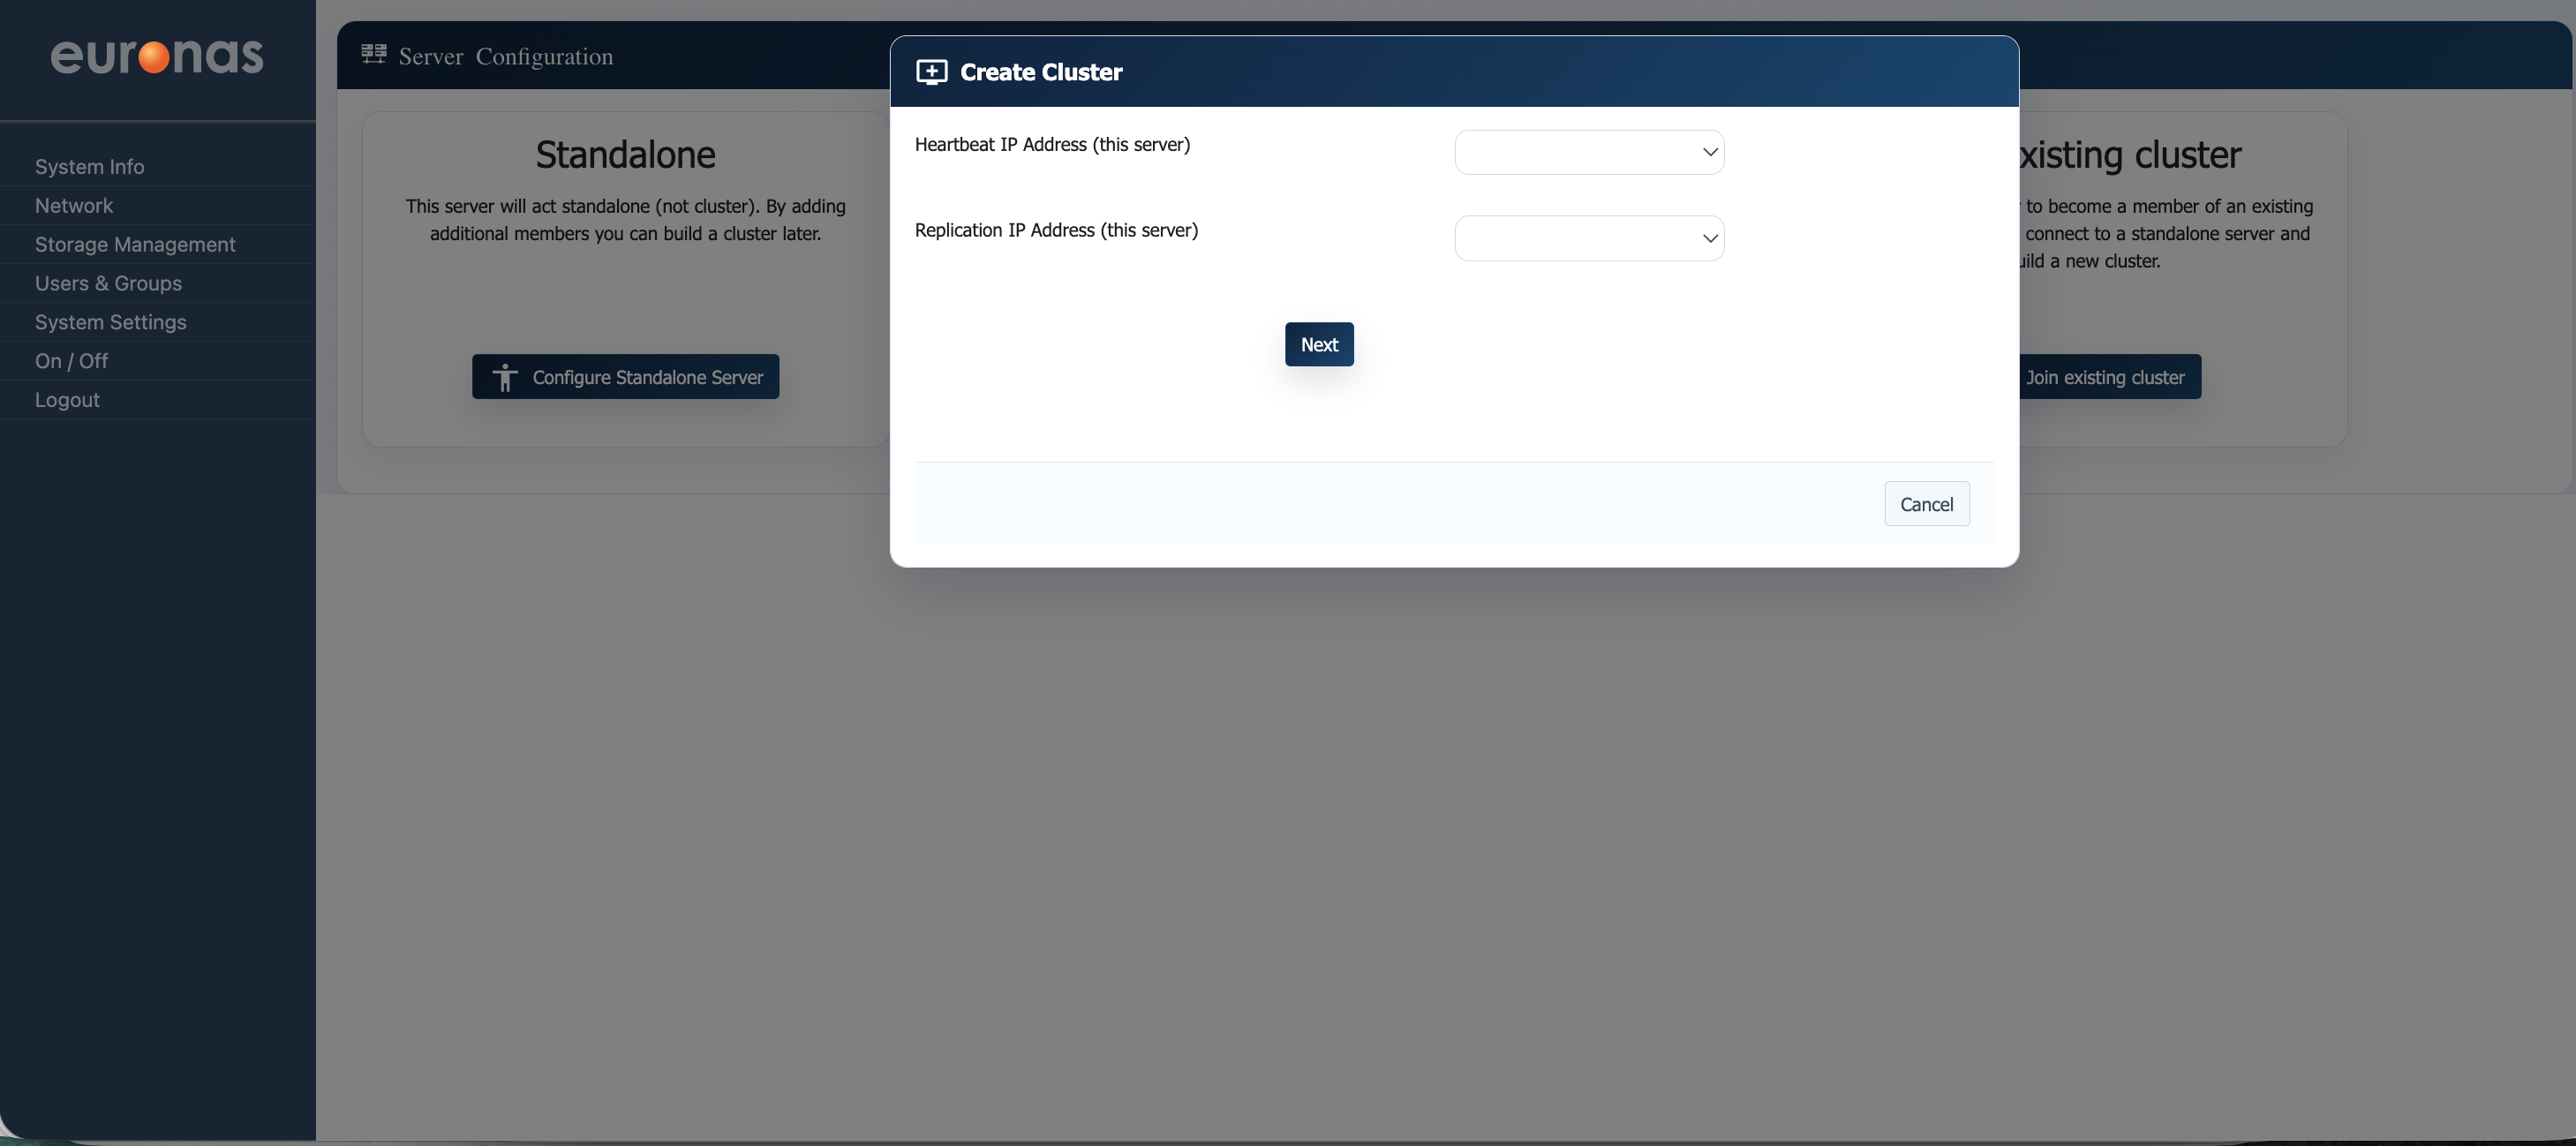
In this step, you must define the Heartbeat and Replication network interfaces for the cluster.
- Heartbeat IP Address – Used for node-to-node communication to monitor cluster health and detect failure conditions.
- Replication IP Address – Used for data synchronisation between nodes.
It is strongly recommended that both heartbeat and replication networks are configured on dedicated interfaces, separate from the management network. This ensures consistent latency, avoids network contention, and improves overall cluster stability and failover reliability.
Select the appropriate interfaces for each function, then click Next to continue.

Select the appropriate interfaces for each function, then click Next to continue.
- Heartbeat IP Address (this server) – Select the interface used for cluster health monitoring and node communication.
- Replication IP Address (this server) – Select the interface used for data replication between nodes.
In this example, both functions are assigned to port1 (10.1.2.2). This is valid for simple or lab deployments.
For production environments, it is recommended to use separate dedicated interfaces for heartbeat and replication traffic to ensure predictable performance and improve failover reliability.
Once configured, select Next to continue.

In this step, you define the network interfaces for the second node in the cluster.
- Heartbeat IP Address (other server) – The interface used by the second node for cluster communication and health monitoring.
- Replication IP Address (other server) – The interface used by the second node for data synchronisation.
In this example, both are assigned to port1 (10.1.2.3).
As with the primary node, it is recommended in production environments to use dedicated interfaces for heartbeat and replication traffic to ensure consistent performance and reliable failover.
Select Next to continue.
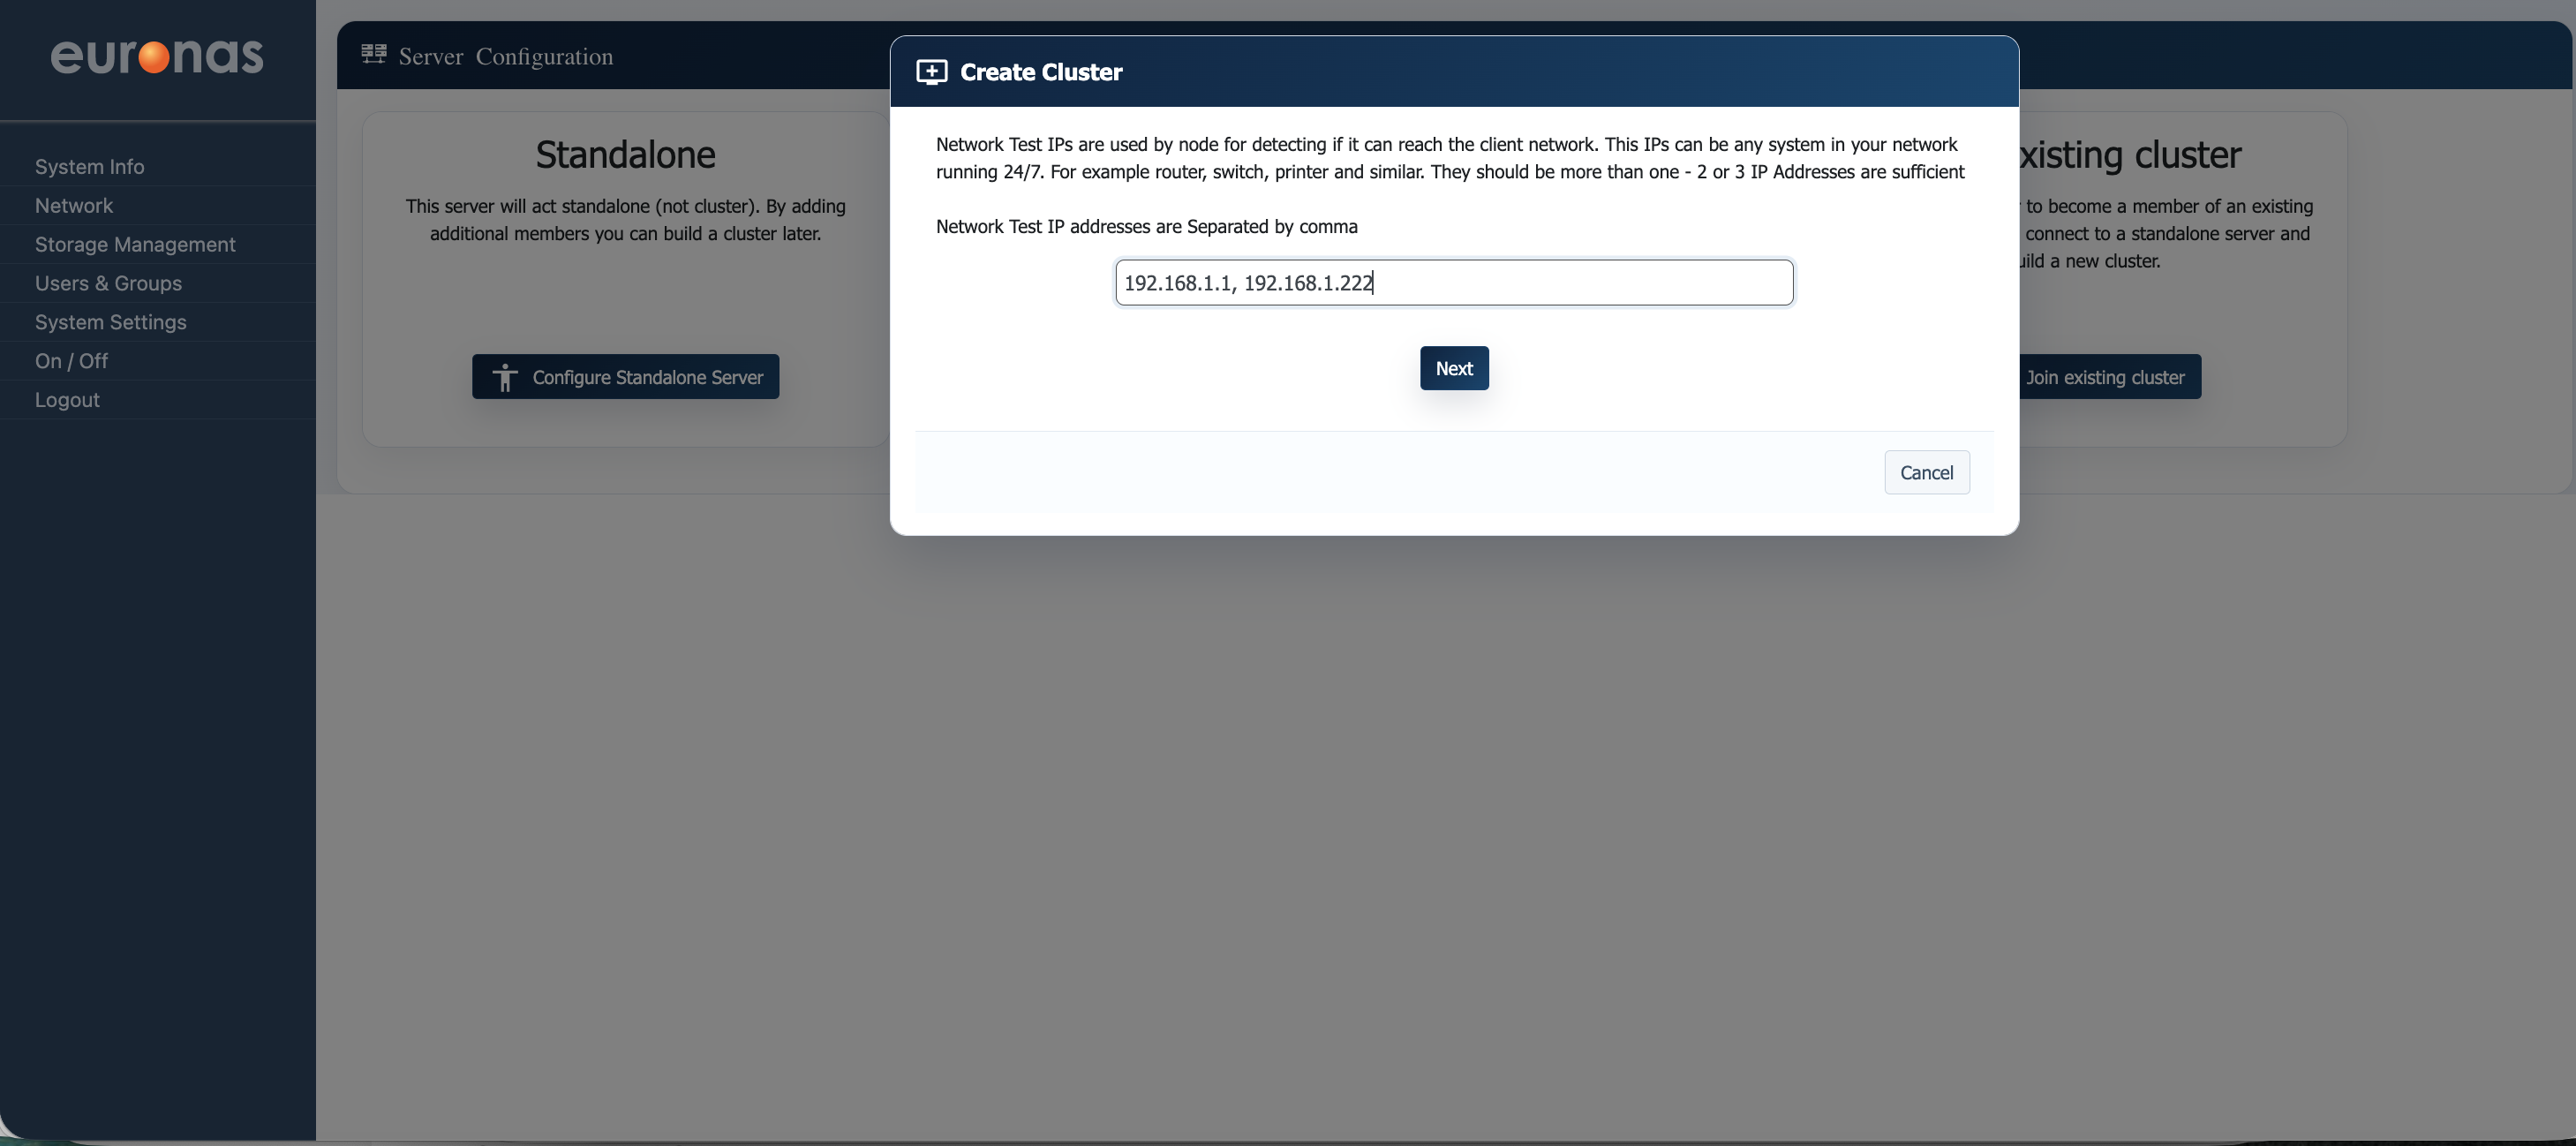
In this step, you define the Network Test IPs used by the cluster to verify external network connectivity.
- Network Test IP Addresses – Enter one or more IP addresses (comma-separated) that are always reachable on your network (e.g. router, switch, or other always-on device).
These IPs are used by the cluster to determine whether a node has lost network connectivity, helping to make accurate failover decisions.
It is recommended to specify at least 2–3 reliable IP addresses to avoid false positives.
Once entered, select Next to continue.
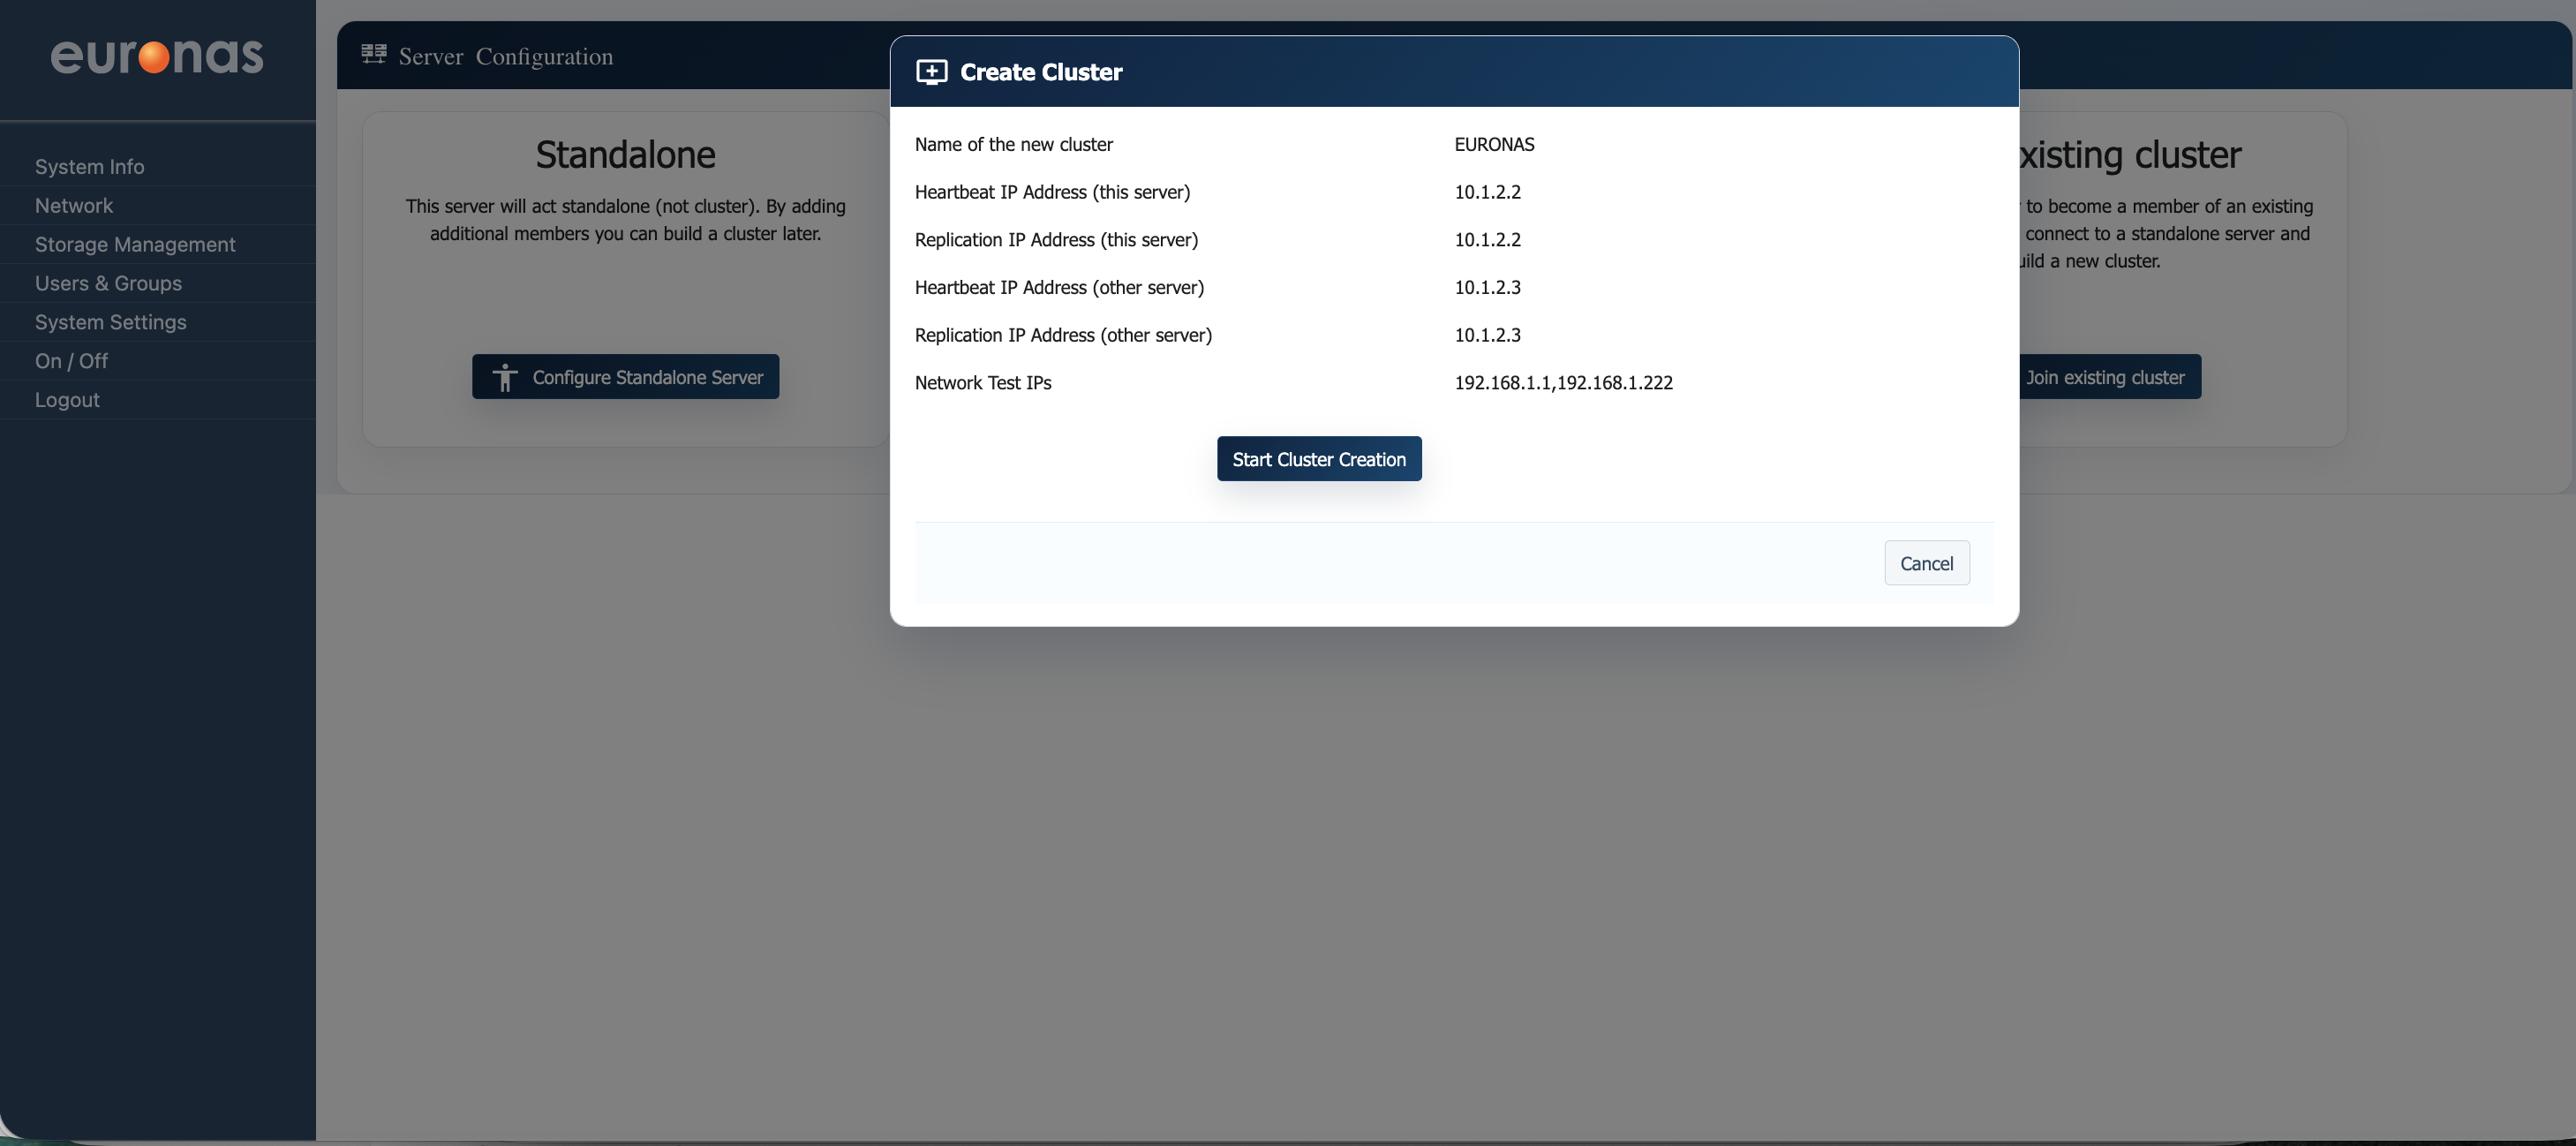
This screen provides a summary of the cluster configuration before deployment.
- Cluster Name – Logical name of the cluster.
- Heartbeat IPs (both nodes) – Interfaces used for cluster communication and health monitoring.
- Replication IPs (both nodes) – Interfaces used for data synchronisation.
- Network Test IPs – External IPs used to validate network connectivity.
Review all values carefully to ensure they are correct, particularly the IP assignments and network separation.
Once confirmed, select Start Cluster Creation to initiate the build of the high availability cluster.
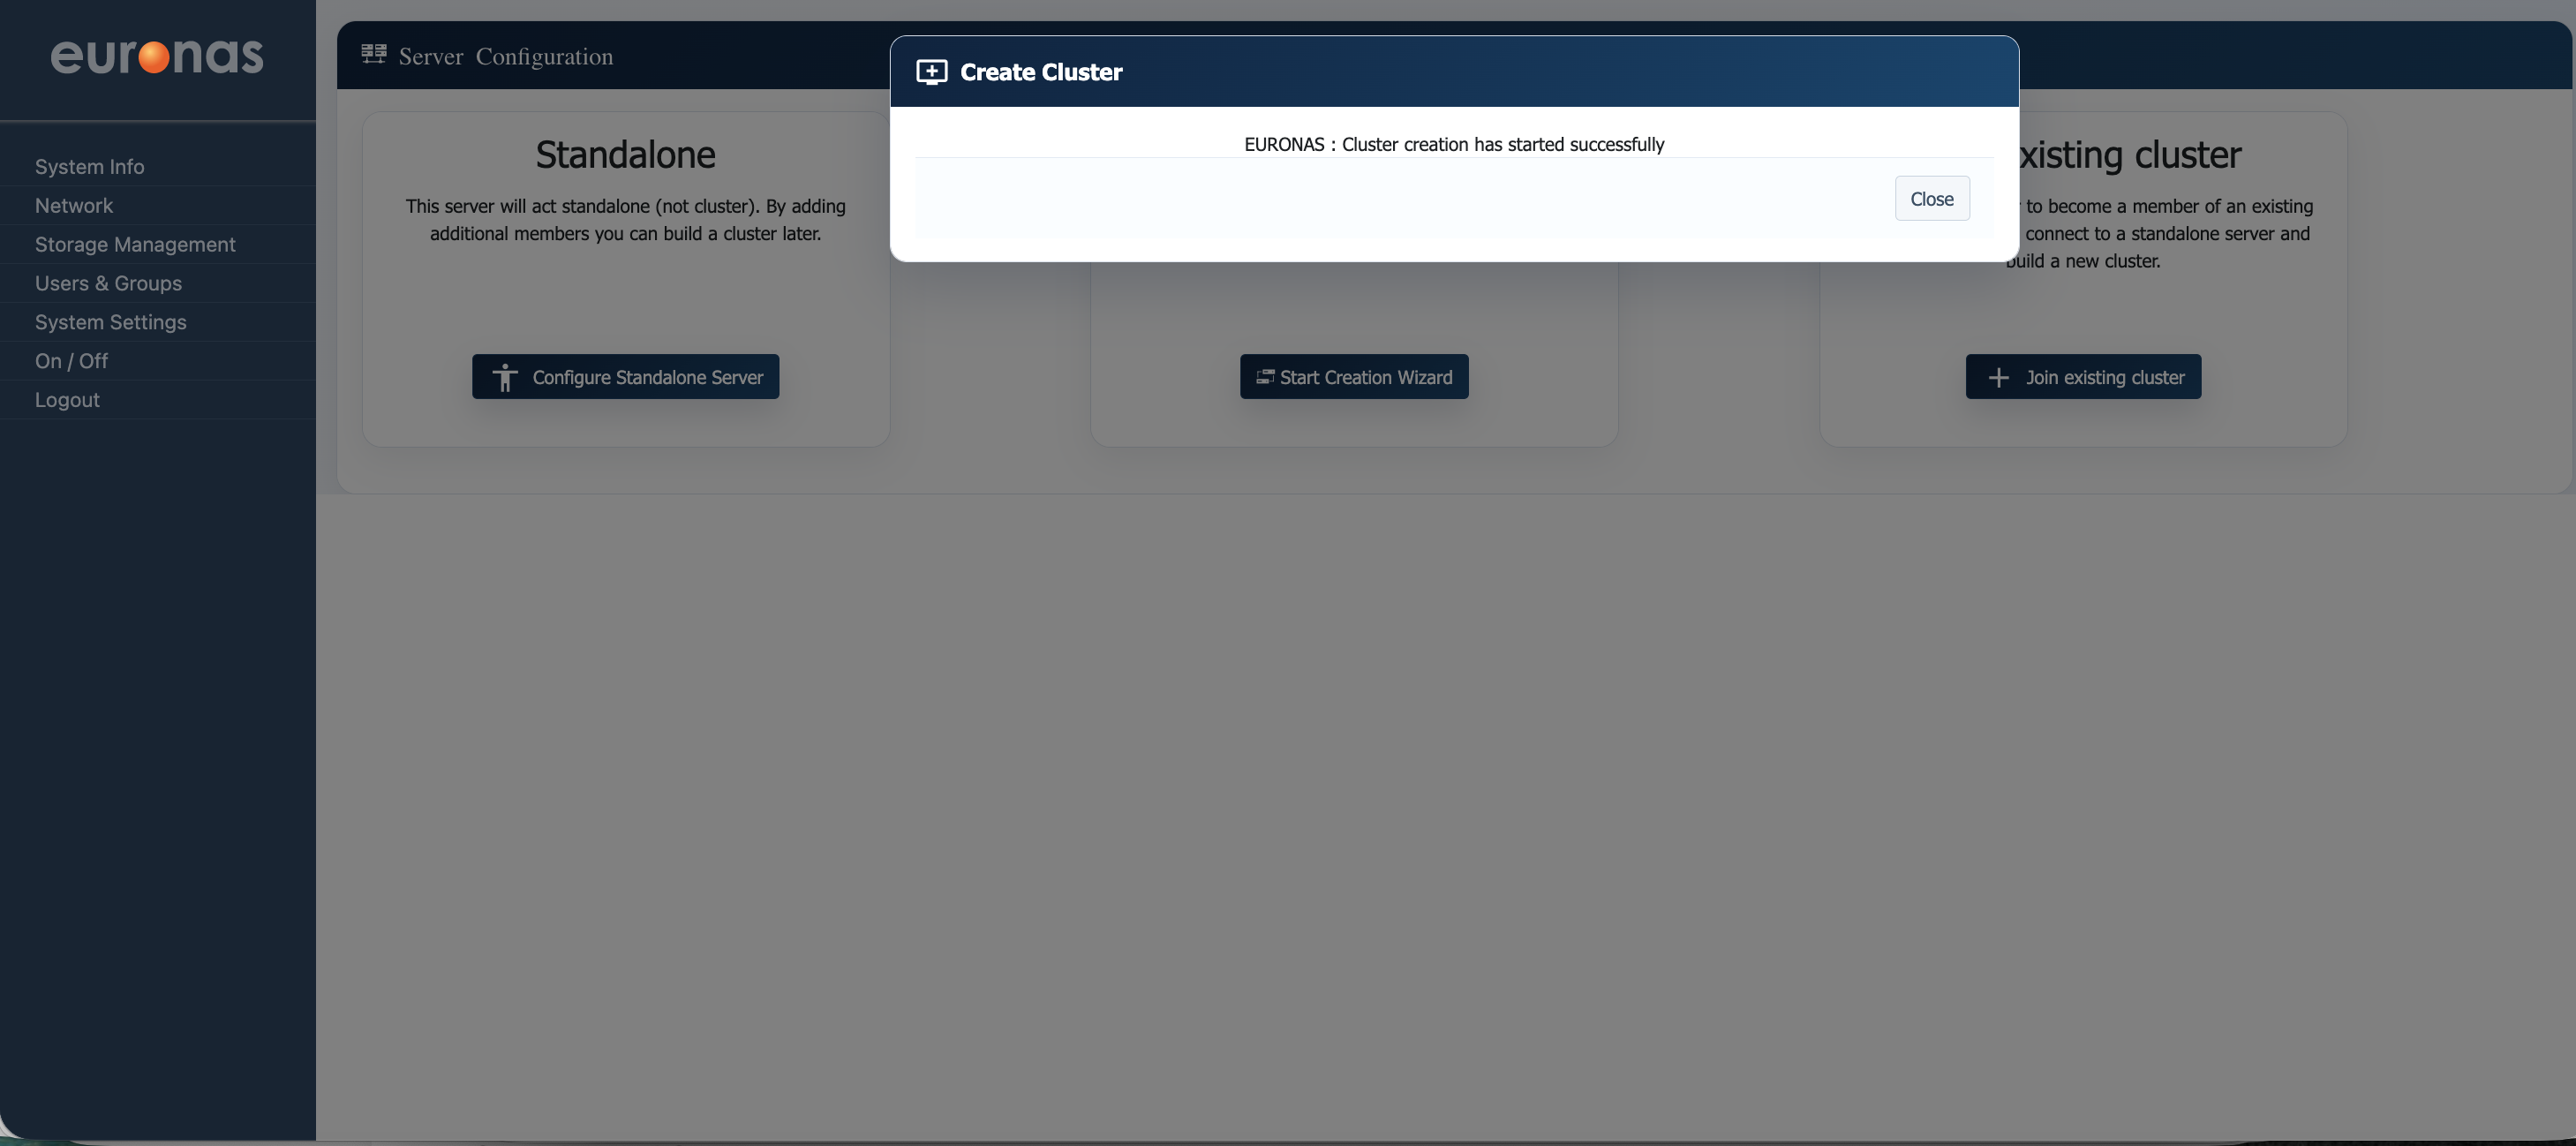
This screen confirms that the cluster creation process has been successfully initiated. At this point, both nodes are being configured and joined into a high availability cluster in the background.
Select Close to exit the wizard and return to the main interface, where the cluster status can be monitored.

At this stage, the system is configuring the cluster services across both nodes. Core components such as communication, replication, and failover mechanisms are being initialised and synchronised. This process may take several minutes depending on system performance and network conditions.
No user input is required. Once complete, the cluster will become active and ready for use.
At this stage, the system is finalising the cluster setup and preparing the management interface.The dashboard is being initialised to reflect the newly created cluster, including node status, services, and system health.
No user input is required. Once complete, the full cluster dashboard will be available for configuration and monitoring.
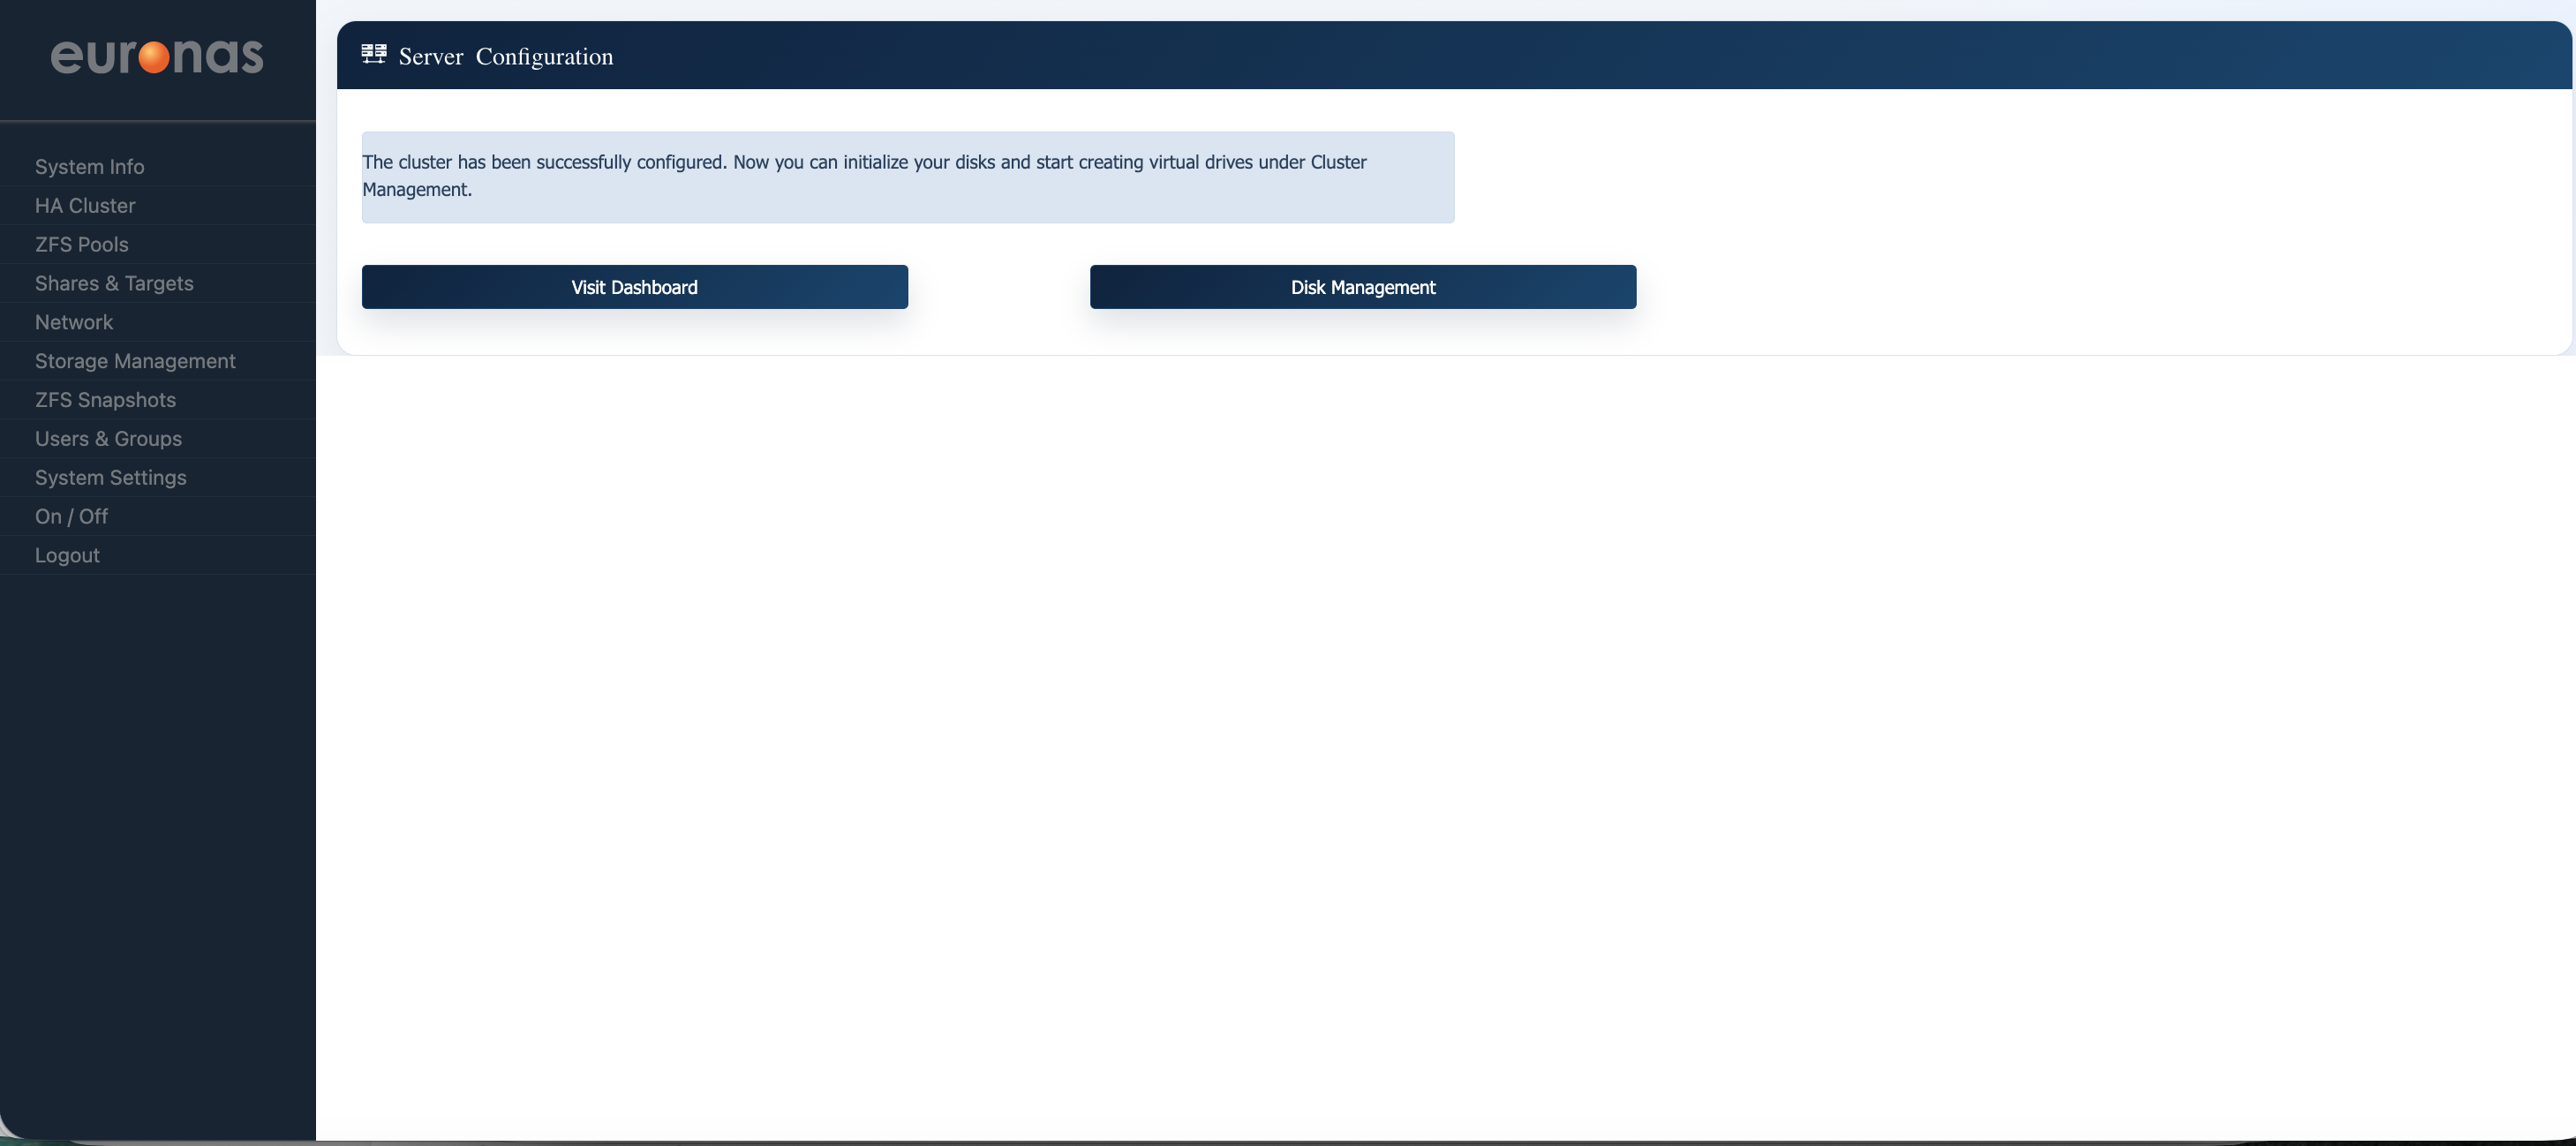
The cluster has now been successfully configured and is operational.
You can now proceed to:
- Disk Management – Initialise storage and configure disks across the cluster
- Dashboard – View cluster status, node health, and active services
At this stage, the high availability environment is ready for storage configuration and workload deployment.
Before configuring storage, select Visit Dashboard to verify that the cluster is healthy and all nodes are operating correctly.
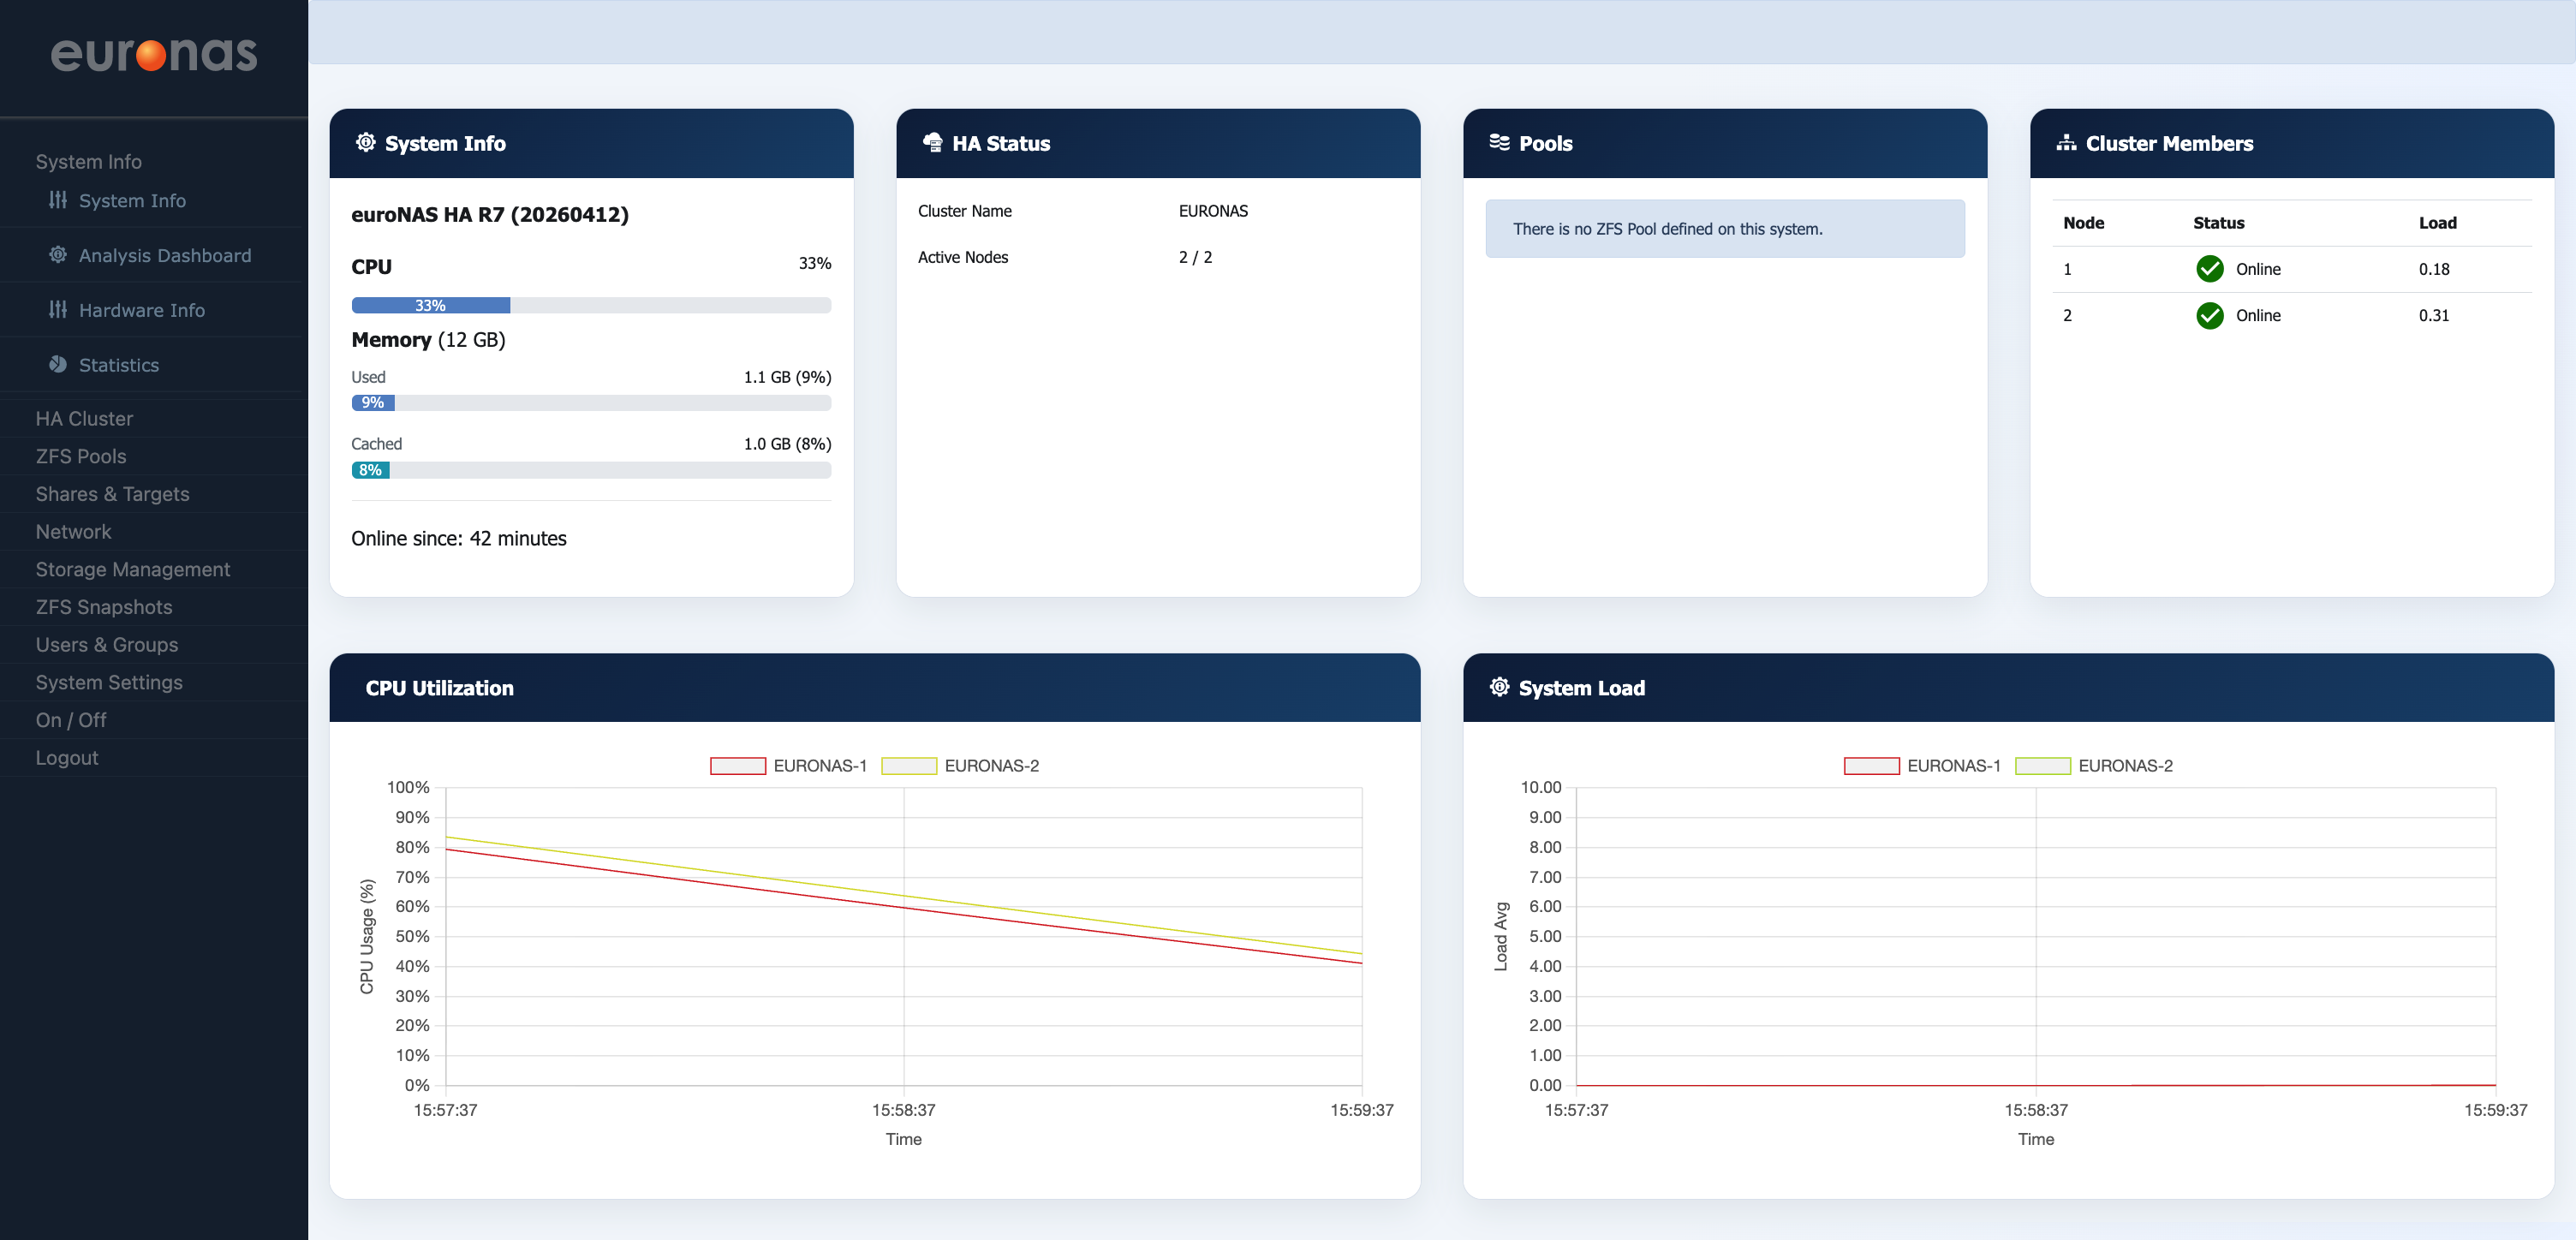
The dashboard confirms that the cluster has been successfully created and is operating correctly.
- HA Status shows both nodes are active (2/2)
- Cluster Members confirms both nodes are online
- System metrics (CPU, memory, load) indicate normal operation
At this stage, the cluster is healthy and ready for storage configuration.