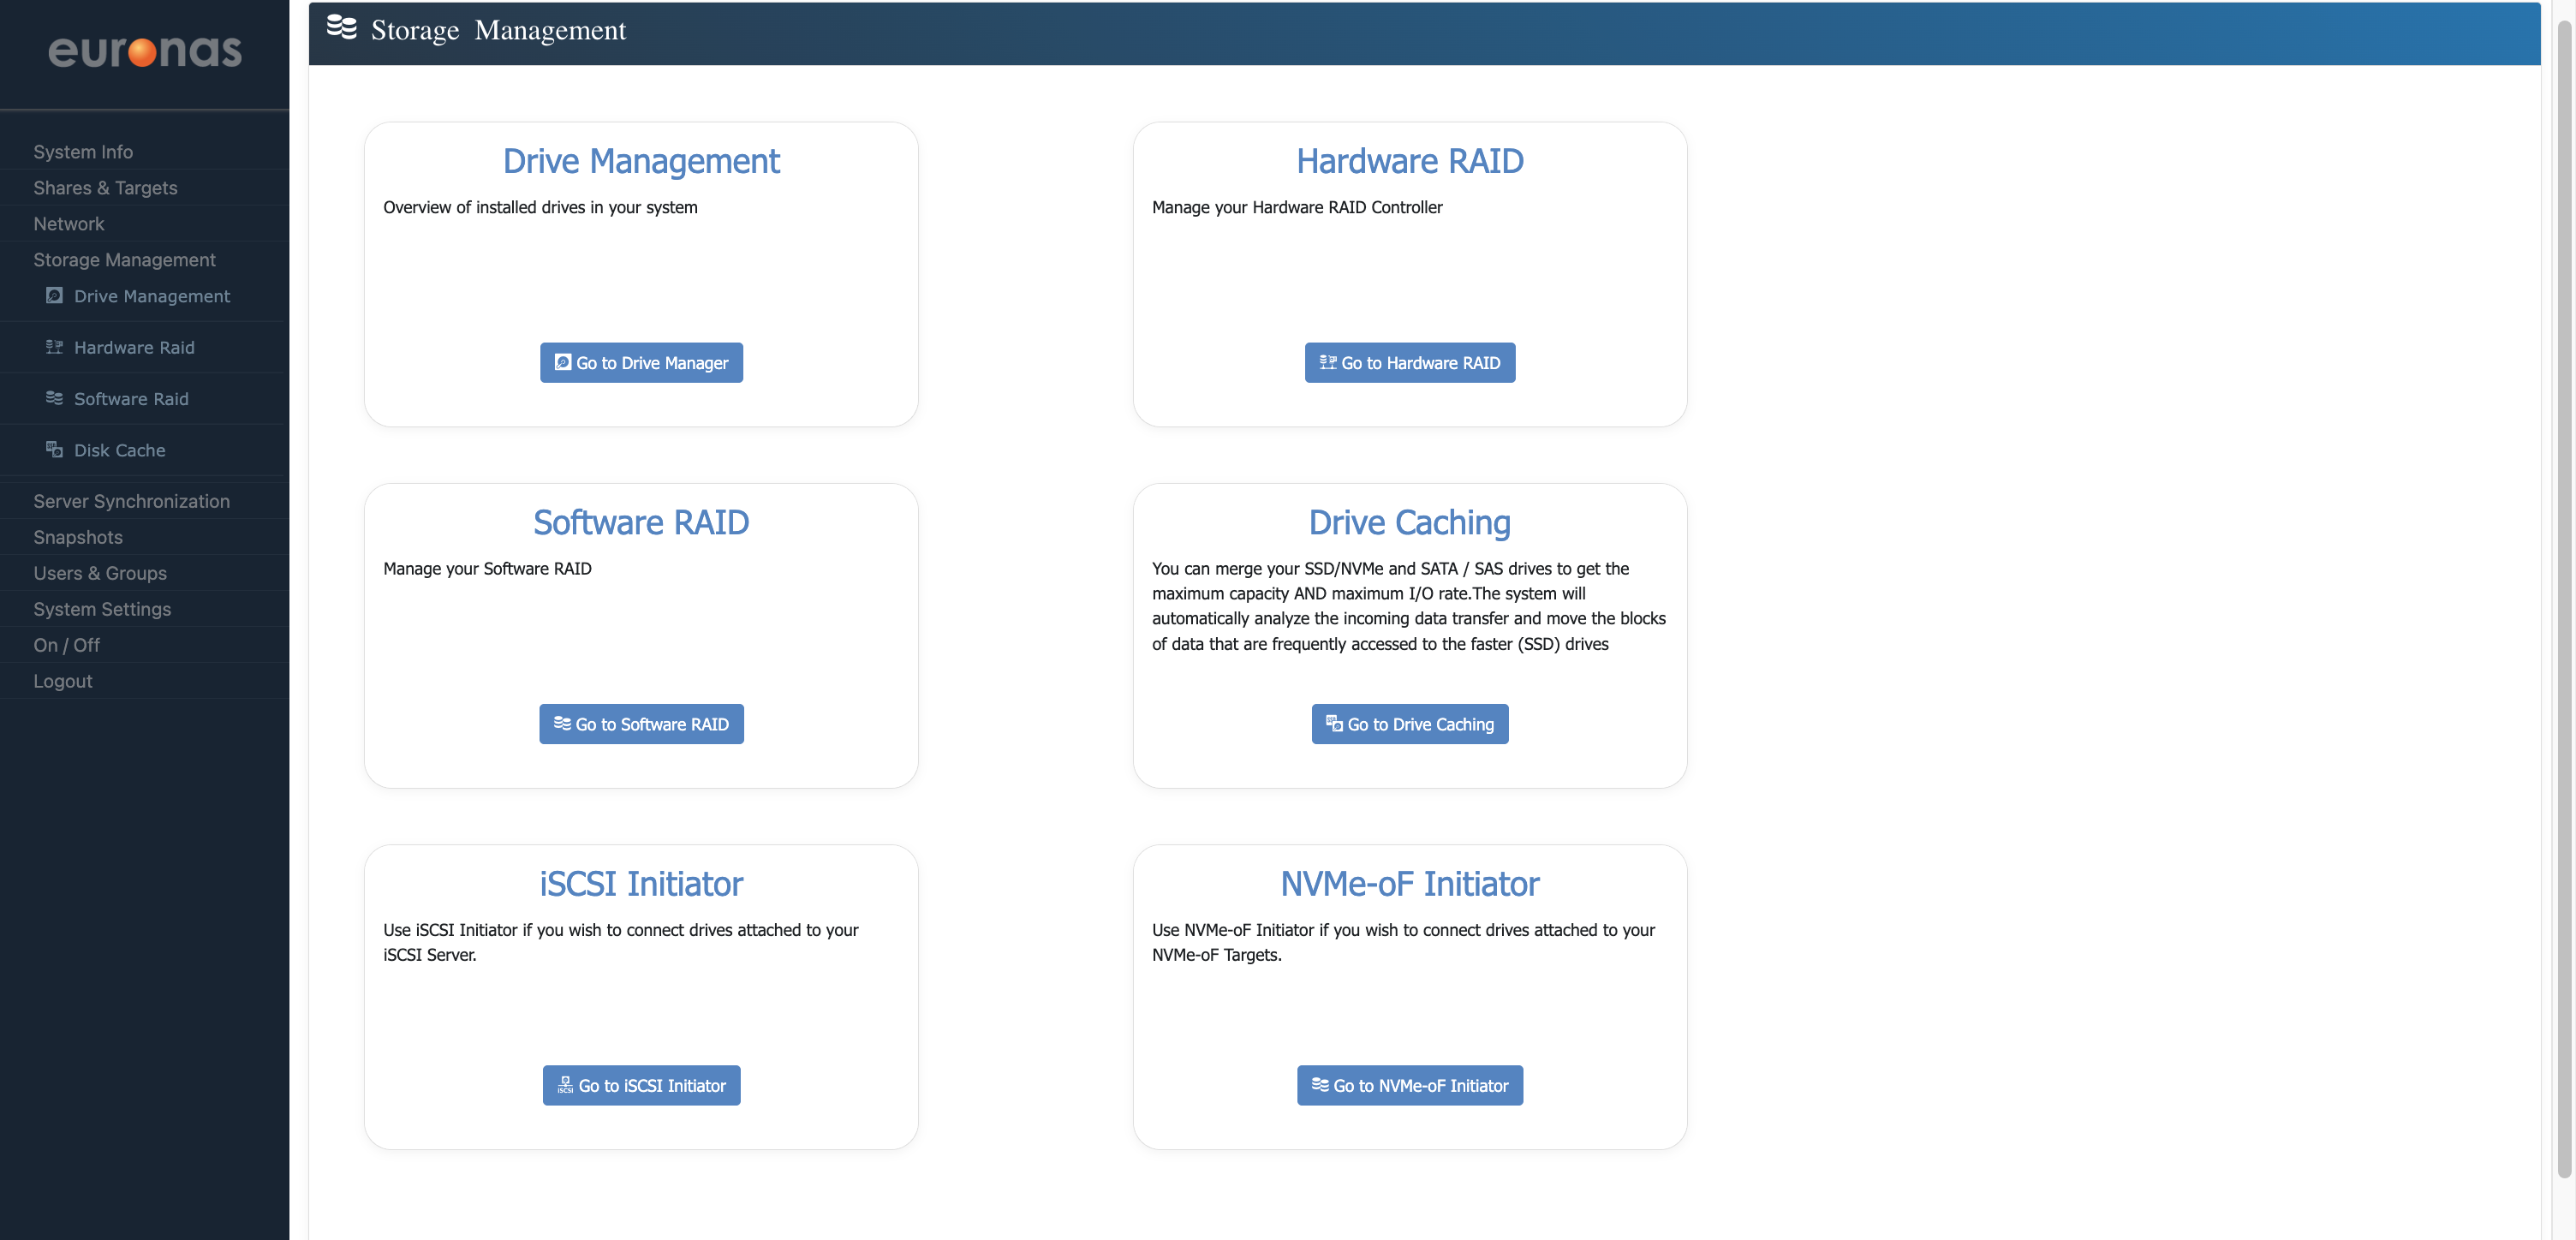
Storage Pool Creation and Configuration
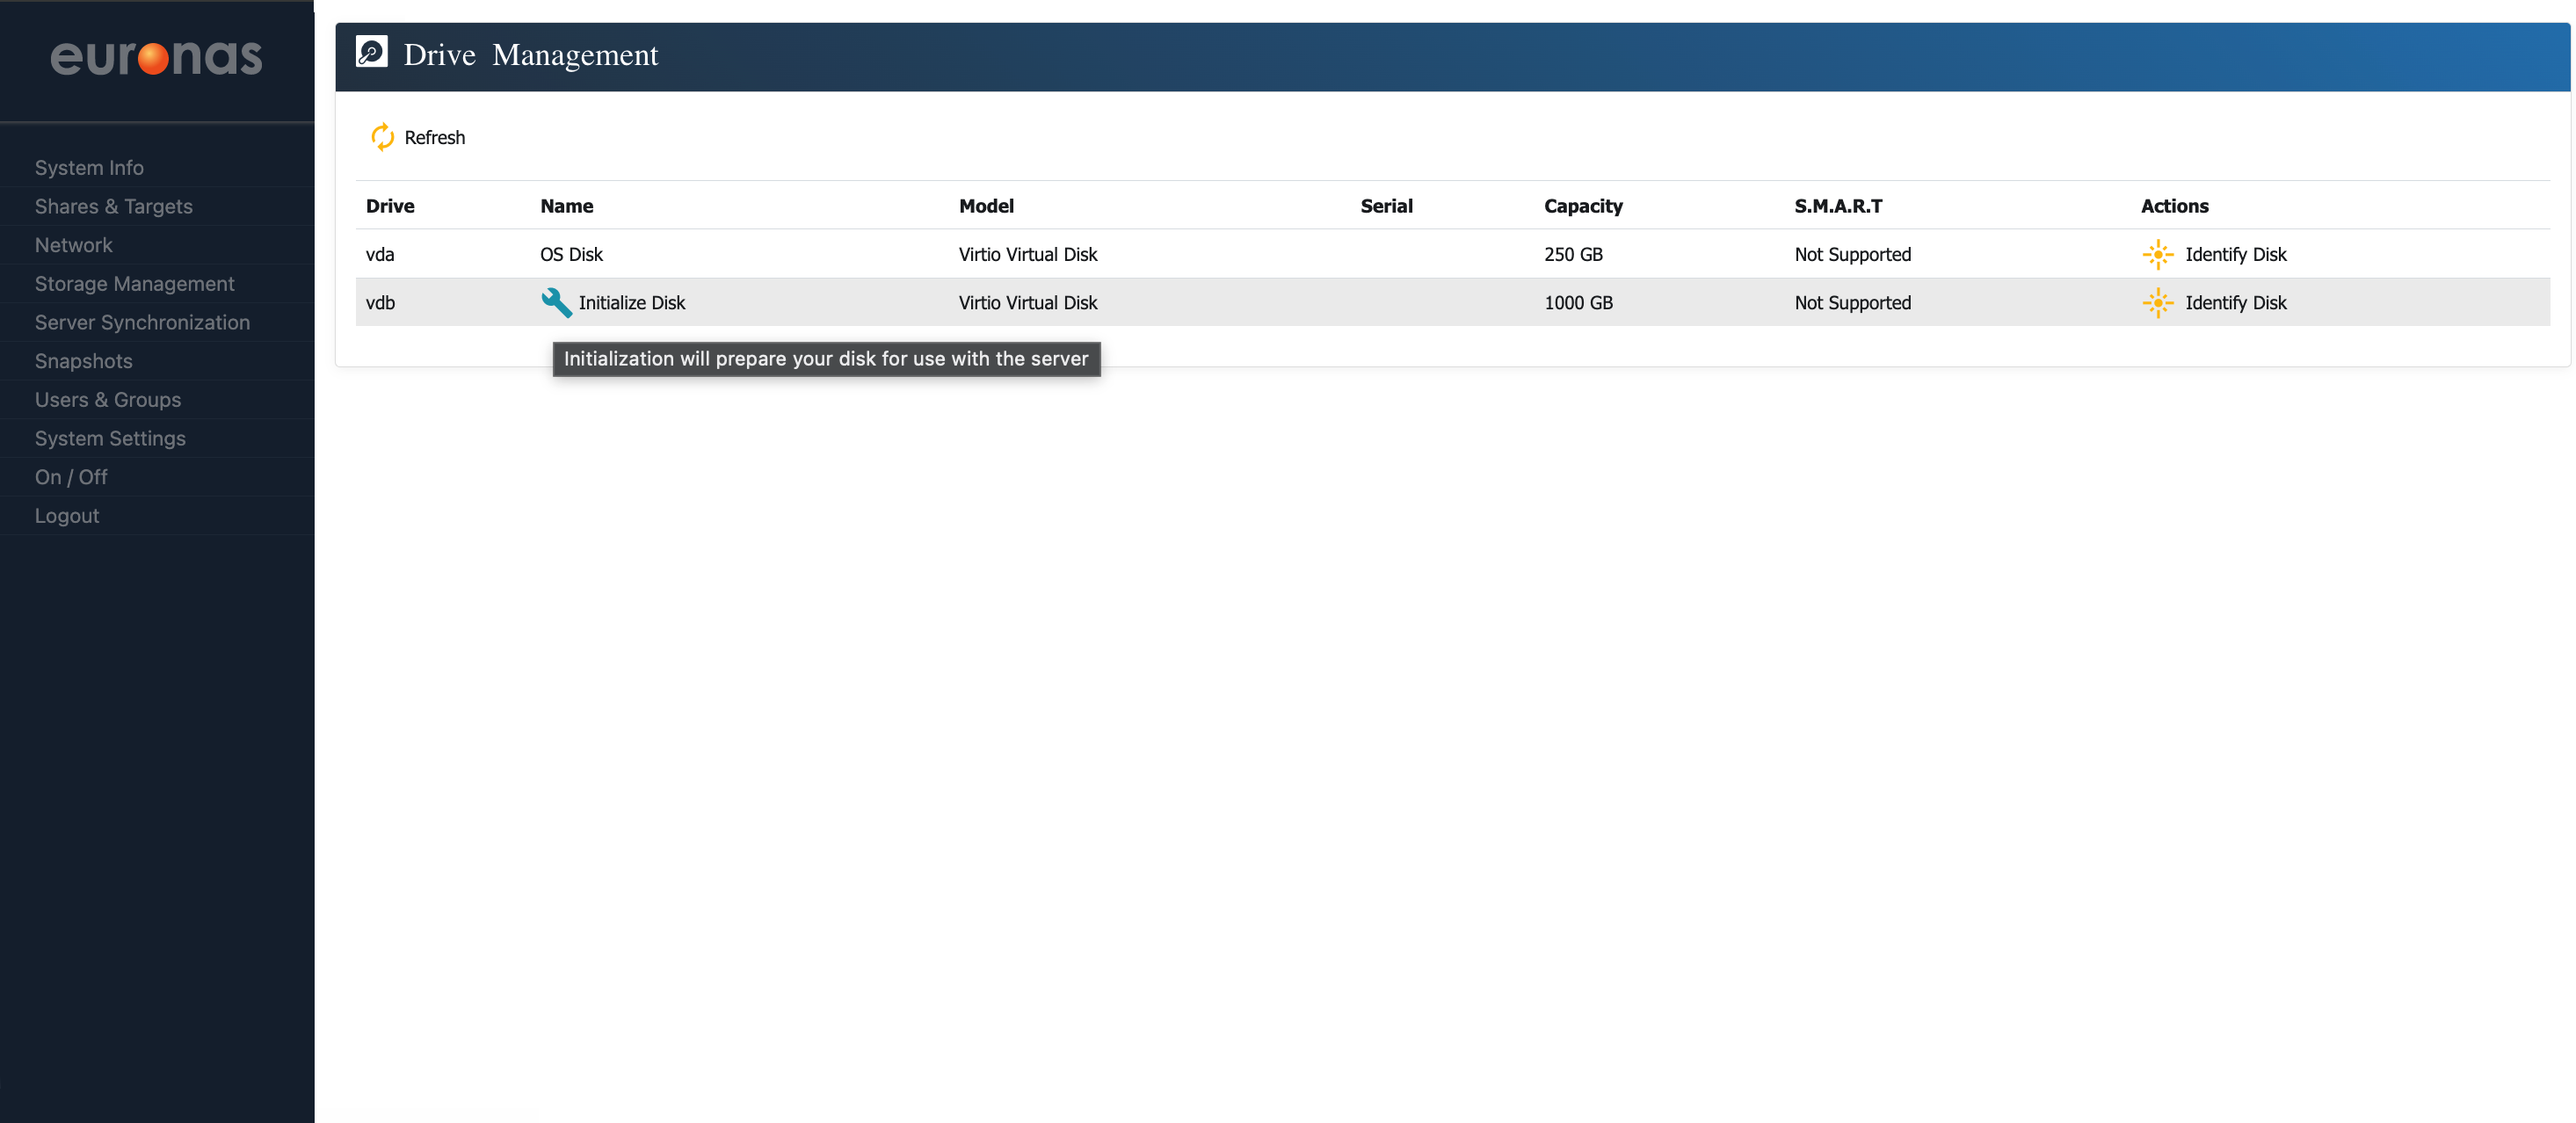
As shown on the screen, a 1 TB drive is available and ready for initialisation. Select the spanner icon to begin preparing and formatting the disk.
Depending on the deployment, storage can be configured using either hardware RAID or software RAID. This will be determined by the available hardware and the selected file system and storage architecture.
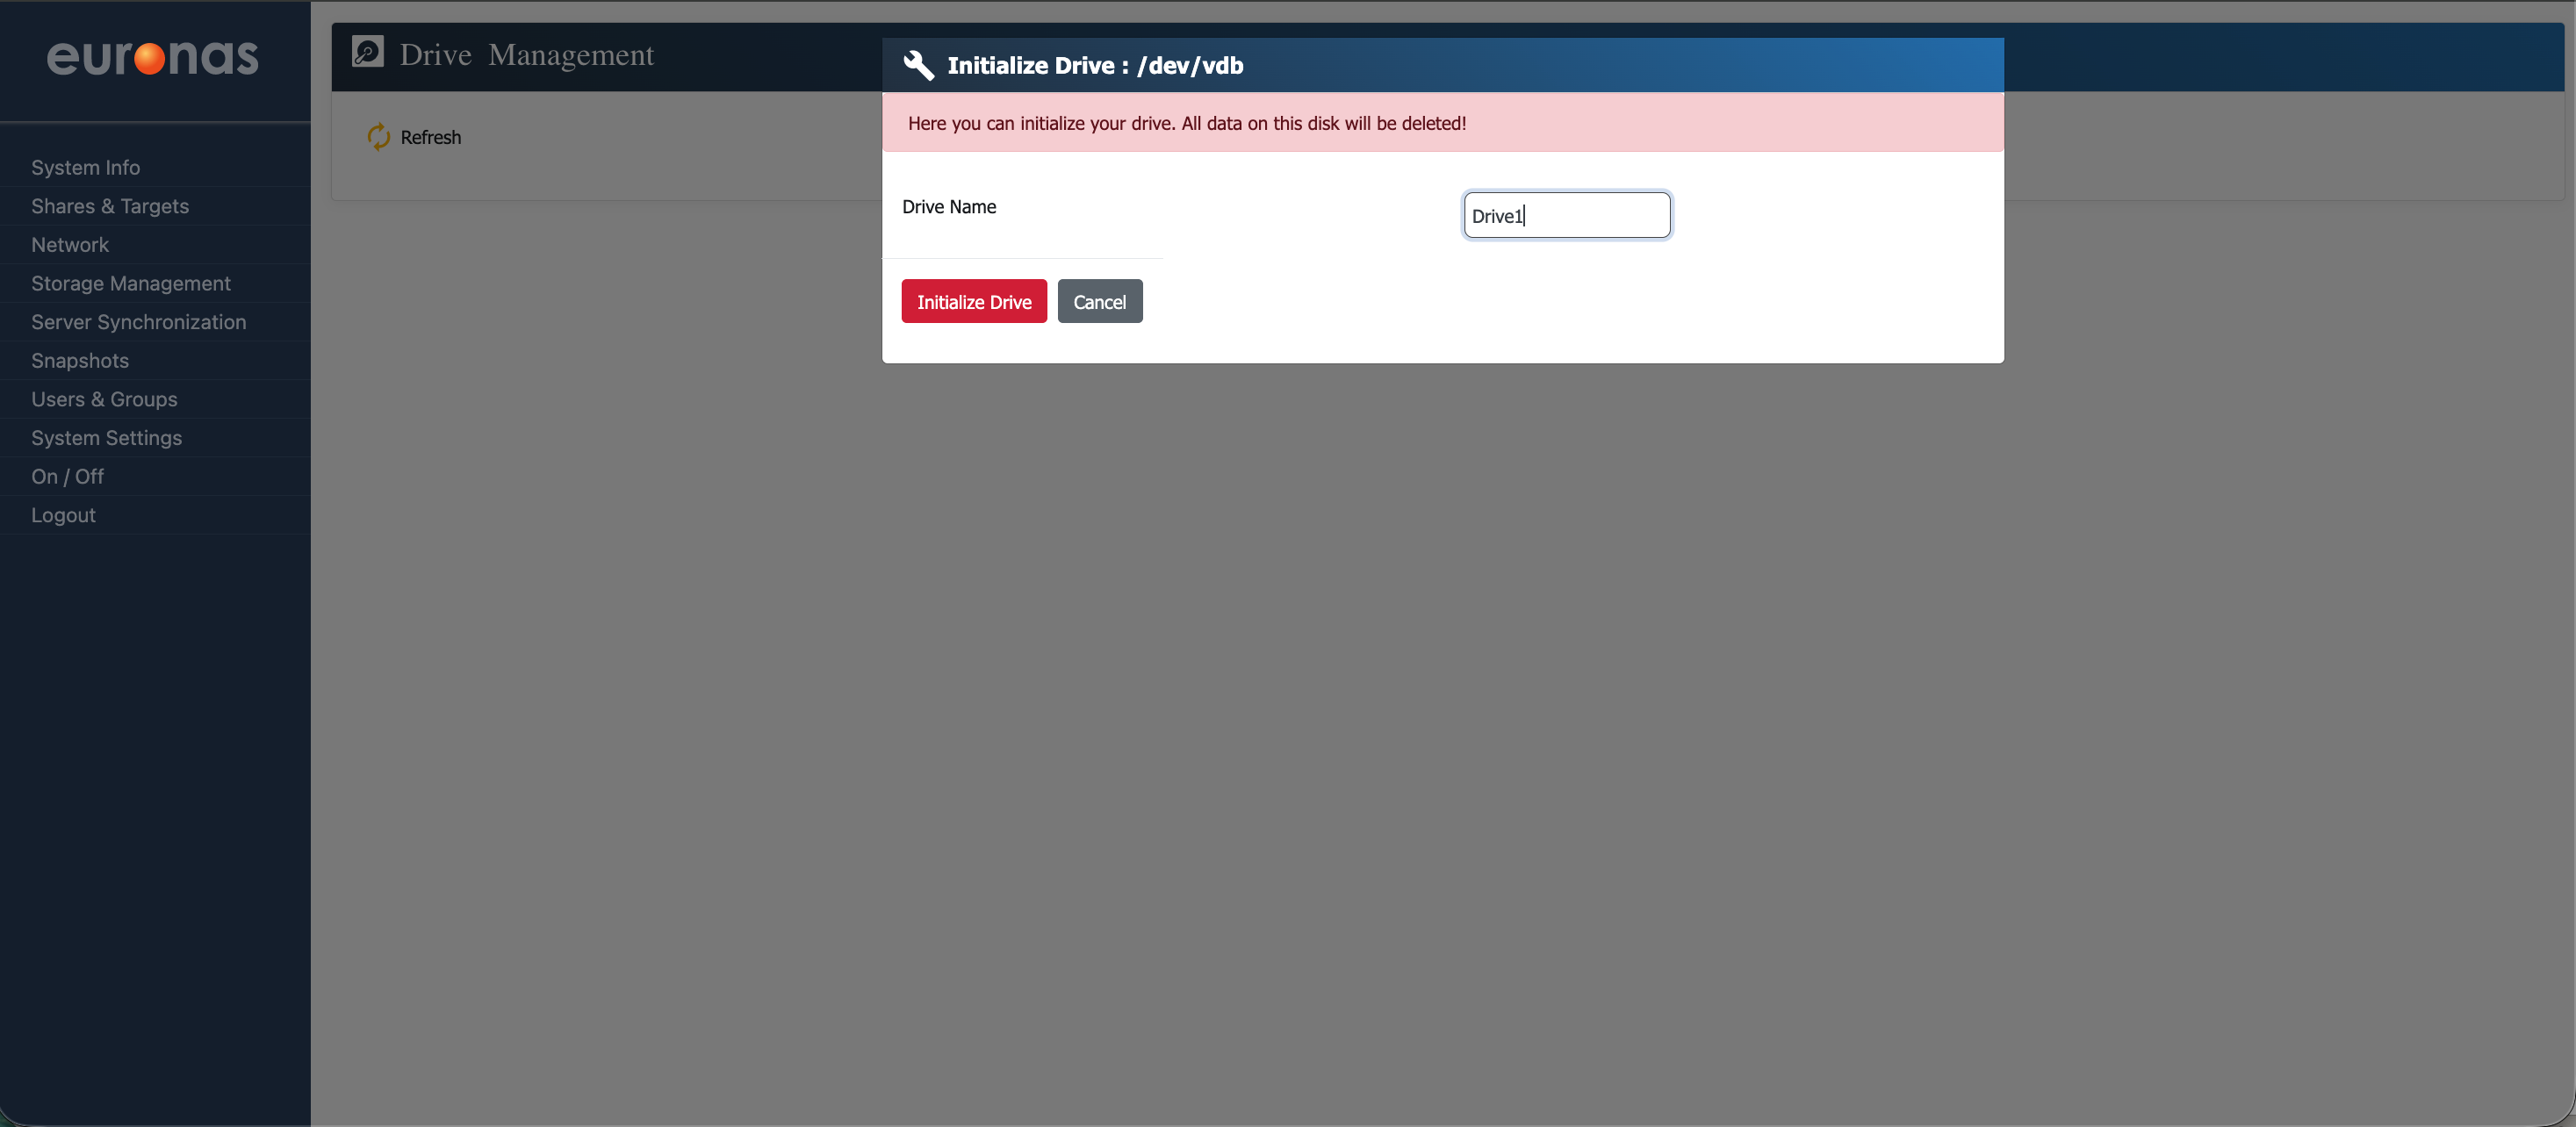
At this stage, you will be required to assign a name to the drive. In this example, the drive is named Drive1 however, you may choose any naming convention that aligns with your environment.
Warning: This process will initialise the selected drive and all existing data will be permanently erased.
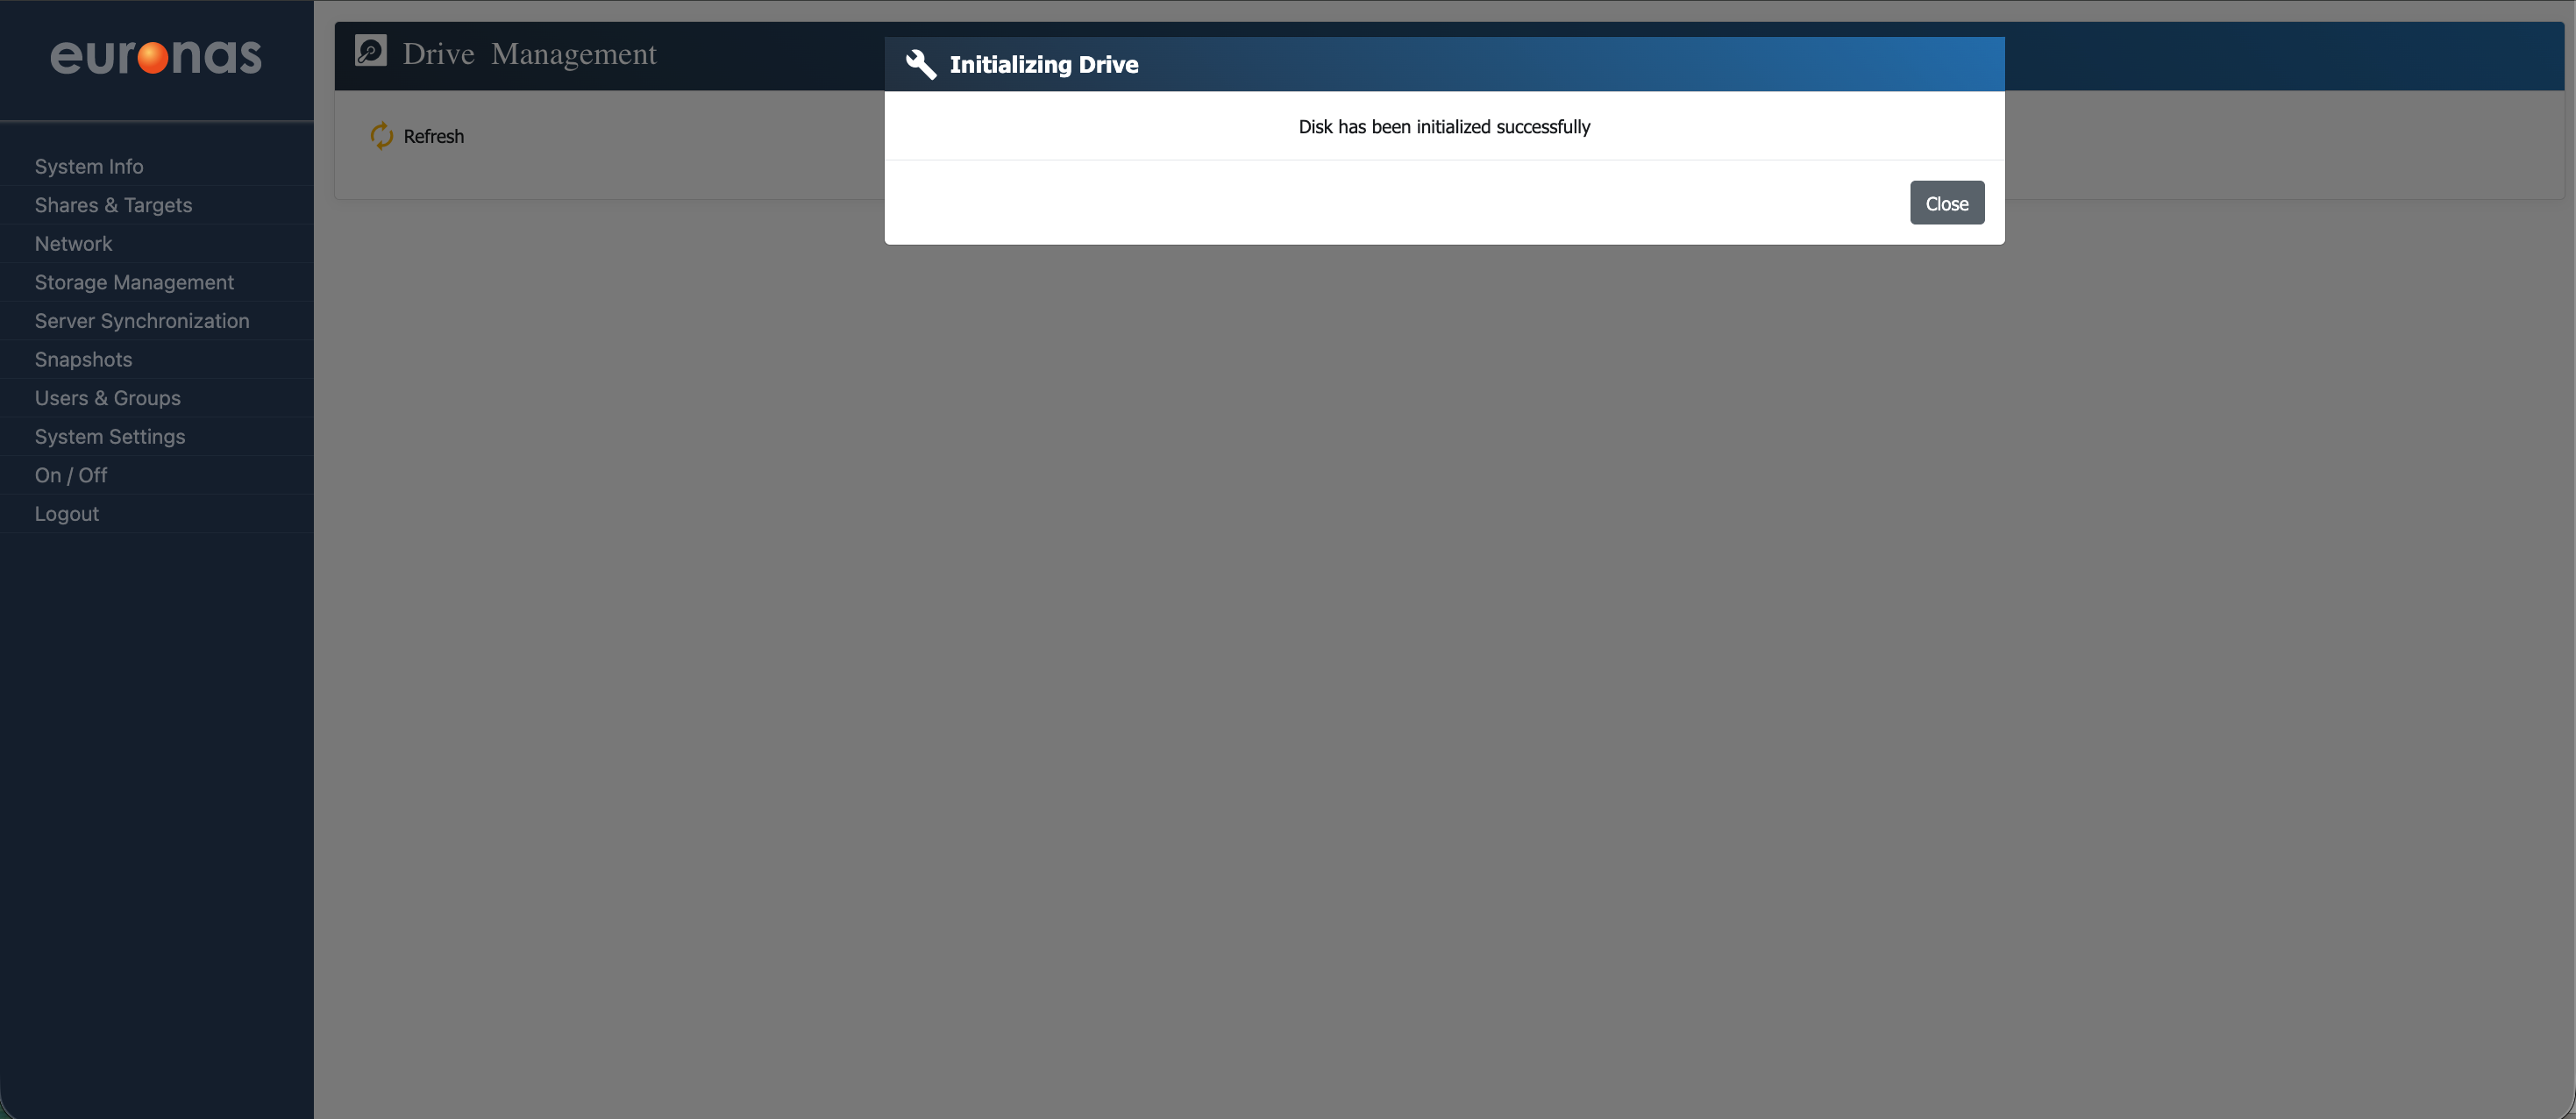
This process may take some time, particularly on larger installations, which is expected behaviour. Once complete, a confirmation message will be displayed indicating that the process has completed successfully.
Select Close to return to the drive management screen.
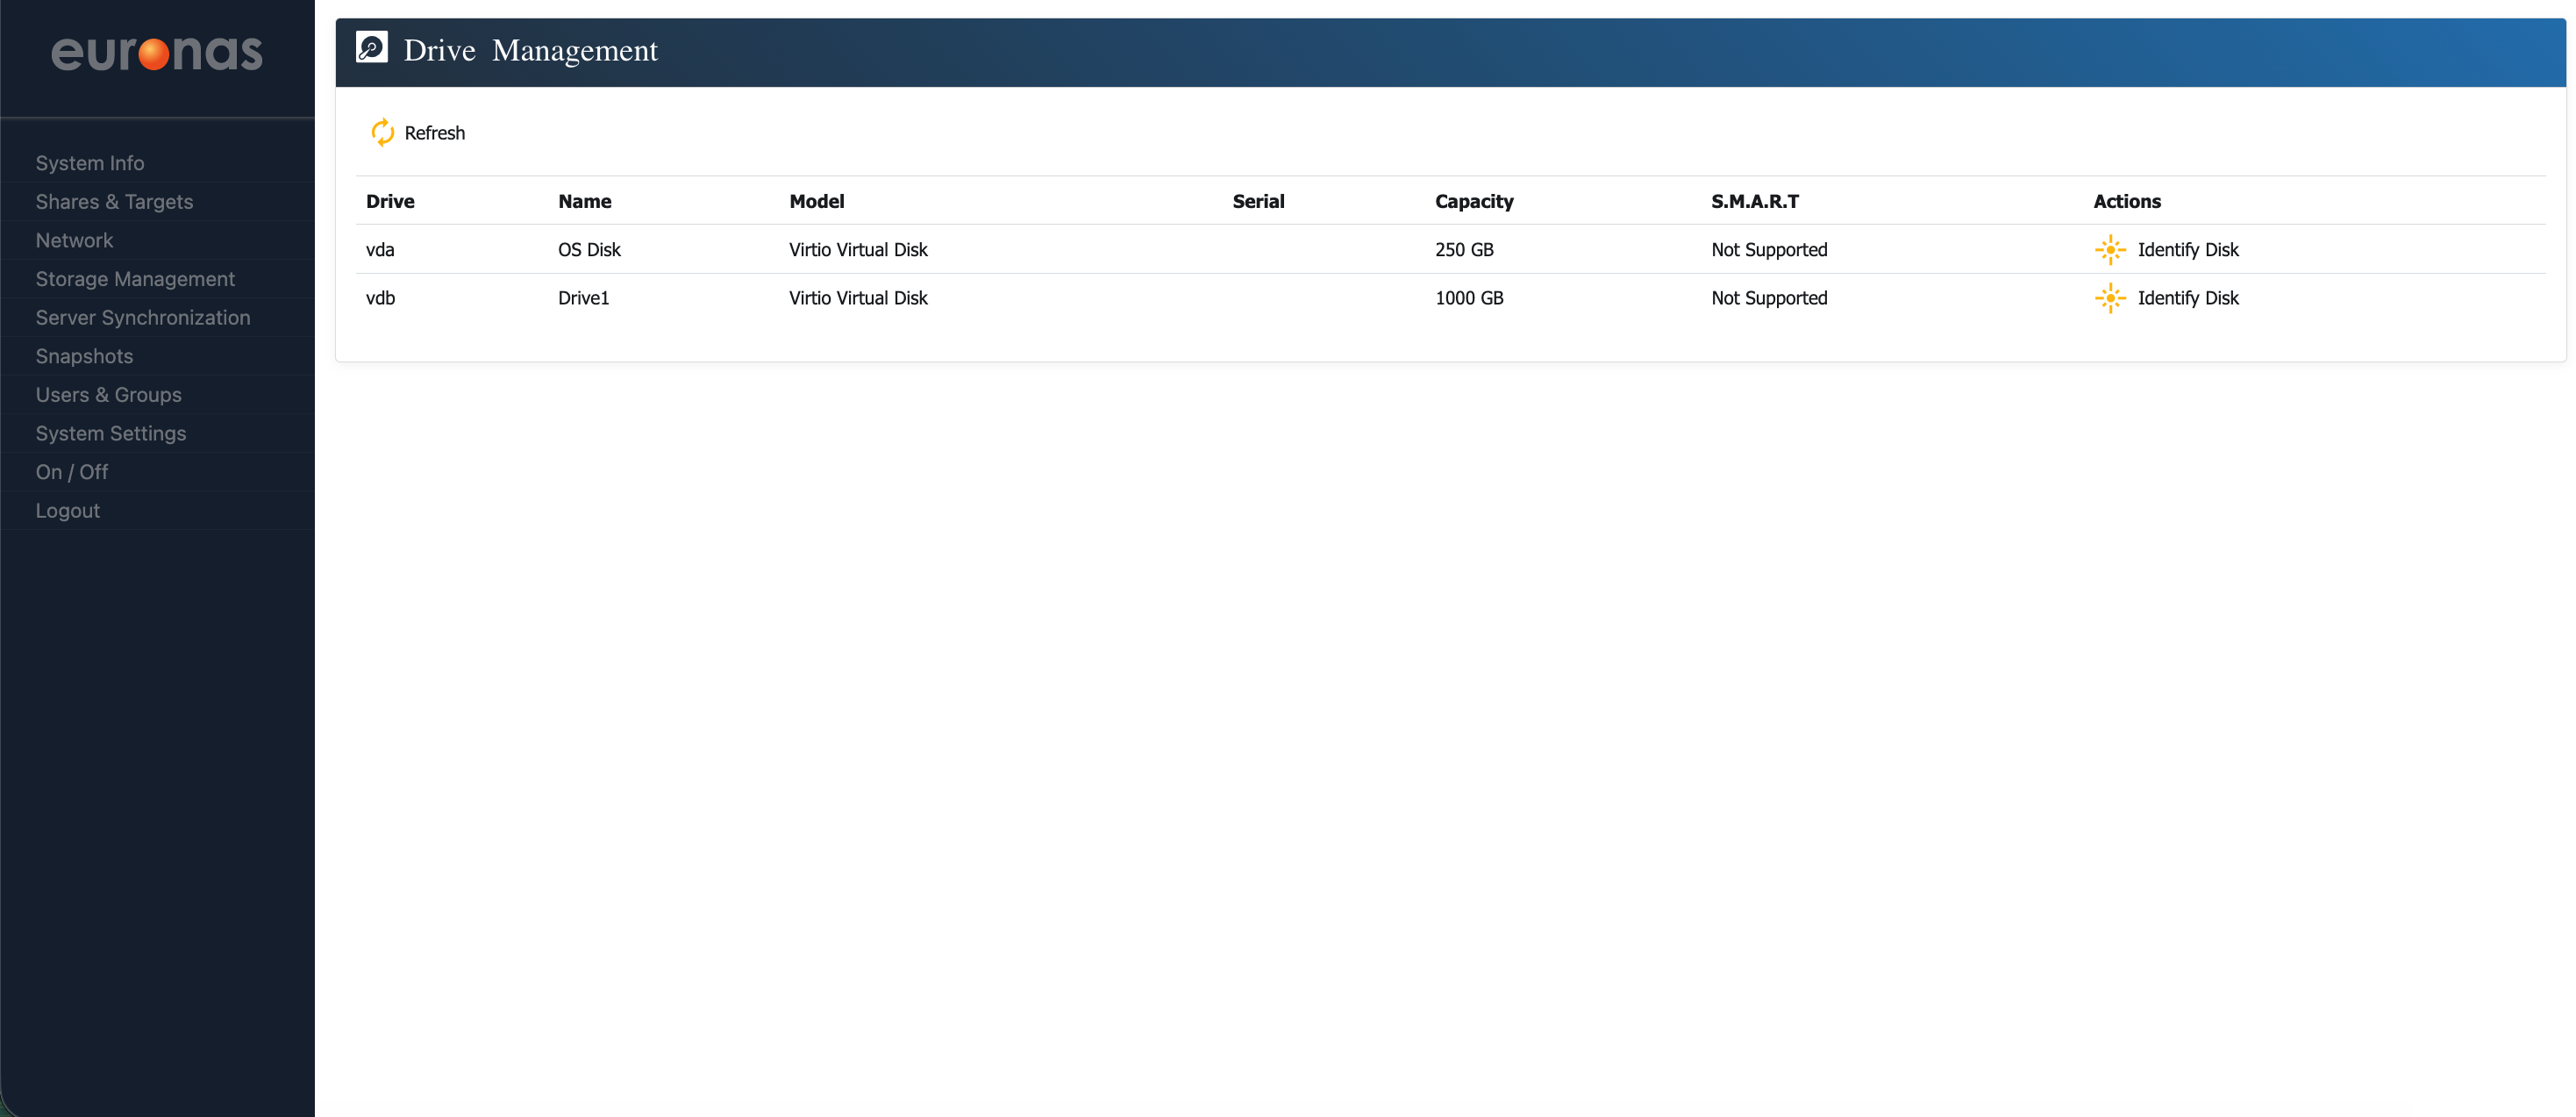
As shown, you are now back at the drive management screen. The drive has been initialised and is ready for use.
Under the Actions column, you can select the Identify Disk icon to illuminate the drive LED. This allows the physical disk to be identified, which can be useful when locating a specific drive, particularly in the event of a failure.