Storage Pool Creation and Configuration
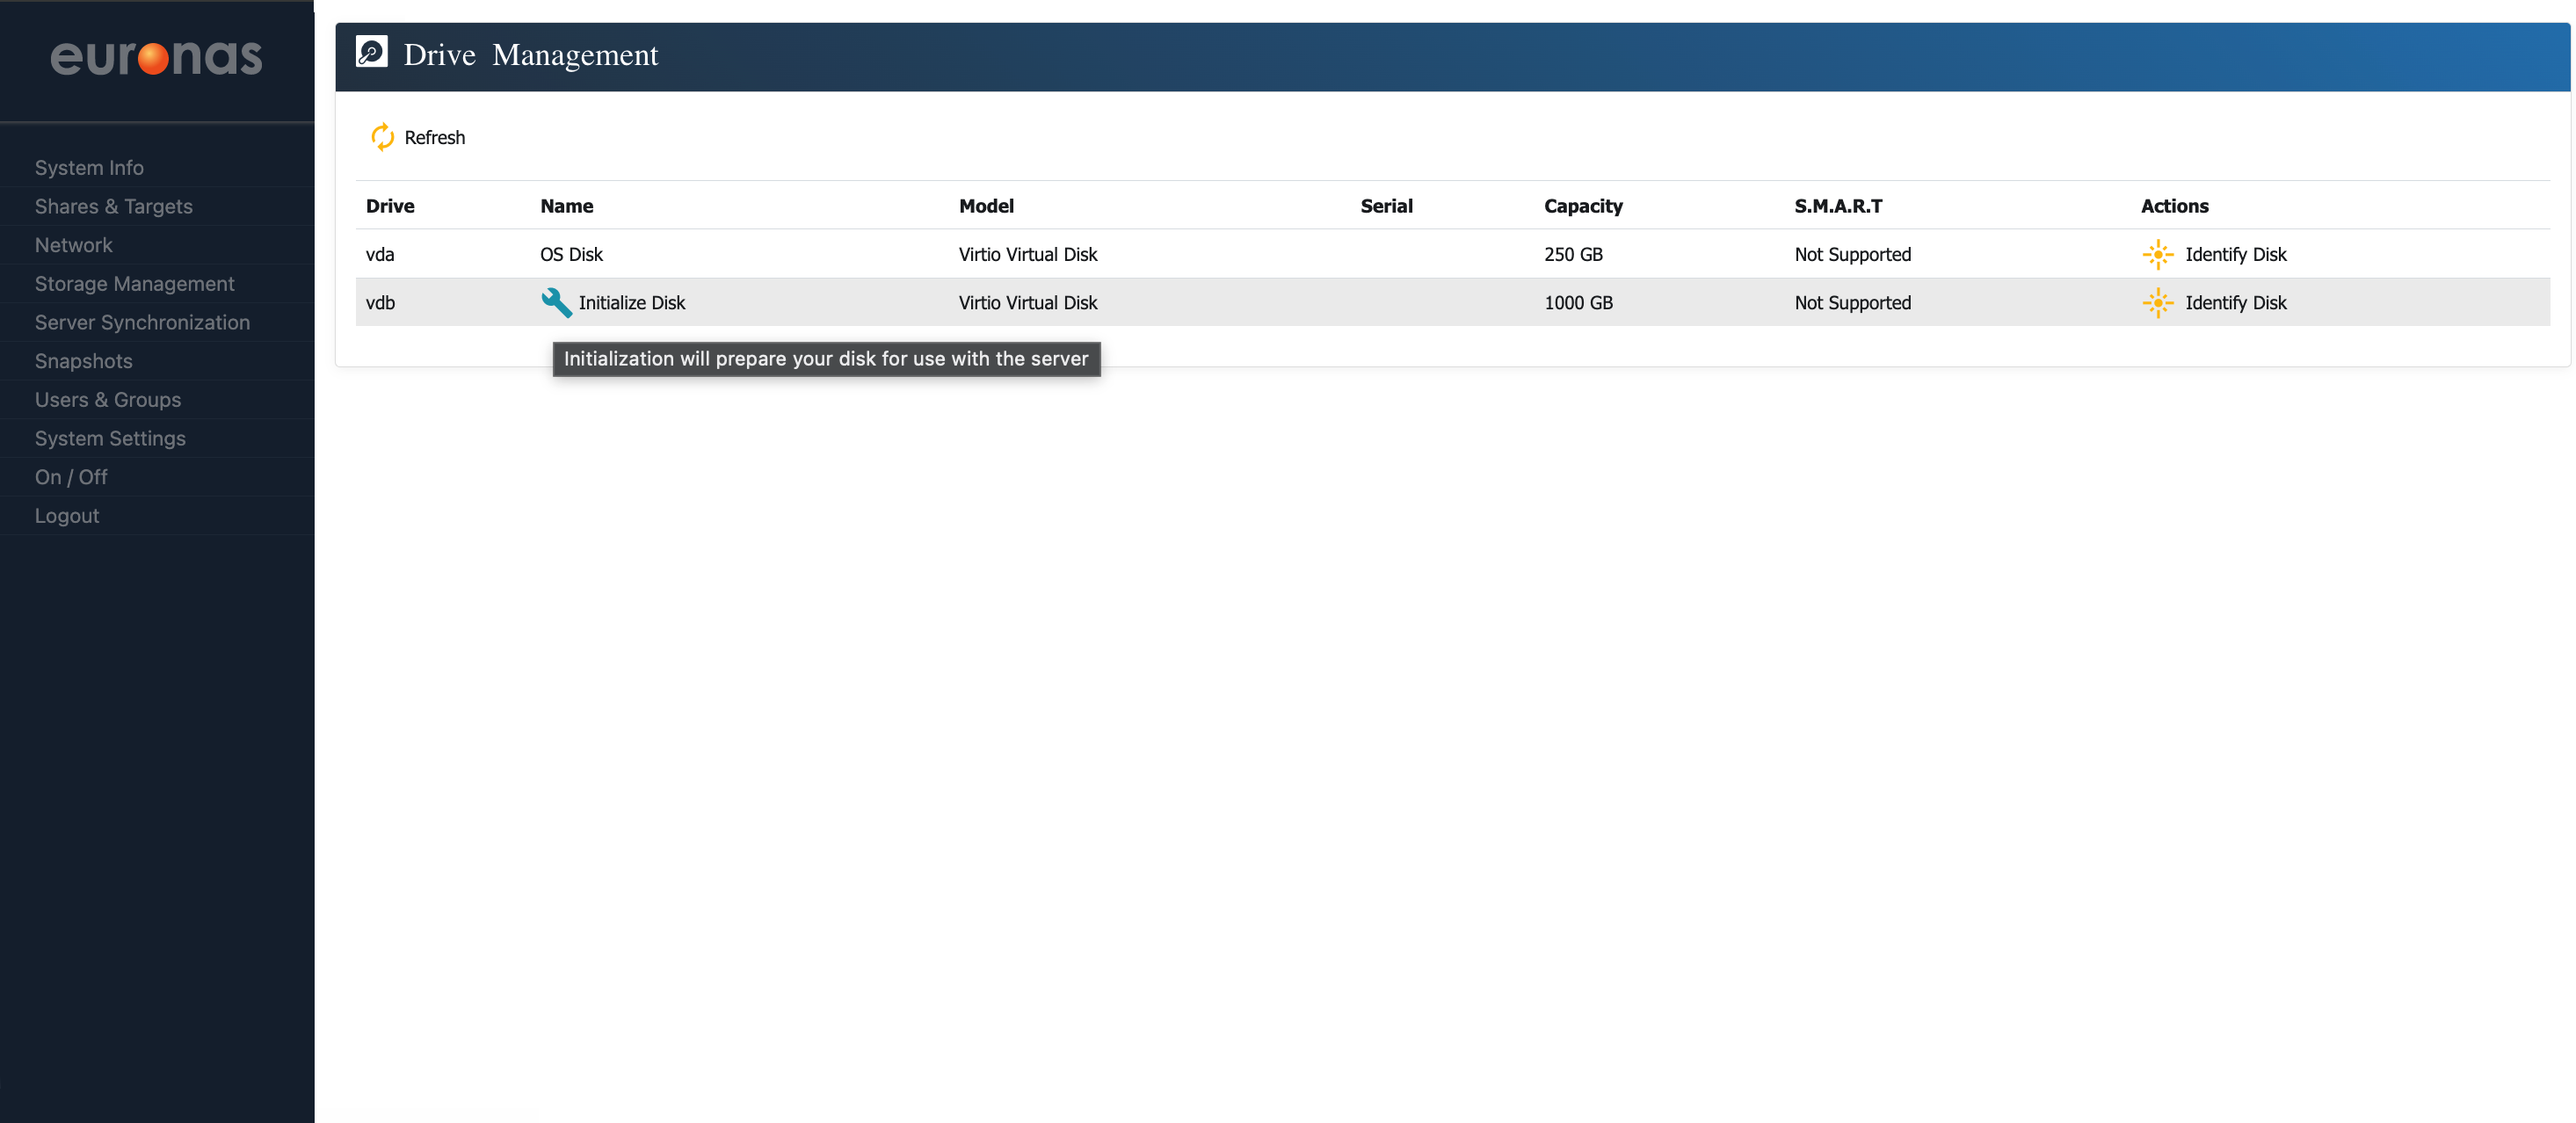
As shown on the screen, a 1 TB drive is available and ready for initialisation. Select the spanner icon to begin preparing and formatting the disk.
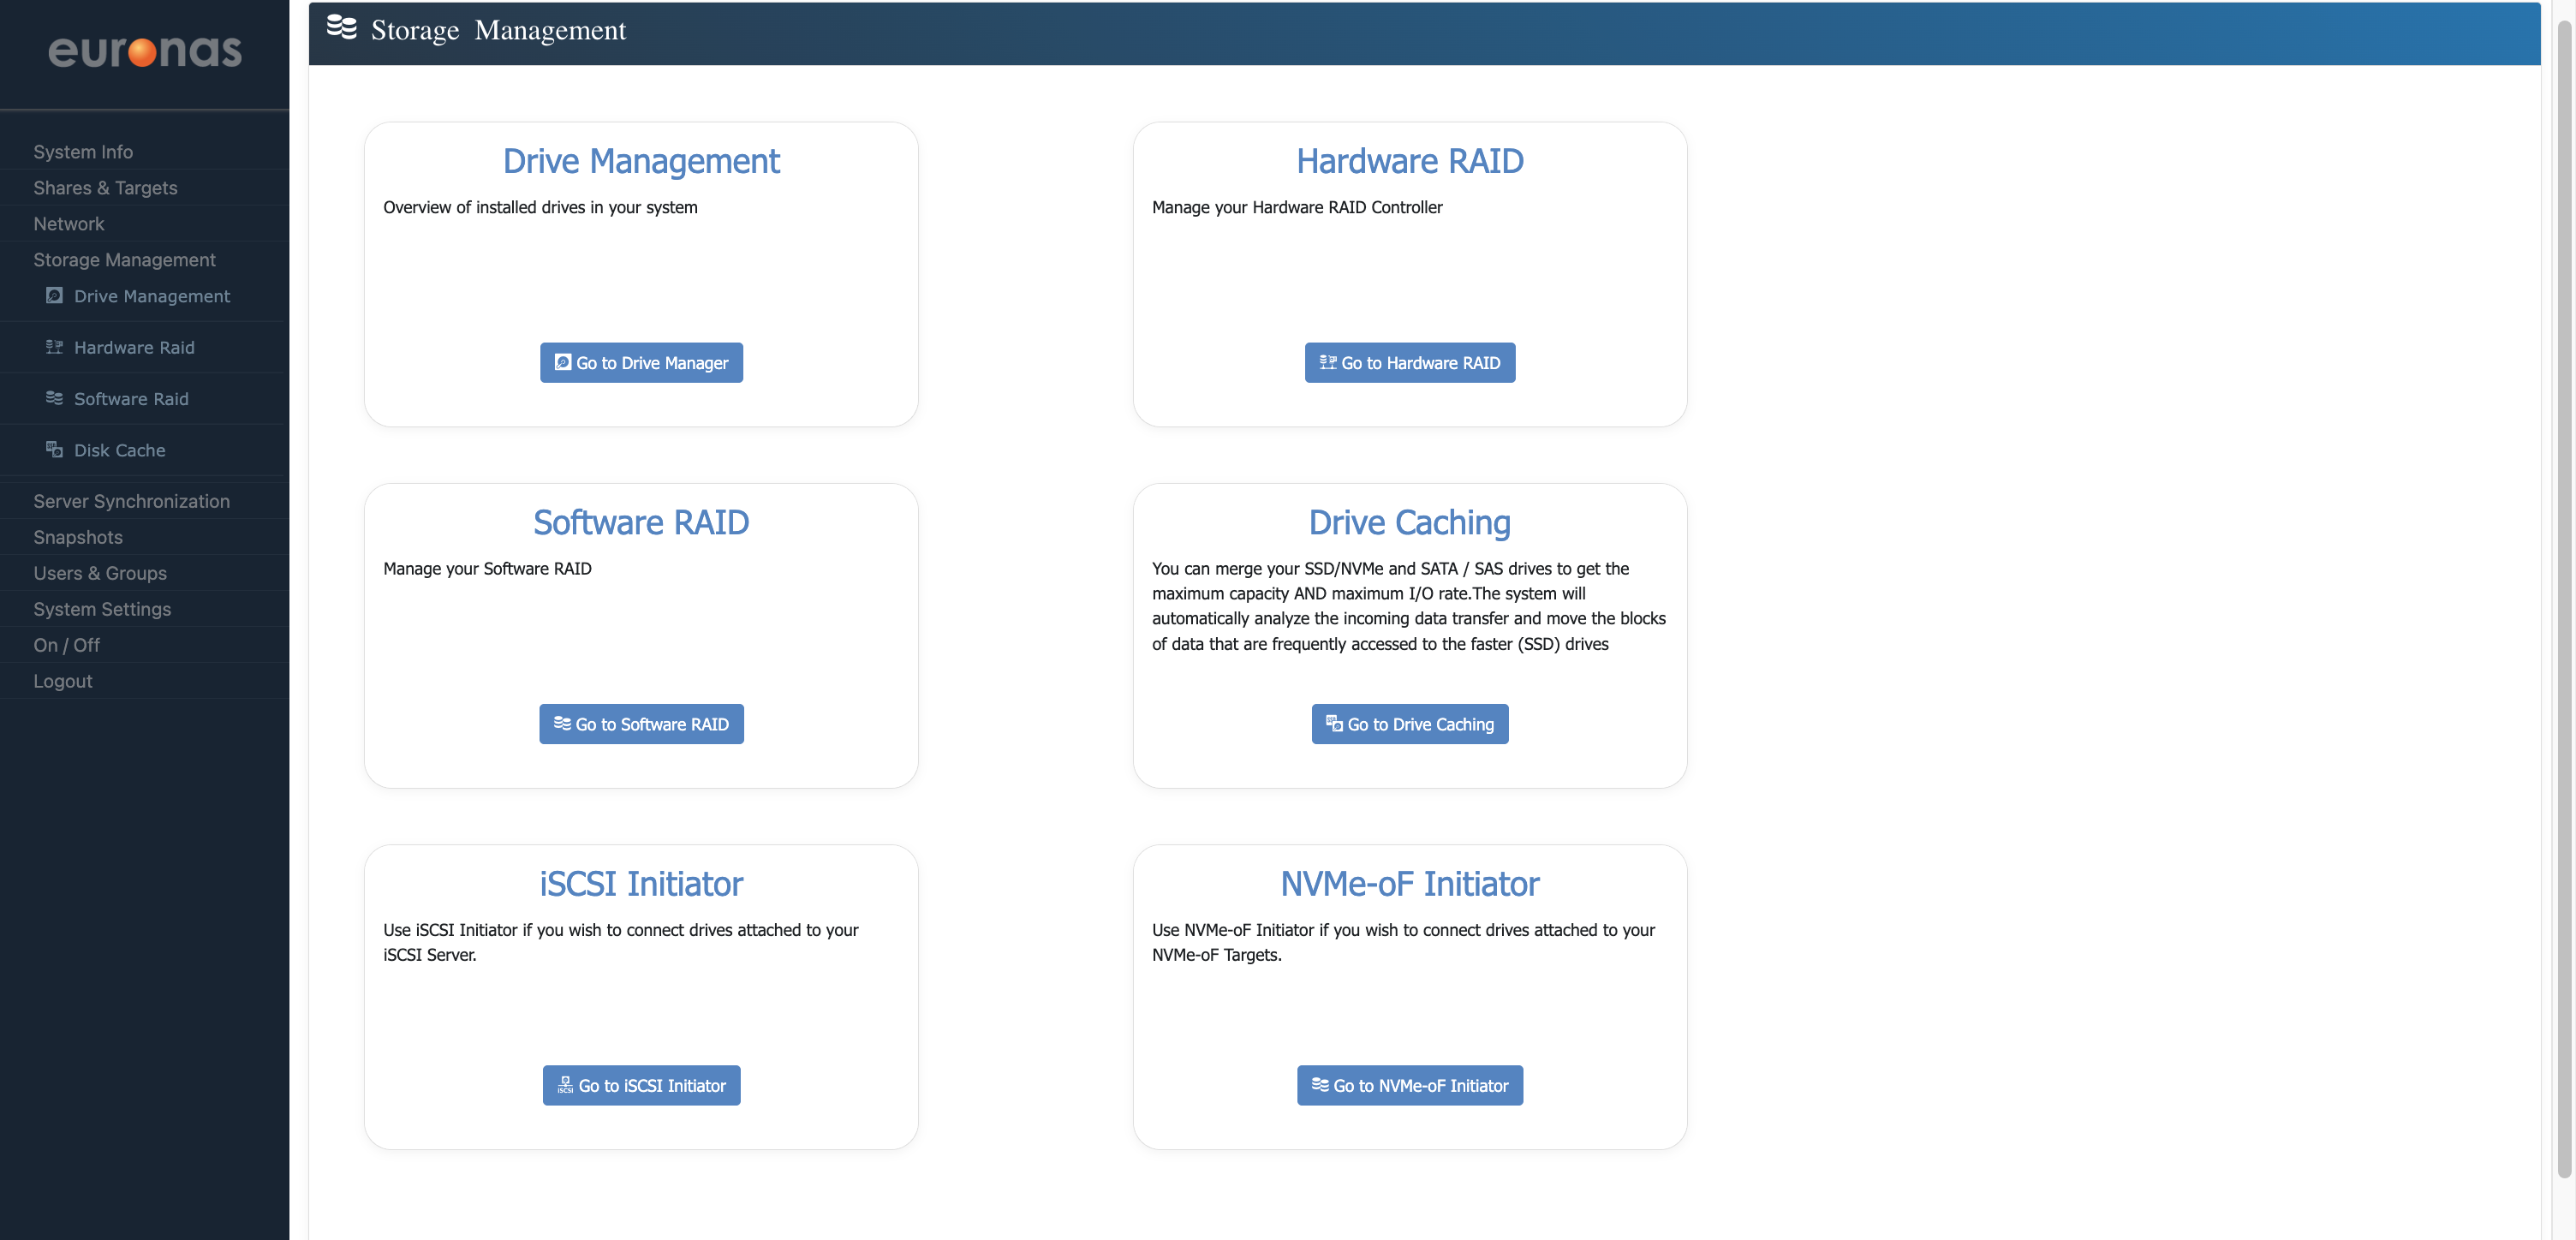
Depending on the deployment, storage can be configured using either hardware RAID or software RAID. This will be determined by the available hardware and the selected file system and storage architecture.
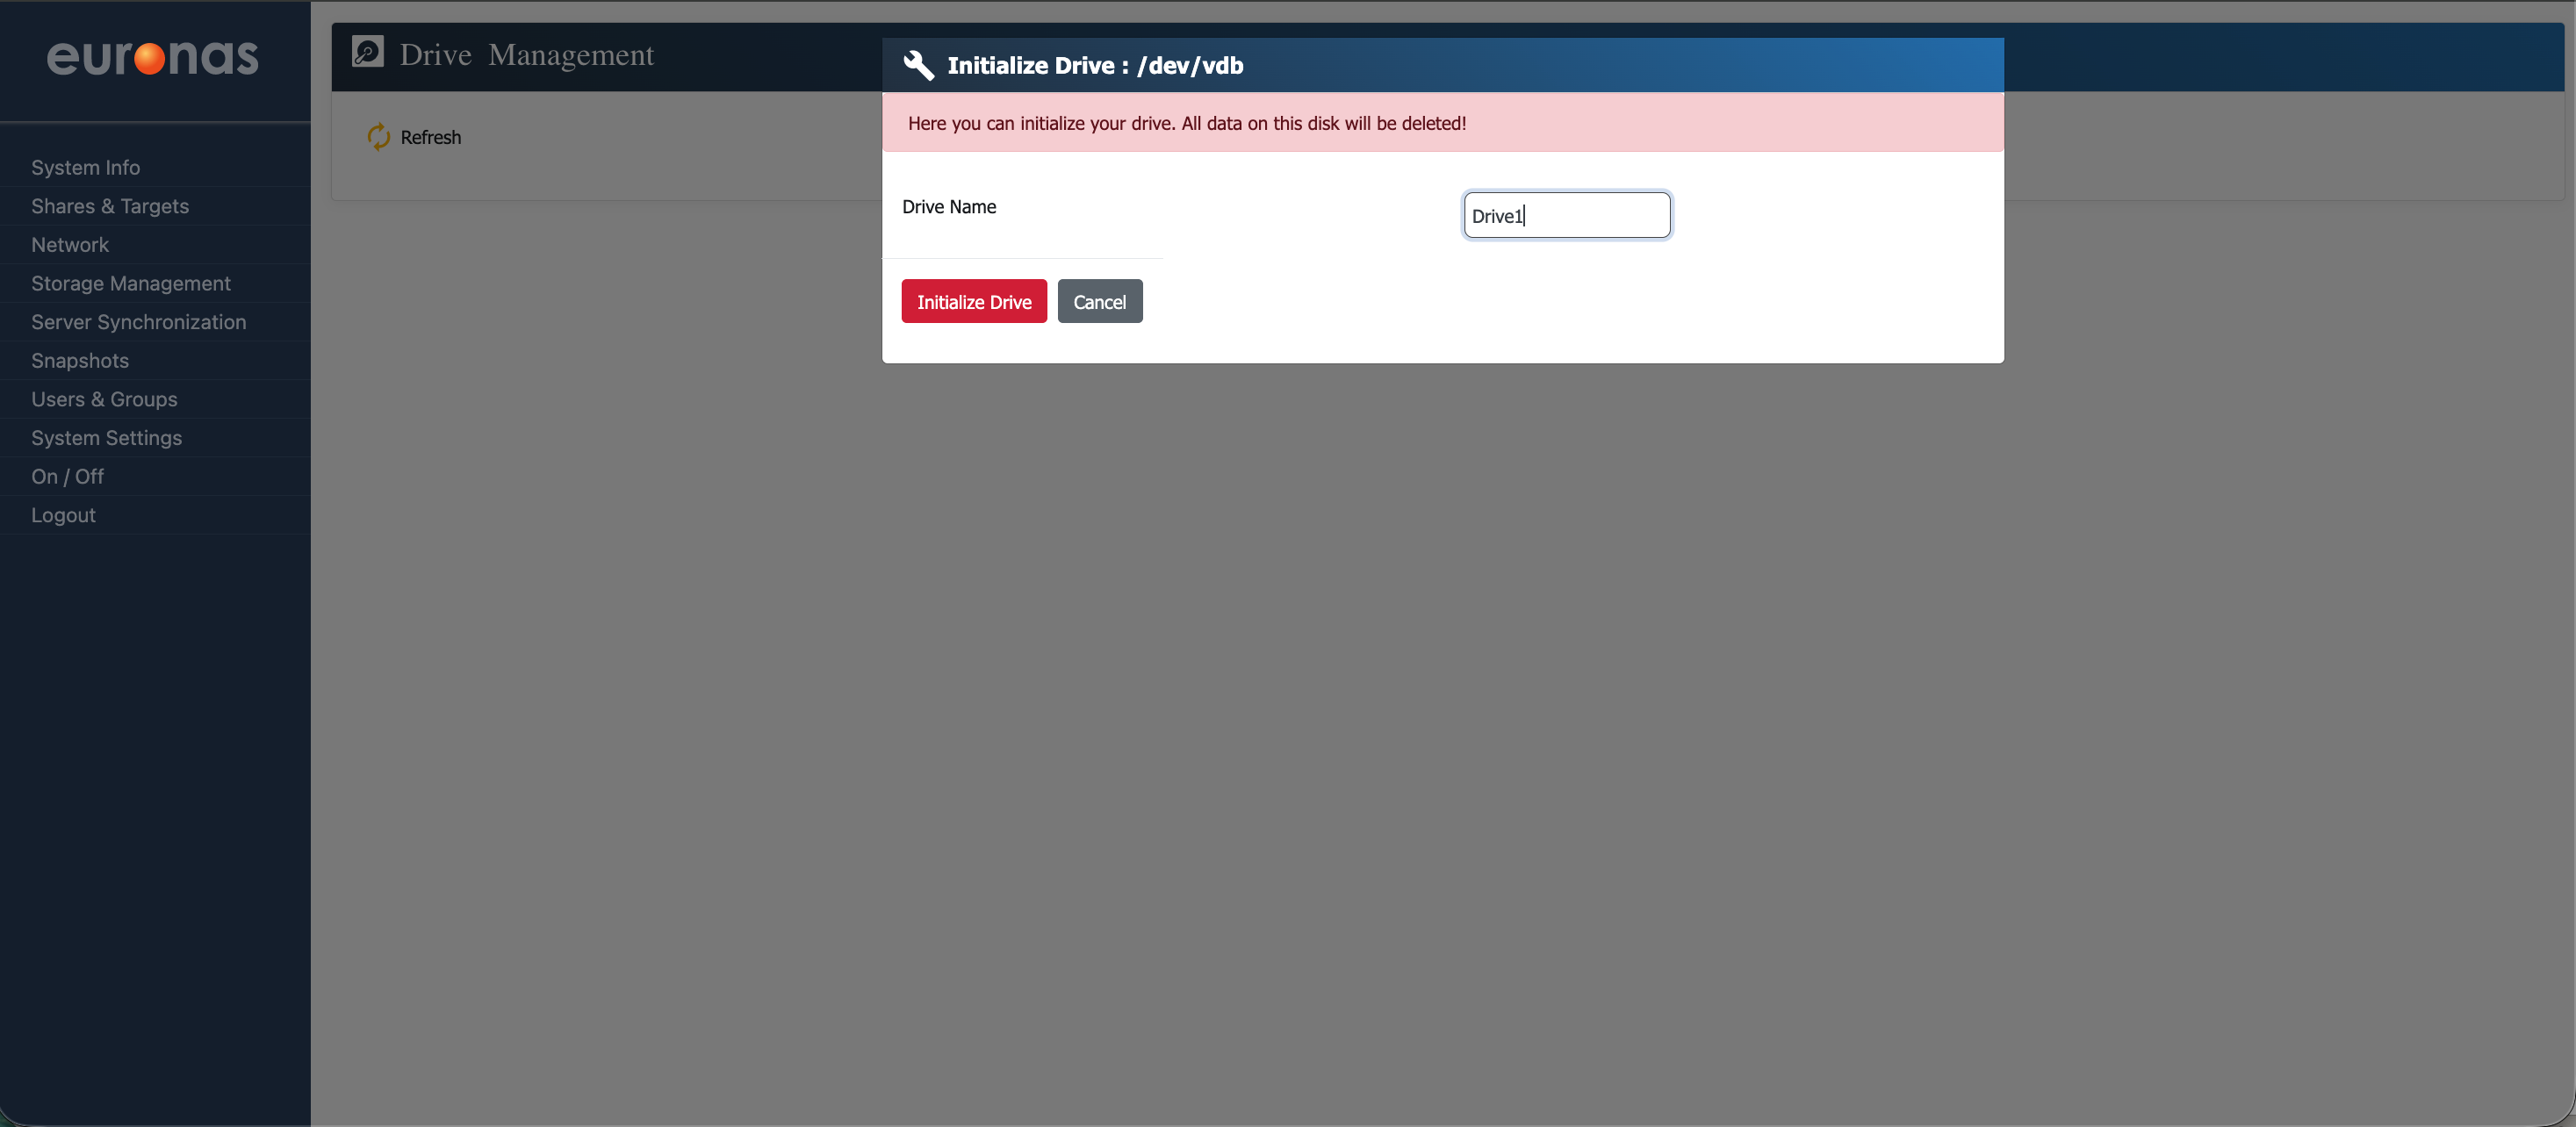
At this stage, you will be required to assign a name to the drive. In this example, the drive is named Drive1 however, you may choose any naming convention that aligns with your environment.
Warning: This process will initialise the selected drive and all existing data will be permanently erased.
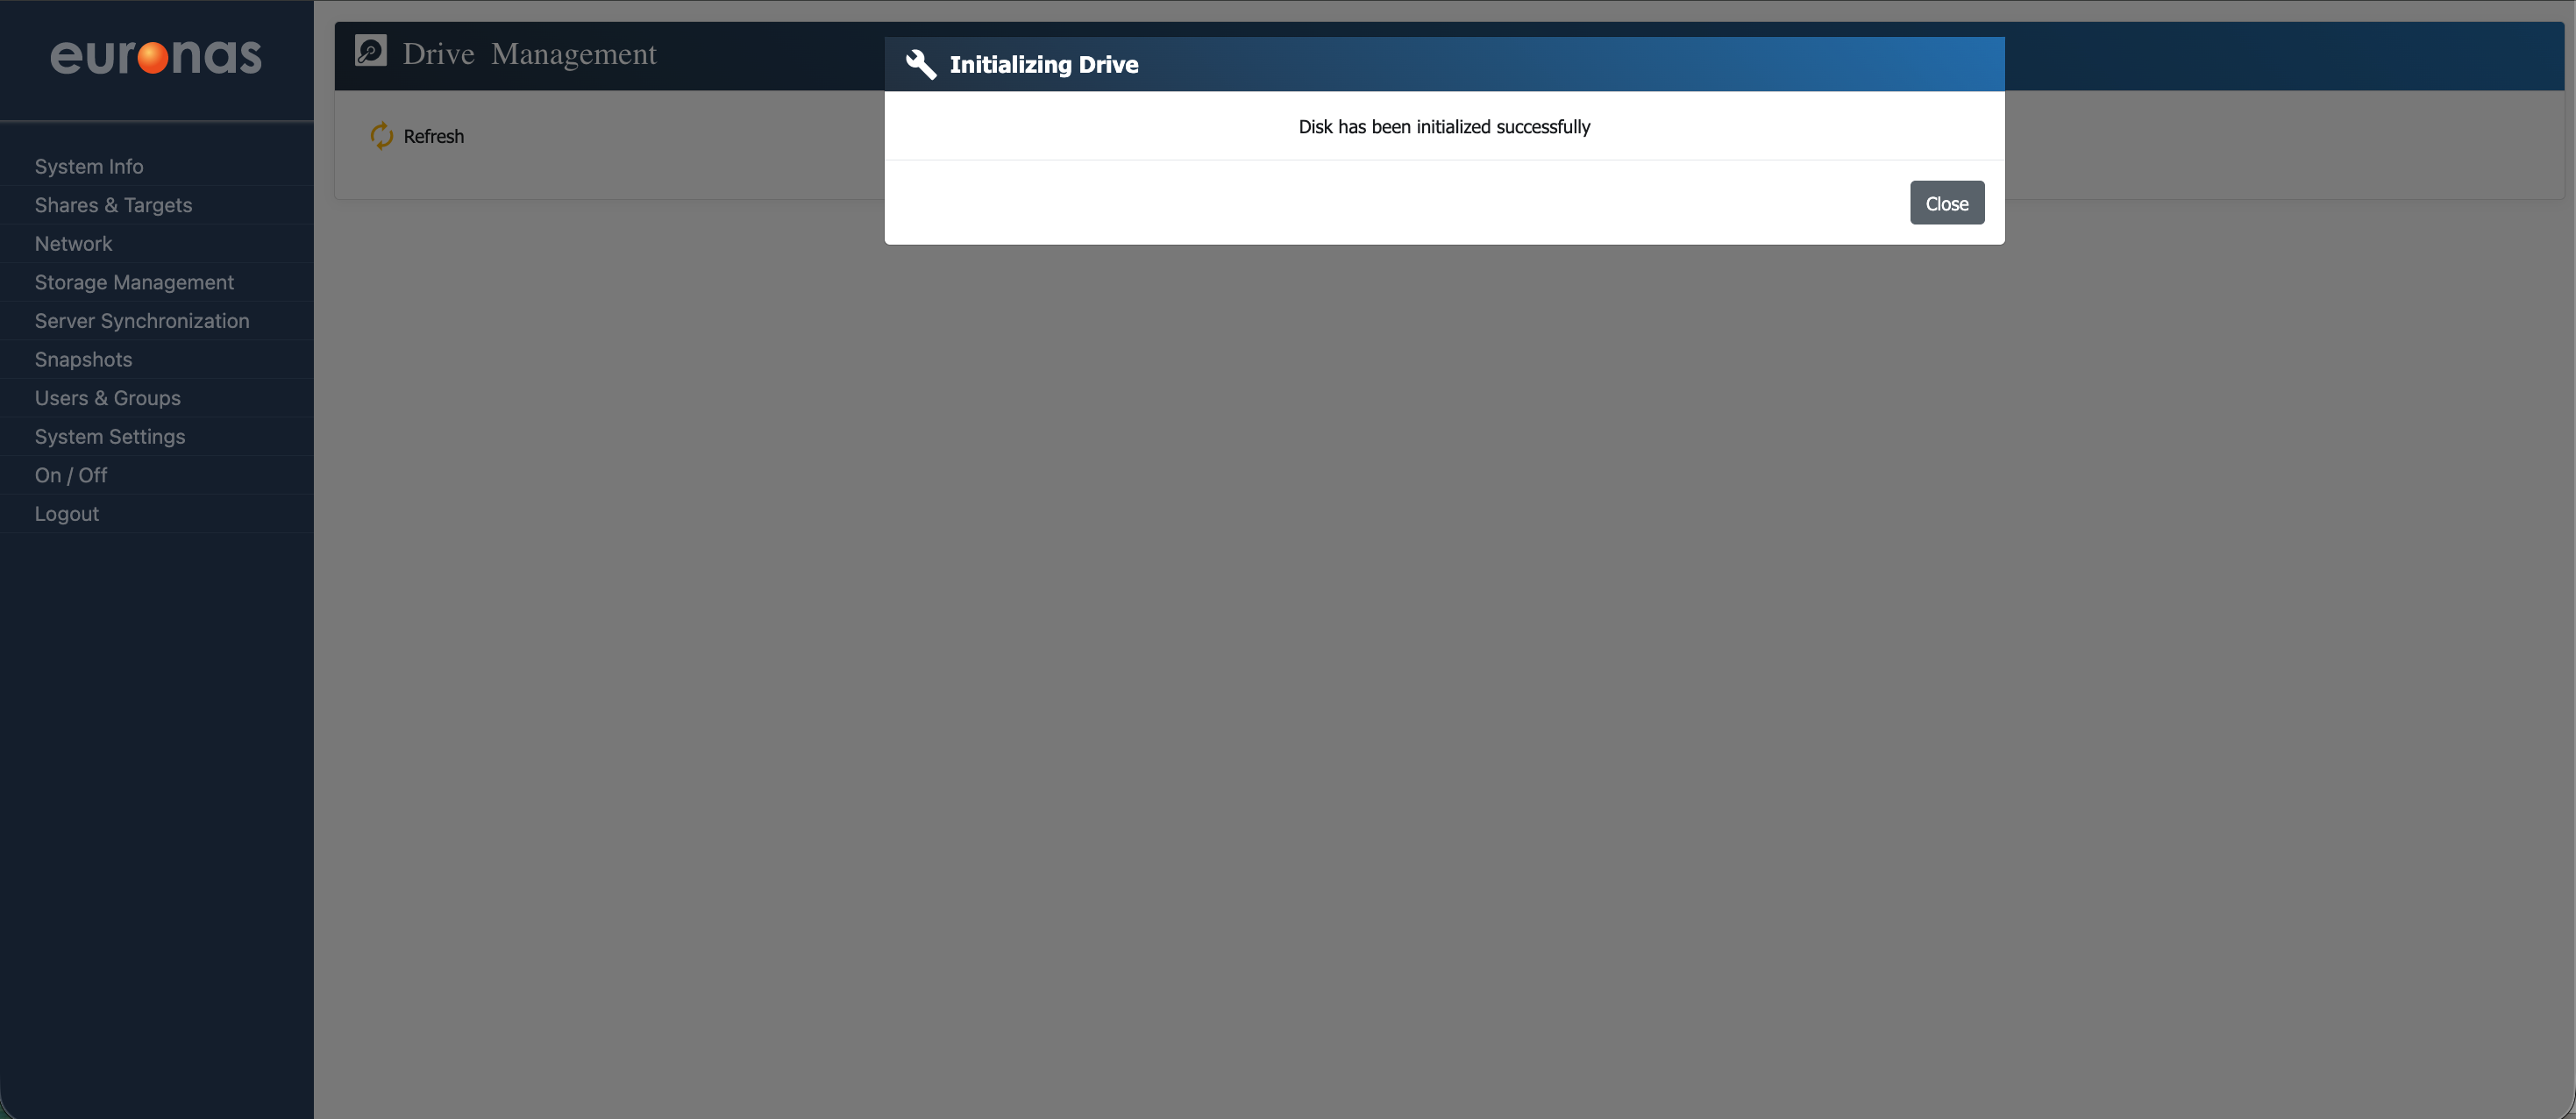
This process may take some time, particularly on larger installations, which is expected behaviour. Once complete, a confirmation message will be displayed indicating that the process has completed successfully.
Select Close to return to the drive management screen.
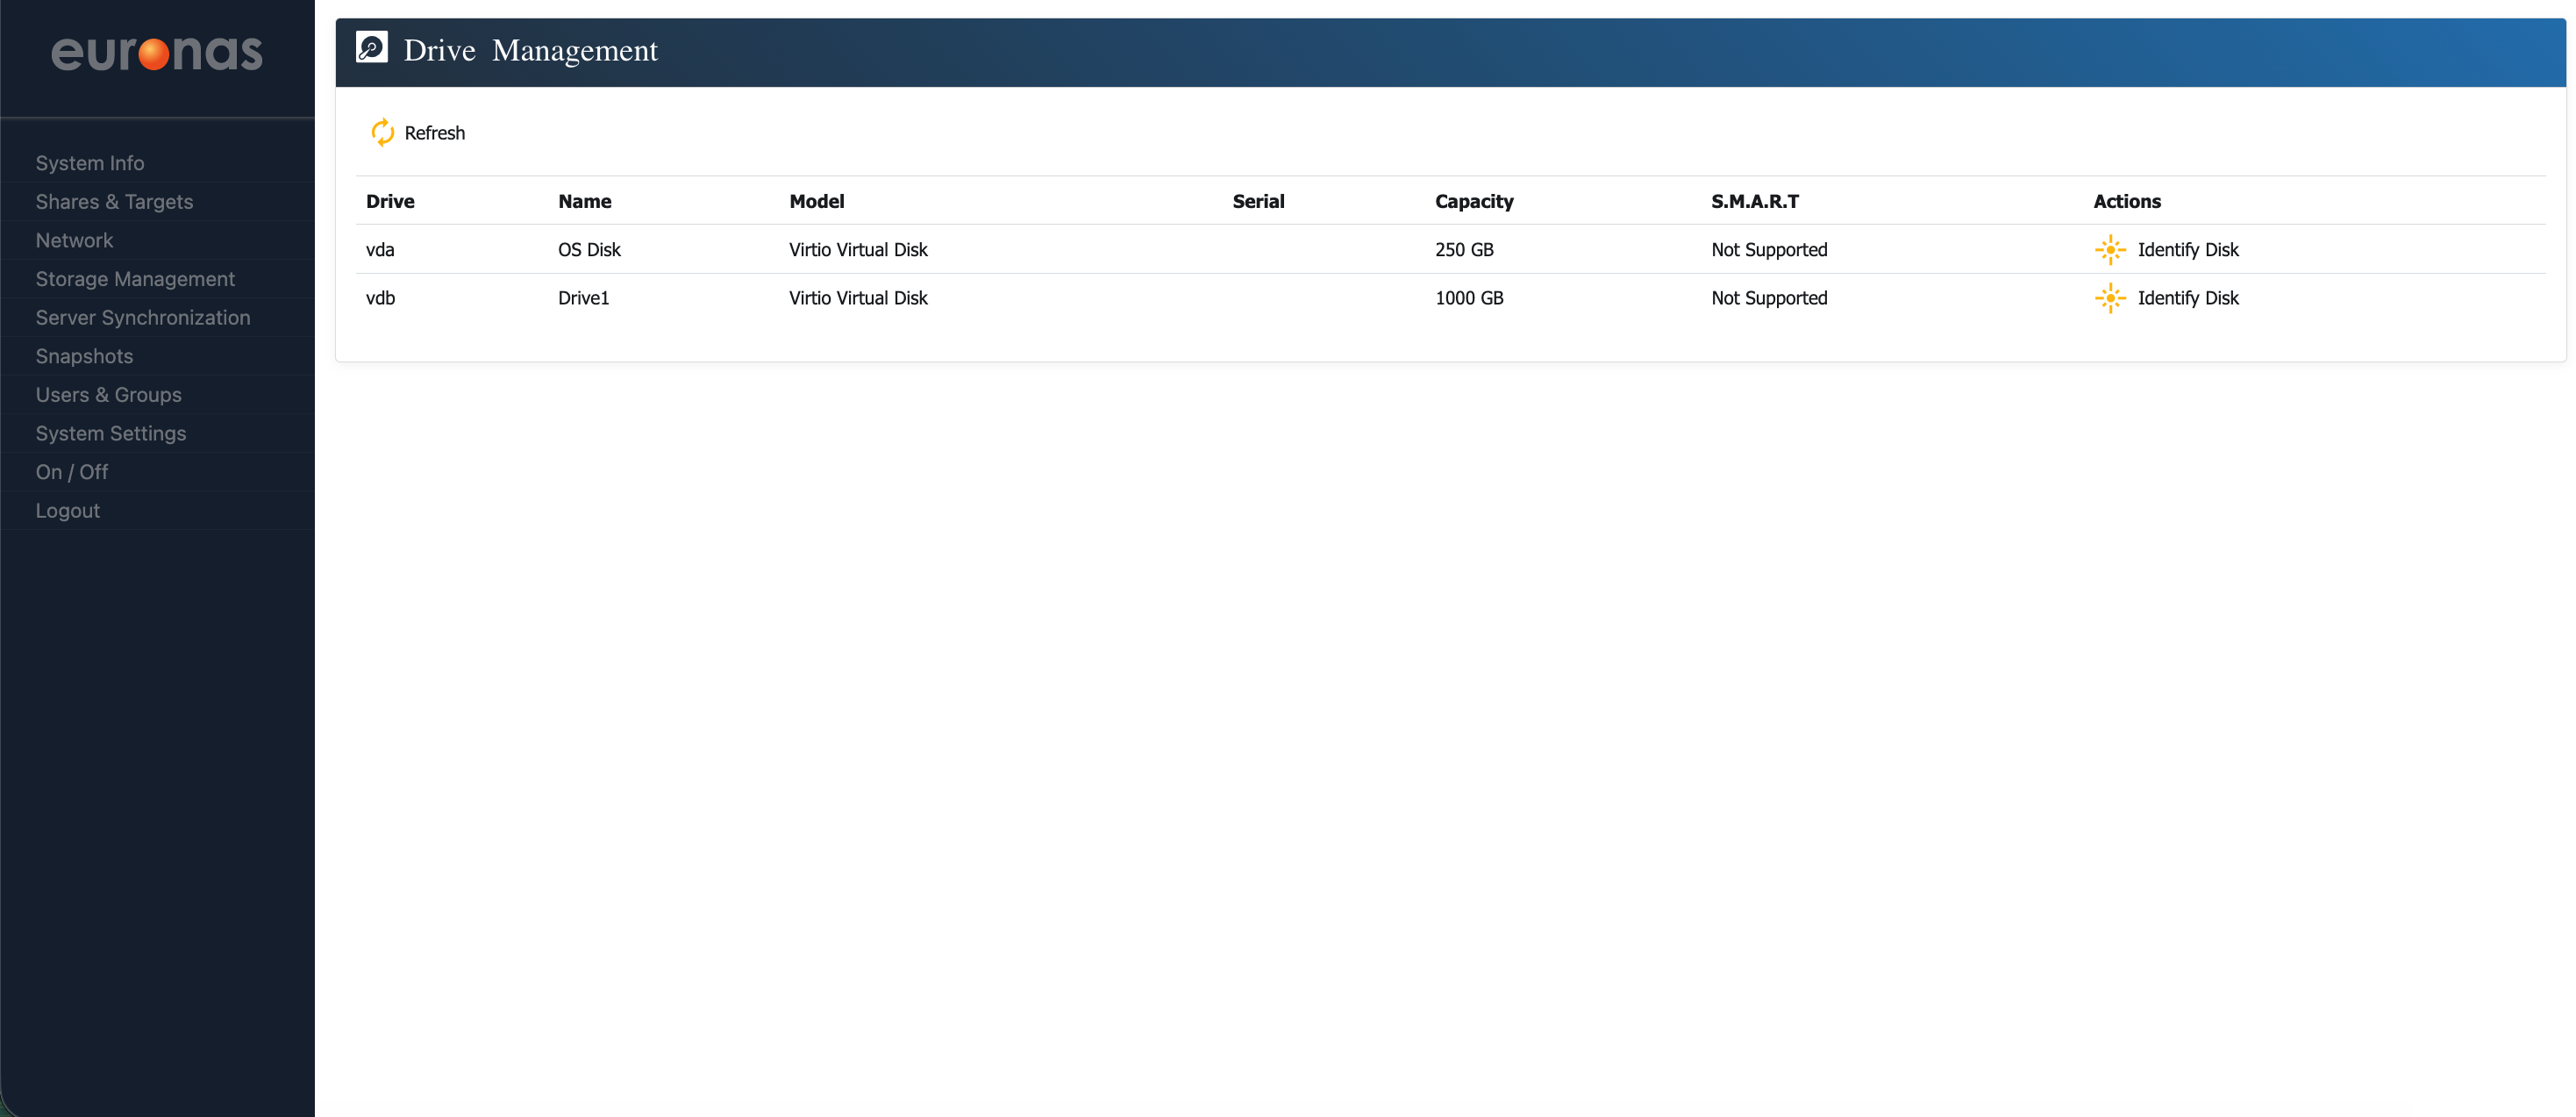
As shown, you are now back at the drive management screen. The drive has been initialised and is ready for use.
Under the Actions column, you can select the Identify Disk icon to illuminate the drive LED. This allows the physical disk to be identified, which can be useful when locating a specific drive, particularly in the event of a failure.
ZFS Pool Design and Configuration
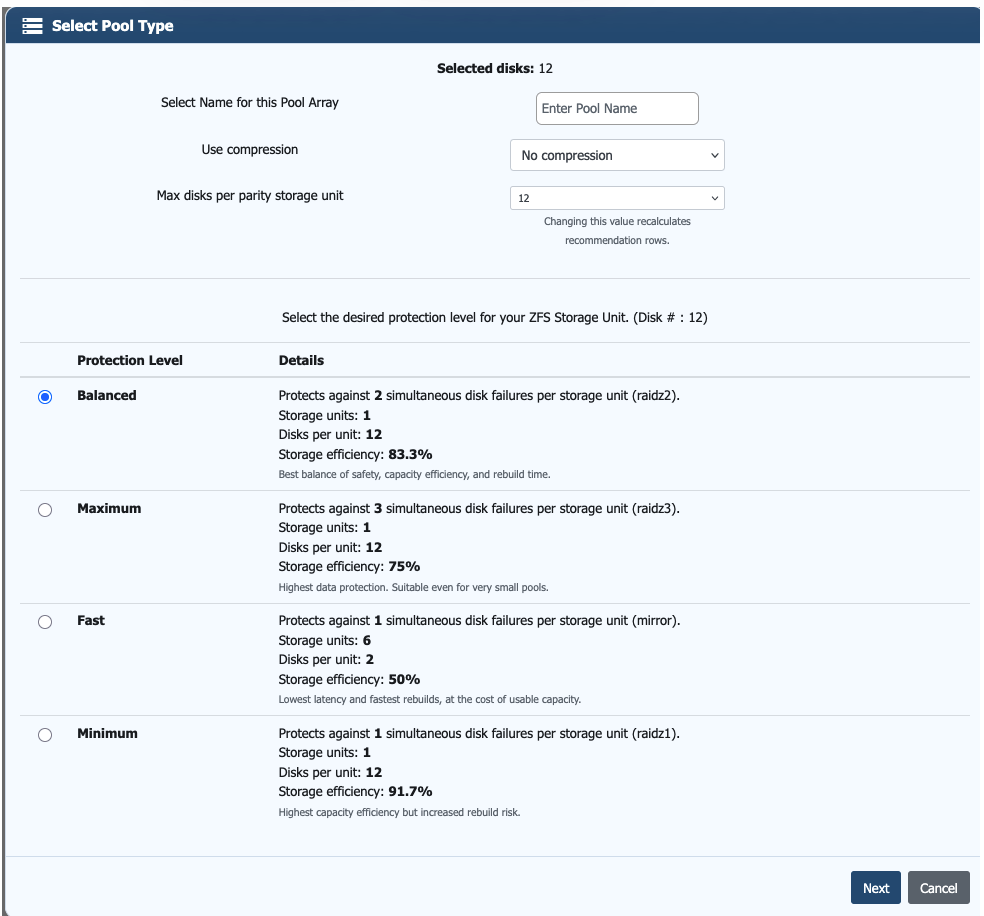
As mentioned previously, ZFS offers a number of advanced features, but it requires careful planning and a clear understanding of your storage environment. When configured correctly, it provides a highly scalable and resilient platform, capable of growing to petabyte-scale deployments.
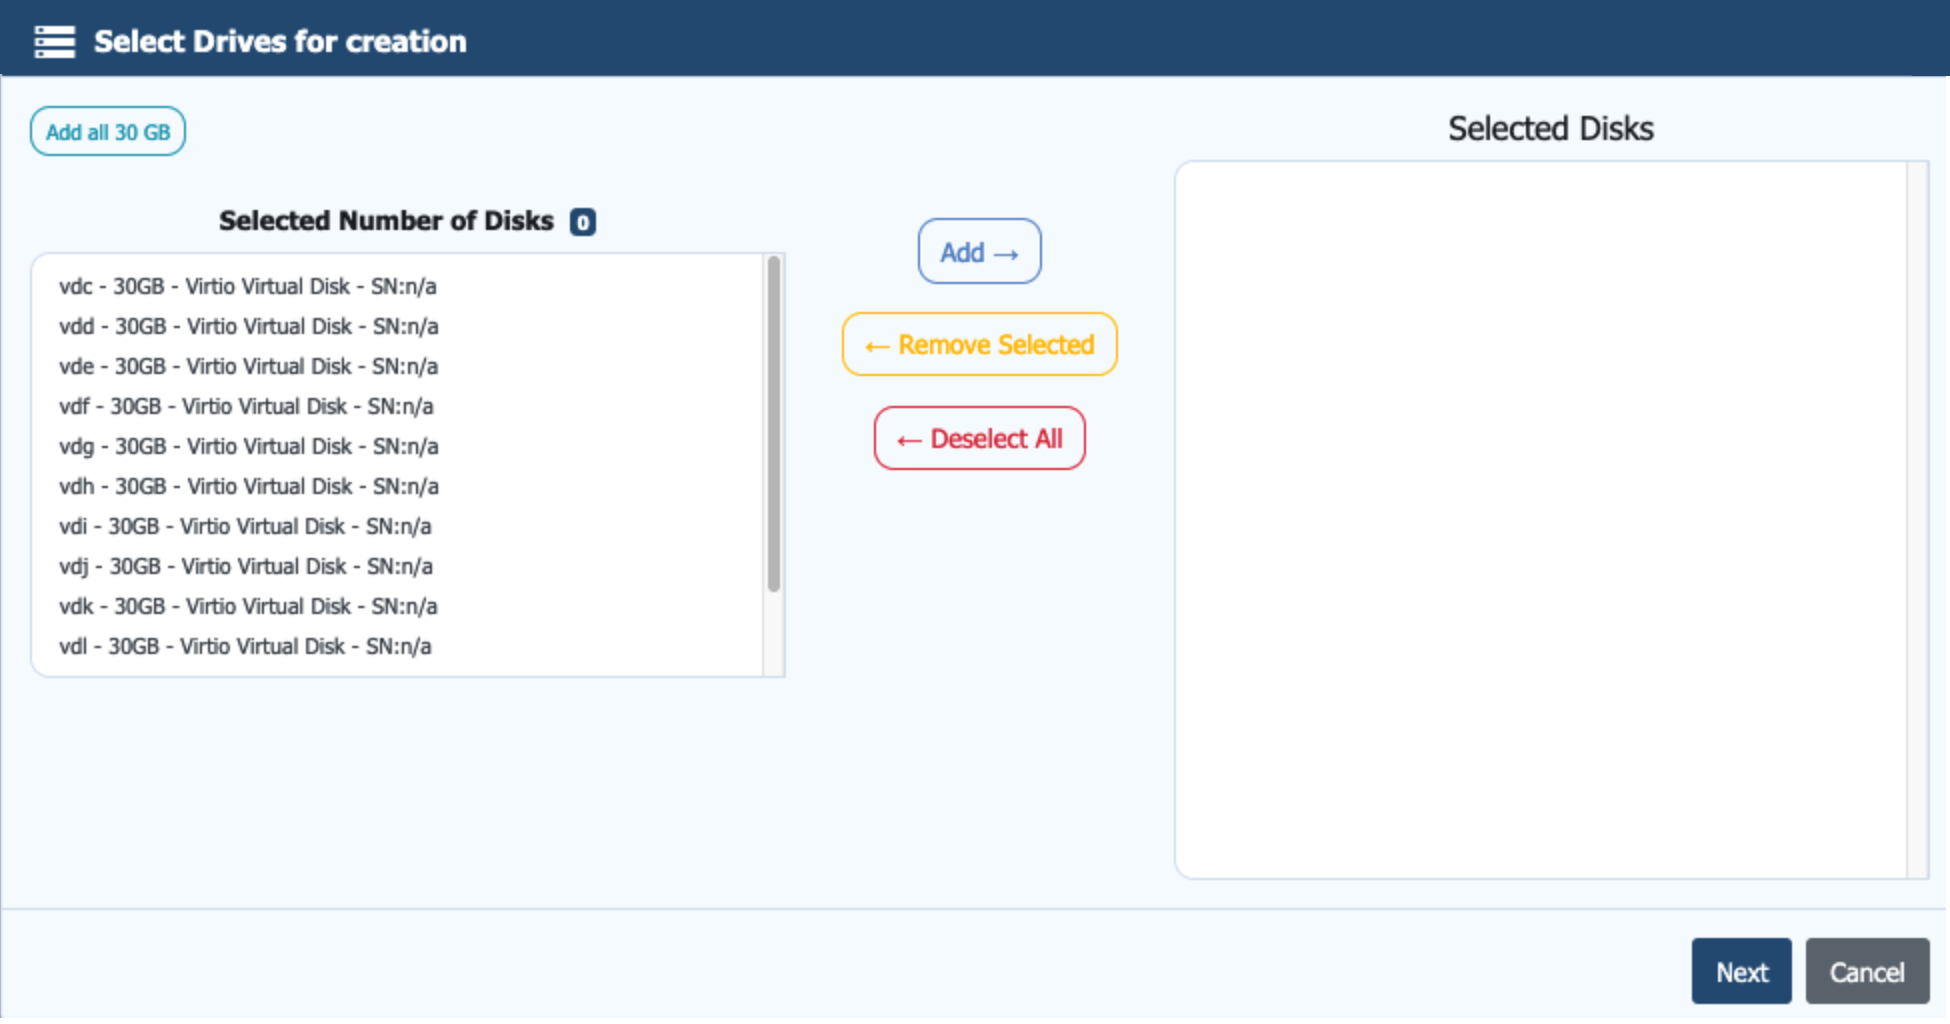
As shown, a number of 30 GB drives are available and ready for initialisation. Select the disks you want to include in the pool to begin the creation process. If you are working with a larger number of disks, you can use the Add all option at the top left of the screen to select them in one action.
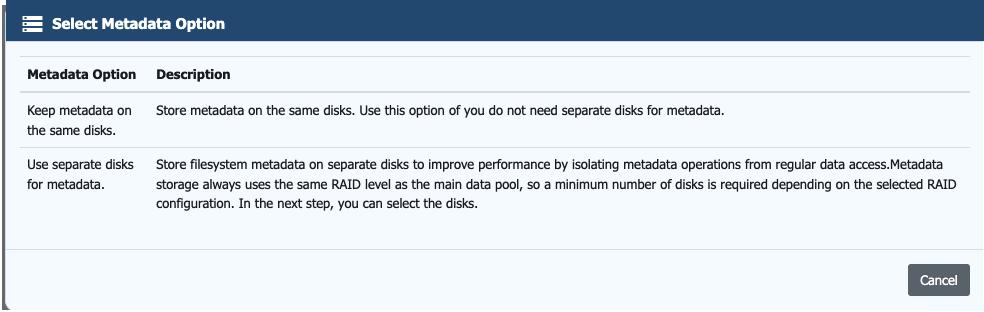
On this screen, you define how filesystem metadata is stored. This has a direct impact on overall system performance and should be considered alongside the selected RAIDZ layout.
You can choose to keep metadata on the same disks as the main data or place it on separate disks. Keeping metadata on the same disks is simpler, but metadata operations will share the same I/O path as regular data access, which can impact performance under load.
Using separate disks for metadata isolates these operations and can significantly improve performance, particularly in environments with mixed or random I/O workloads. This becomes more important as pool size increases or when using higher parity RAIDZ configurations, where I/O overhead is already higher.
Snapshot operations are also metadata-driven. While snapshots do not copy data when created, they rely on metadata to track changes over time. As snapshot usage increases, so does metadata activity, which can directly impact performance if not properly accounted for.
For this reason, it is recommended to offload metadata to faster storage, such as SSD or NVMe, where available. This reduces latency, improves responsiveness, and helps maintain consistent performance as the system scales.