Creating ZFS Pool
Creating a ZFS pool is straightforward with our intuitive wizard. The Pool Type determines the redundancy and fault tolerance of your pool. If you plan to use a single disk without redundancy, select Stripe as the pool type.
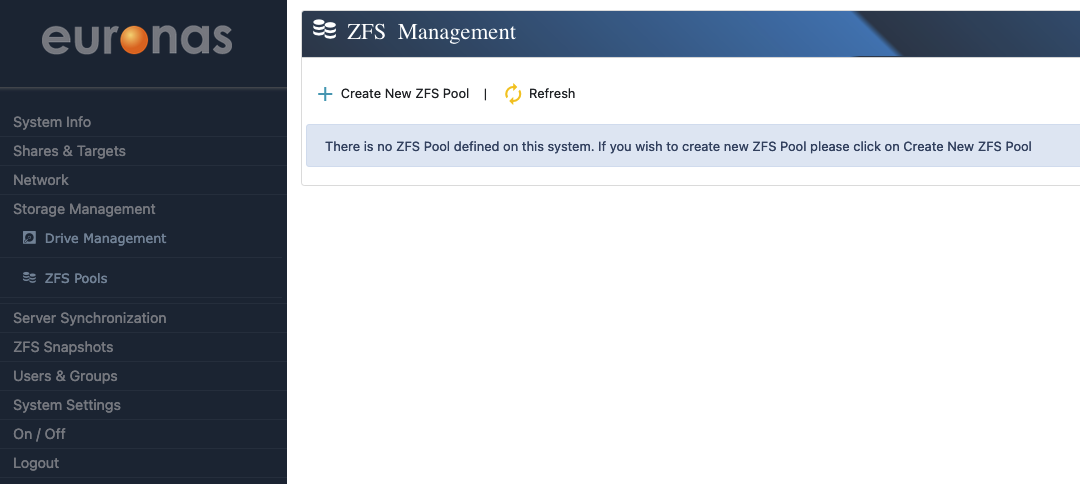
Step 1: Click on “Create New ZFS Pool”
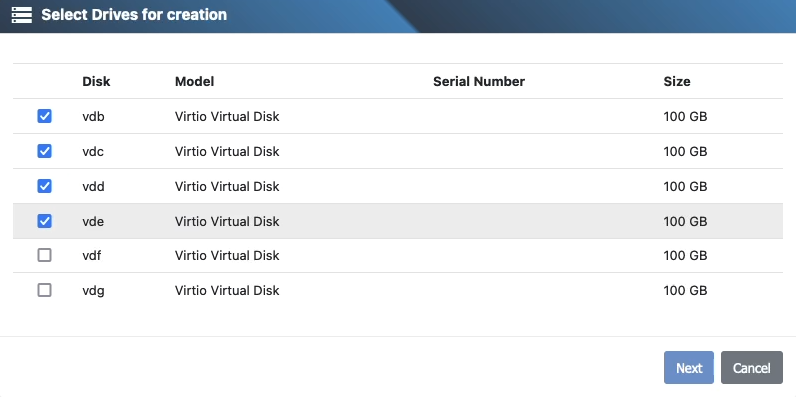
Step 2: Select the Drives
Choose the drives that will be part of the new ZFS Pool. The available pool type options will depend on the number of selected drives.
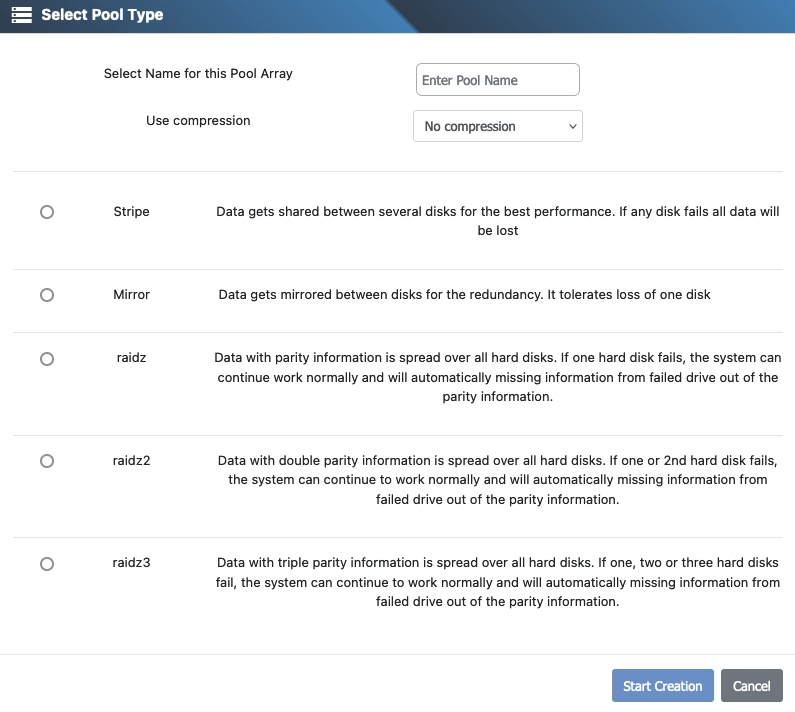
Step 3: Configure Pool Type, Compression, and Name
Enter a name for the new pool, select whether to enable compression, and choose the pool type that matches your redundancy needs.
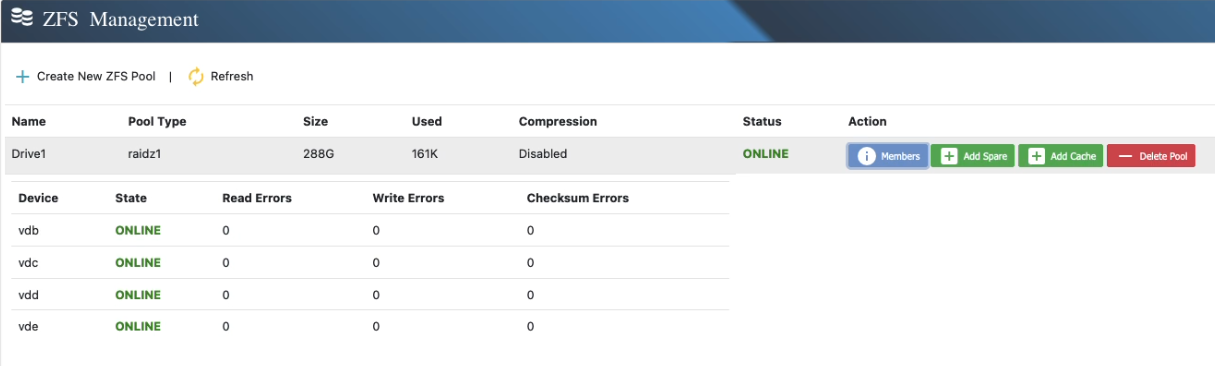
Step 4: View the Newly Created Pool
After the pool is successfully created, it will appear in the **ZFS Pool Overview**. From here, you can add additional features such as a spare disk or cache to enhance the performance and reliability of the pool.

Step 5: View the status of the pool members
Clicking on “Members” will provide you with the member list and their status