Importing ESXi, Hyper-V, KVM, Xen Virtual Machines with eEVOS VM Import Wizard
The eEVOS VM Import Wizard simplifies the process of migrating your existing virtual machines from major hypervisors such as ESXi, Hyper-V, KVM, and Xen. While most Linux VMs already come with built-in paravirtual drivers, Windows VMs often lack these drivers. Our import wizard not only imports the VMs but also automatically installs the necessary paravirtual drivers for Windows VMs to ensure optimal performance in eEVOS.
Step-by-Step Guide to Importing a VM
Step 1: Open the VM Import Wizard
Step 2: Click on “Import VM”
Click the Import VM button to begin the import process.

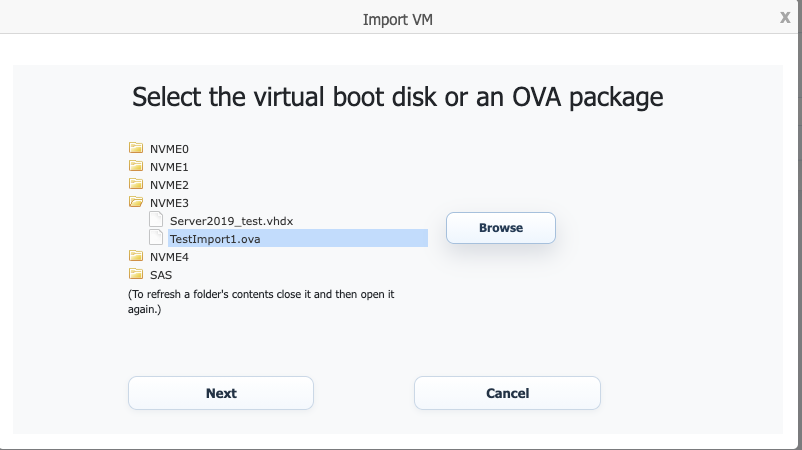
Step 3: Select the VM Image
Select the virtual machine image that you want to import from your previous hypervisor.
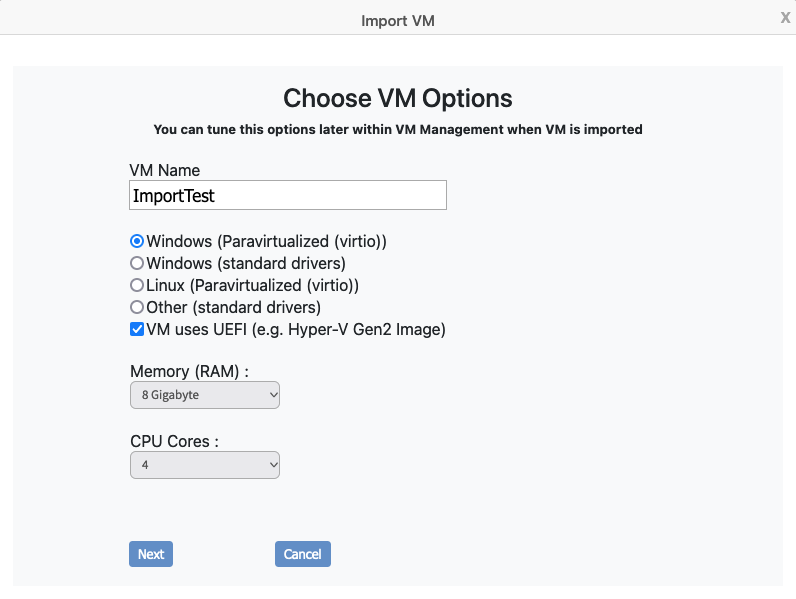
Step 4: Choose VM Options
Choose the initial configuration options for your VM. These options can be fine-tuned later in the VM properties. Important: If your VM uses UEFI, make sure to enable the UEFI option here.
Step 5: Automatic Import and Driver Installation
Once the import starts, the wizard will automatically install the necessary paravirtual drivers, especially for Windows VMs, to ensure optimal performance.


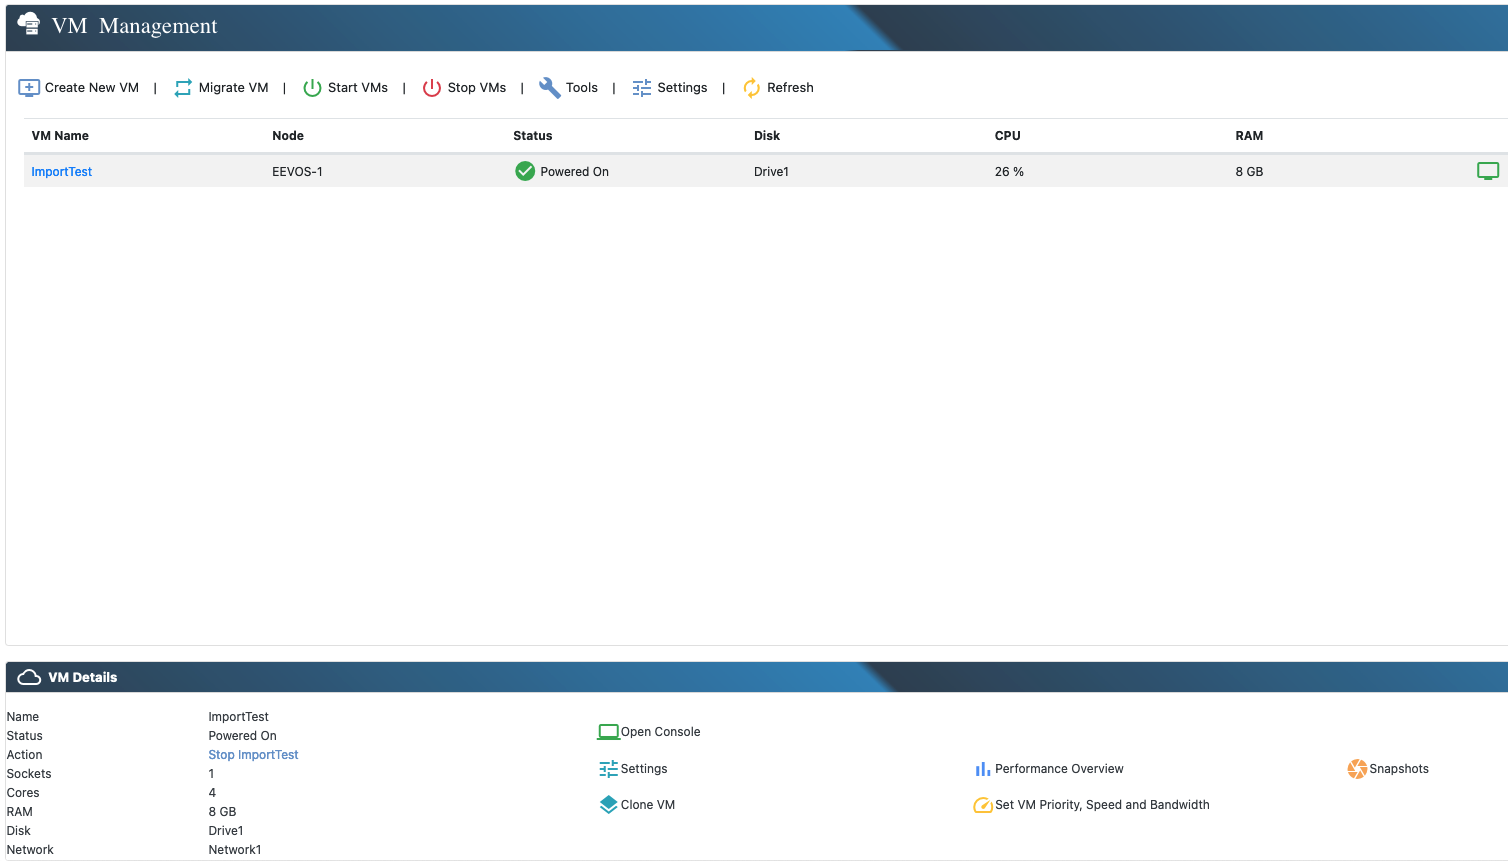
Step 6: Start Your VM
After a successful import, navigate to the VM Management section to start your newly imported virtual machine.