Management Network Configuration
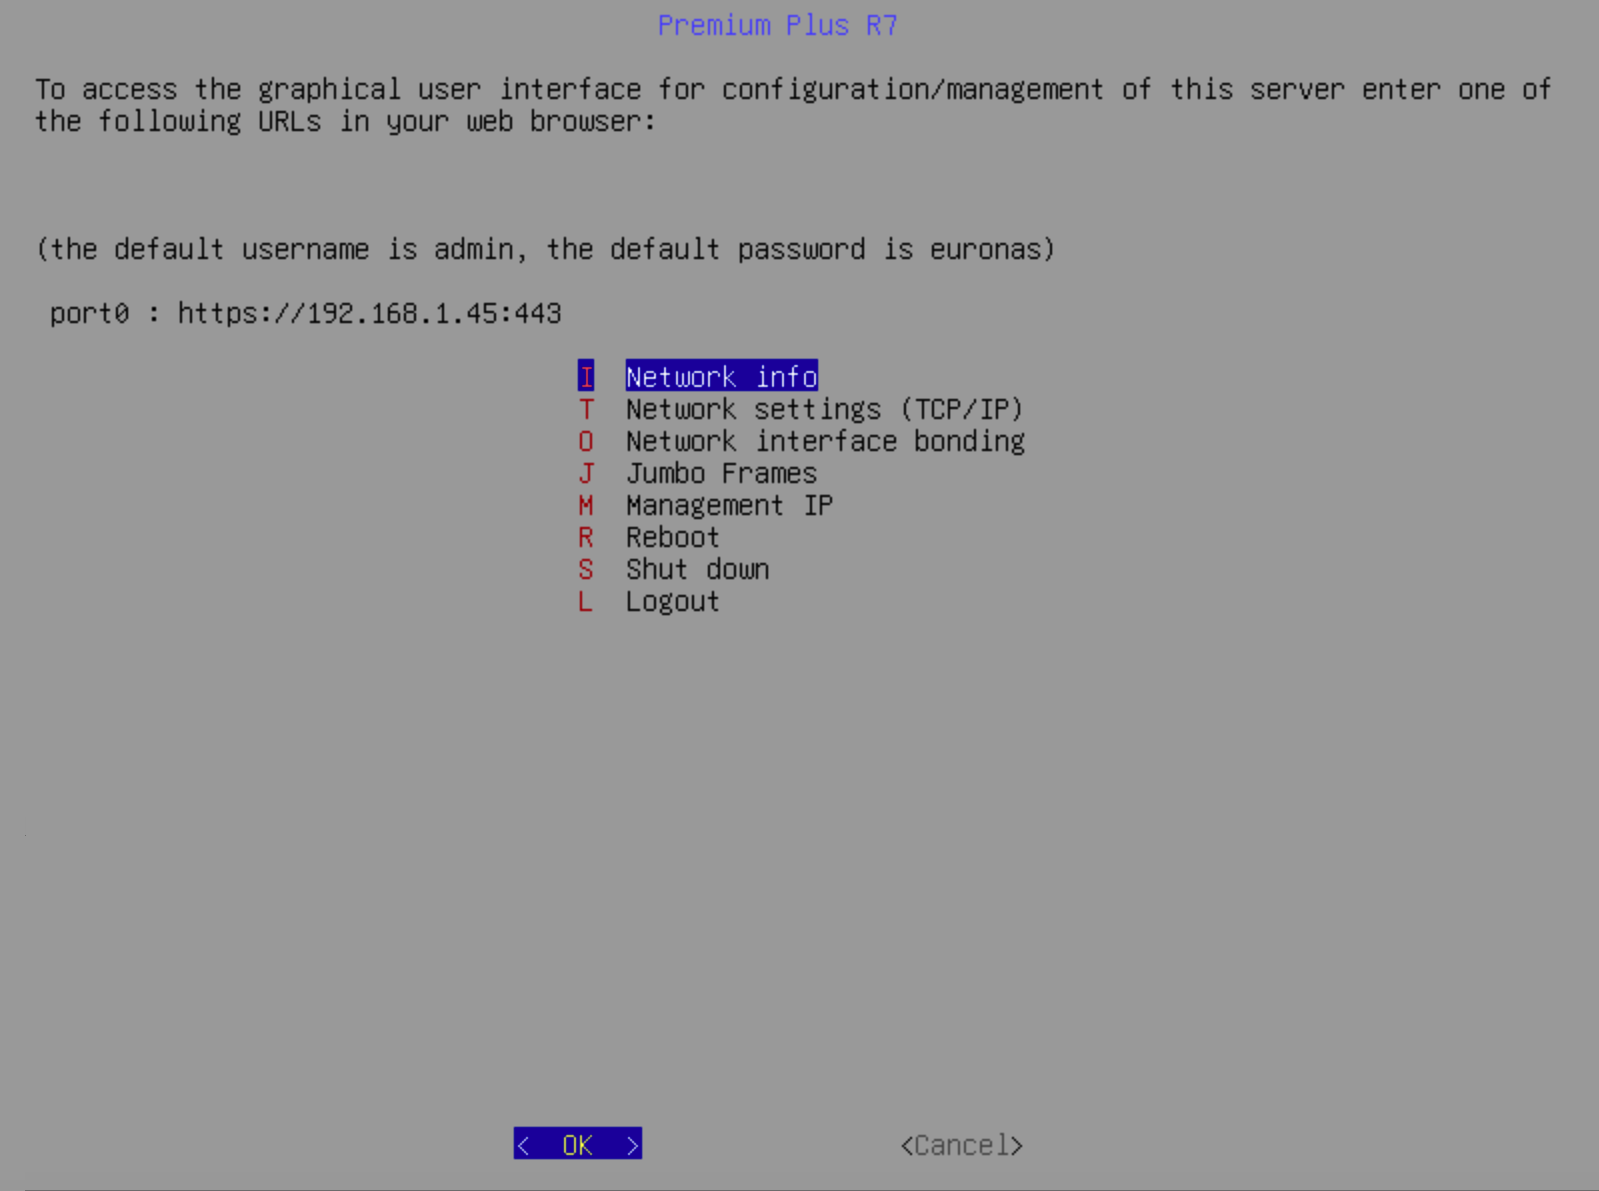
Once you have successfully logged in, you will be presented with the operating system management screen.
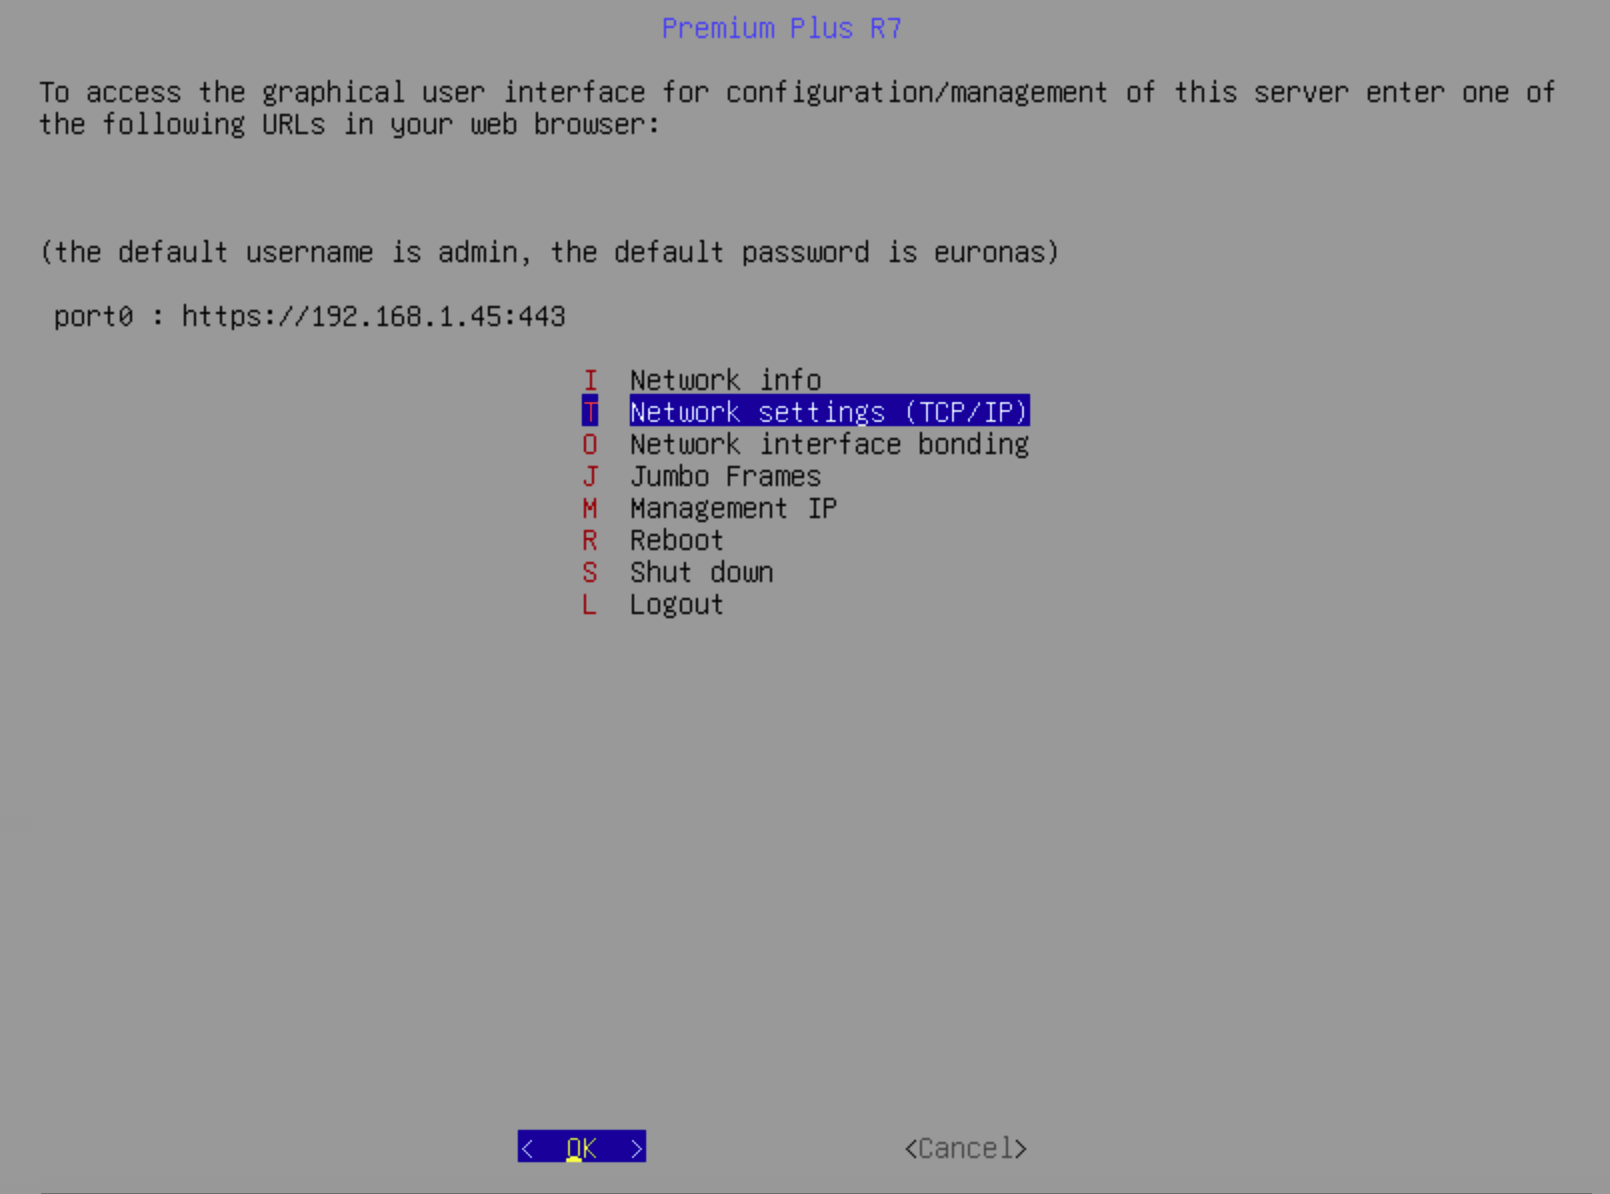
Scroll down to option T Network settings and press Enter
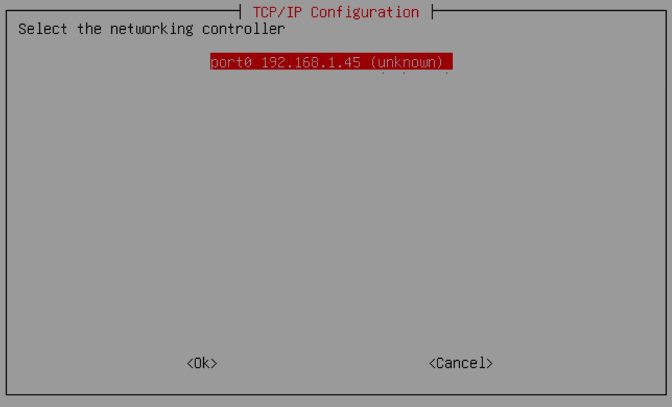
Select the network controller you wish to configure for the management interface. In this example, port0 (192.168.1.45) is selected, which has been assigned an IP address via DHCP and press enter.
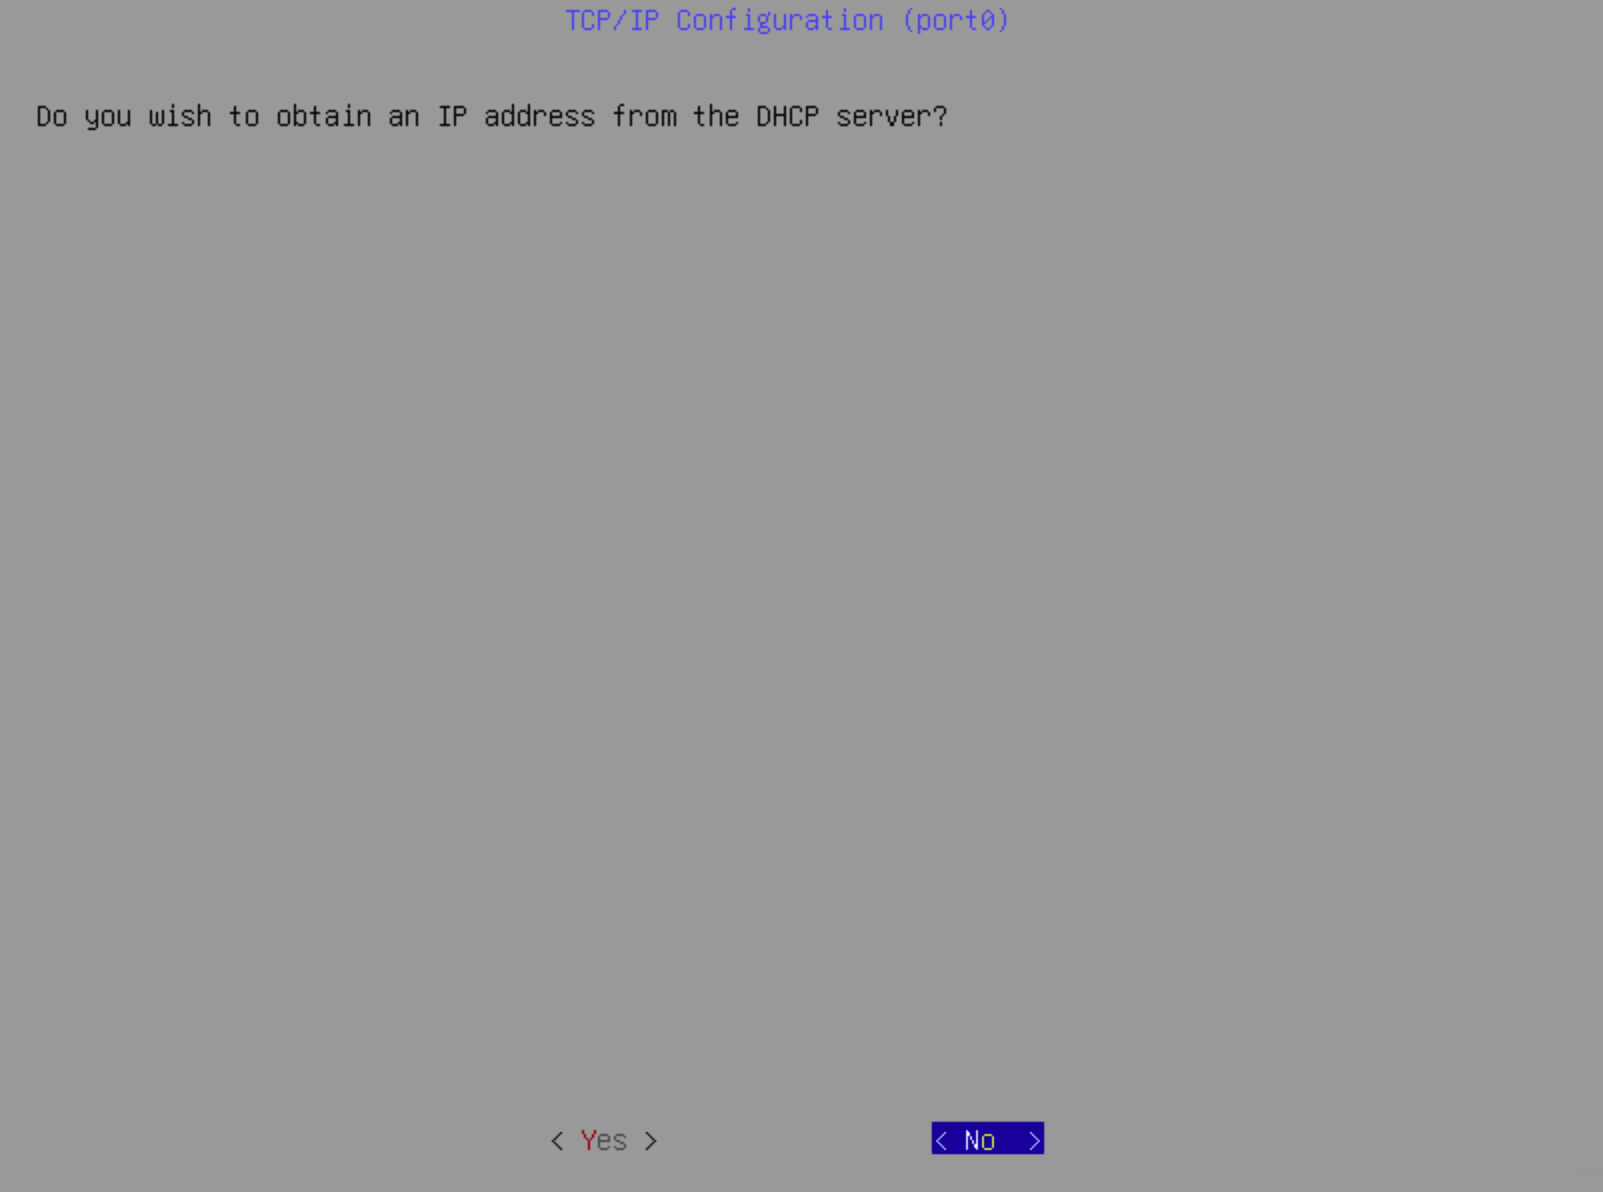
The first configuration screen provides the option to assign IP addresses via DHCP. This is not recommended for production environments, where static IP addressing should be used to ensure consistency and reliability. If required, DHCP can be used for initial setup, but the system should be moved to static IP configuration
Select No and press Enter
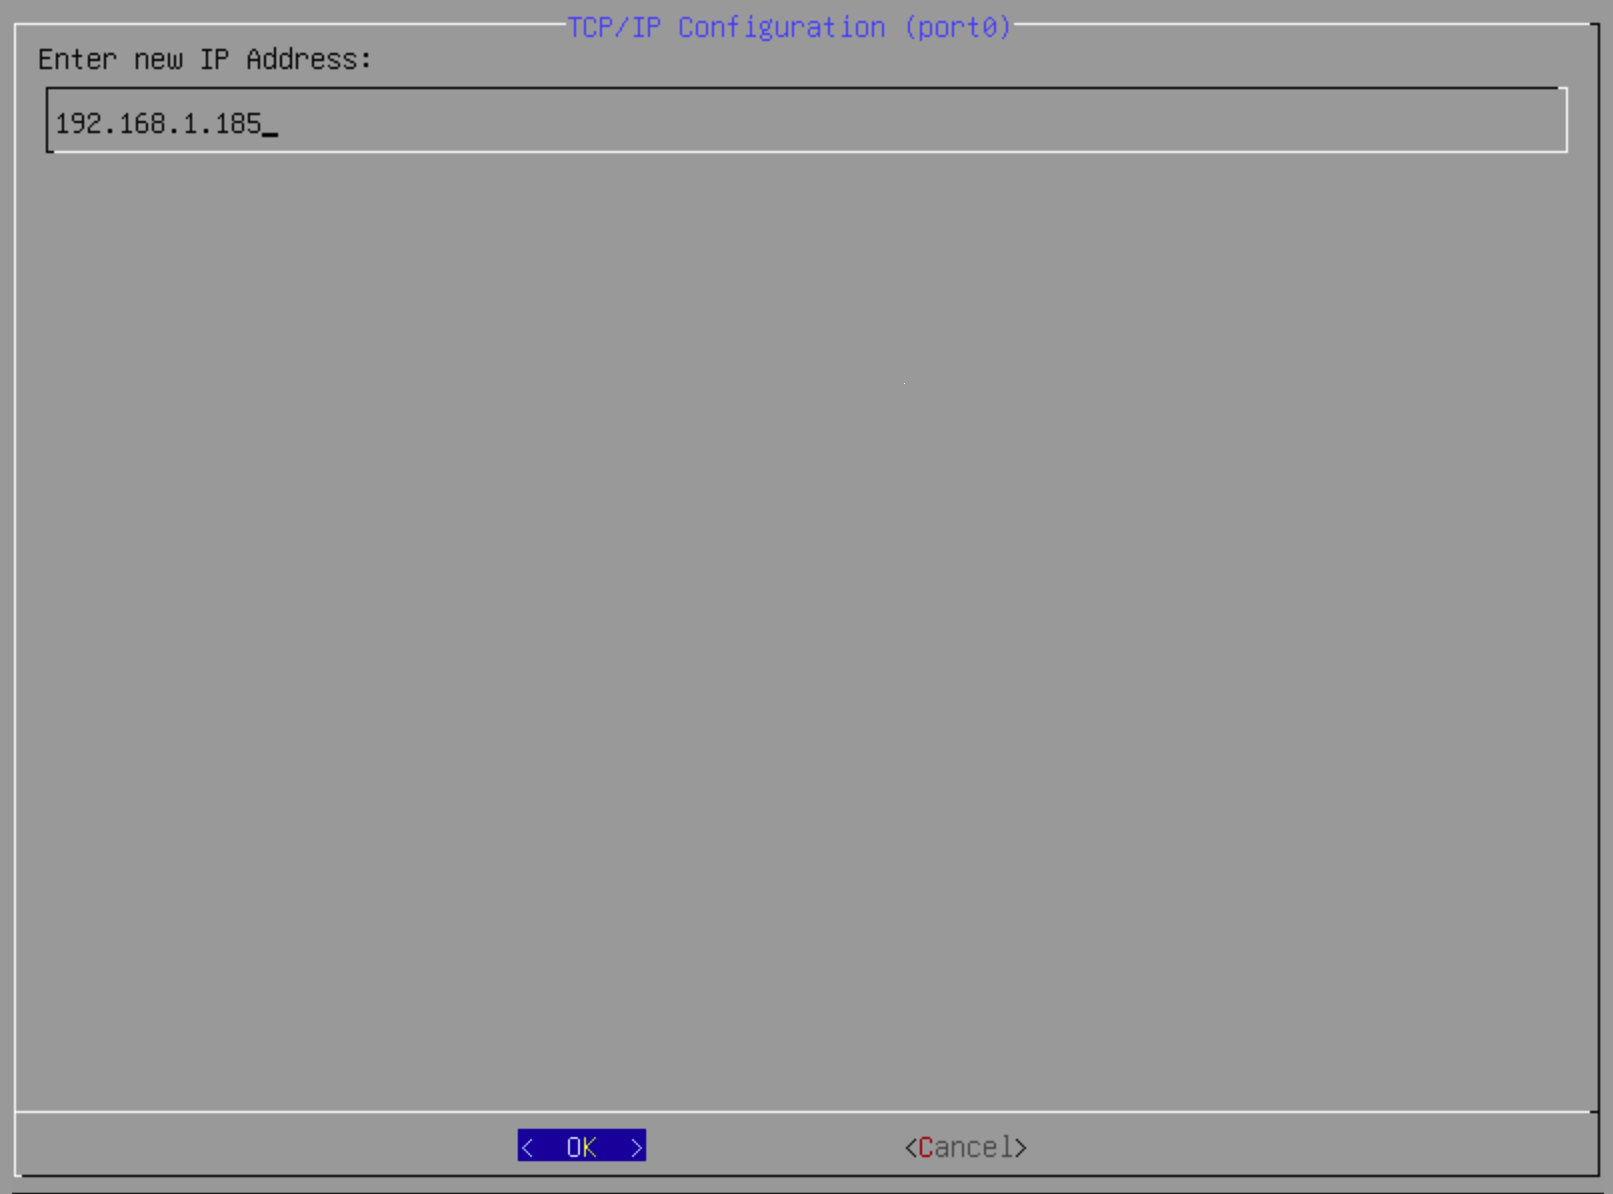
In this example, a static IP address of 192.168.1.185 has been configured. This will differ based on your environment and the addressing scheme defined as part of your deployment.
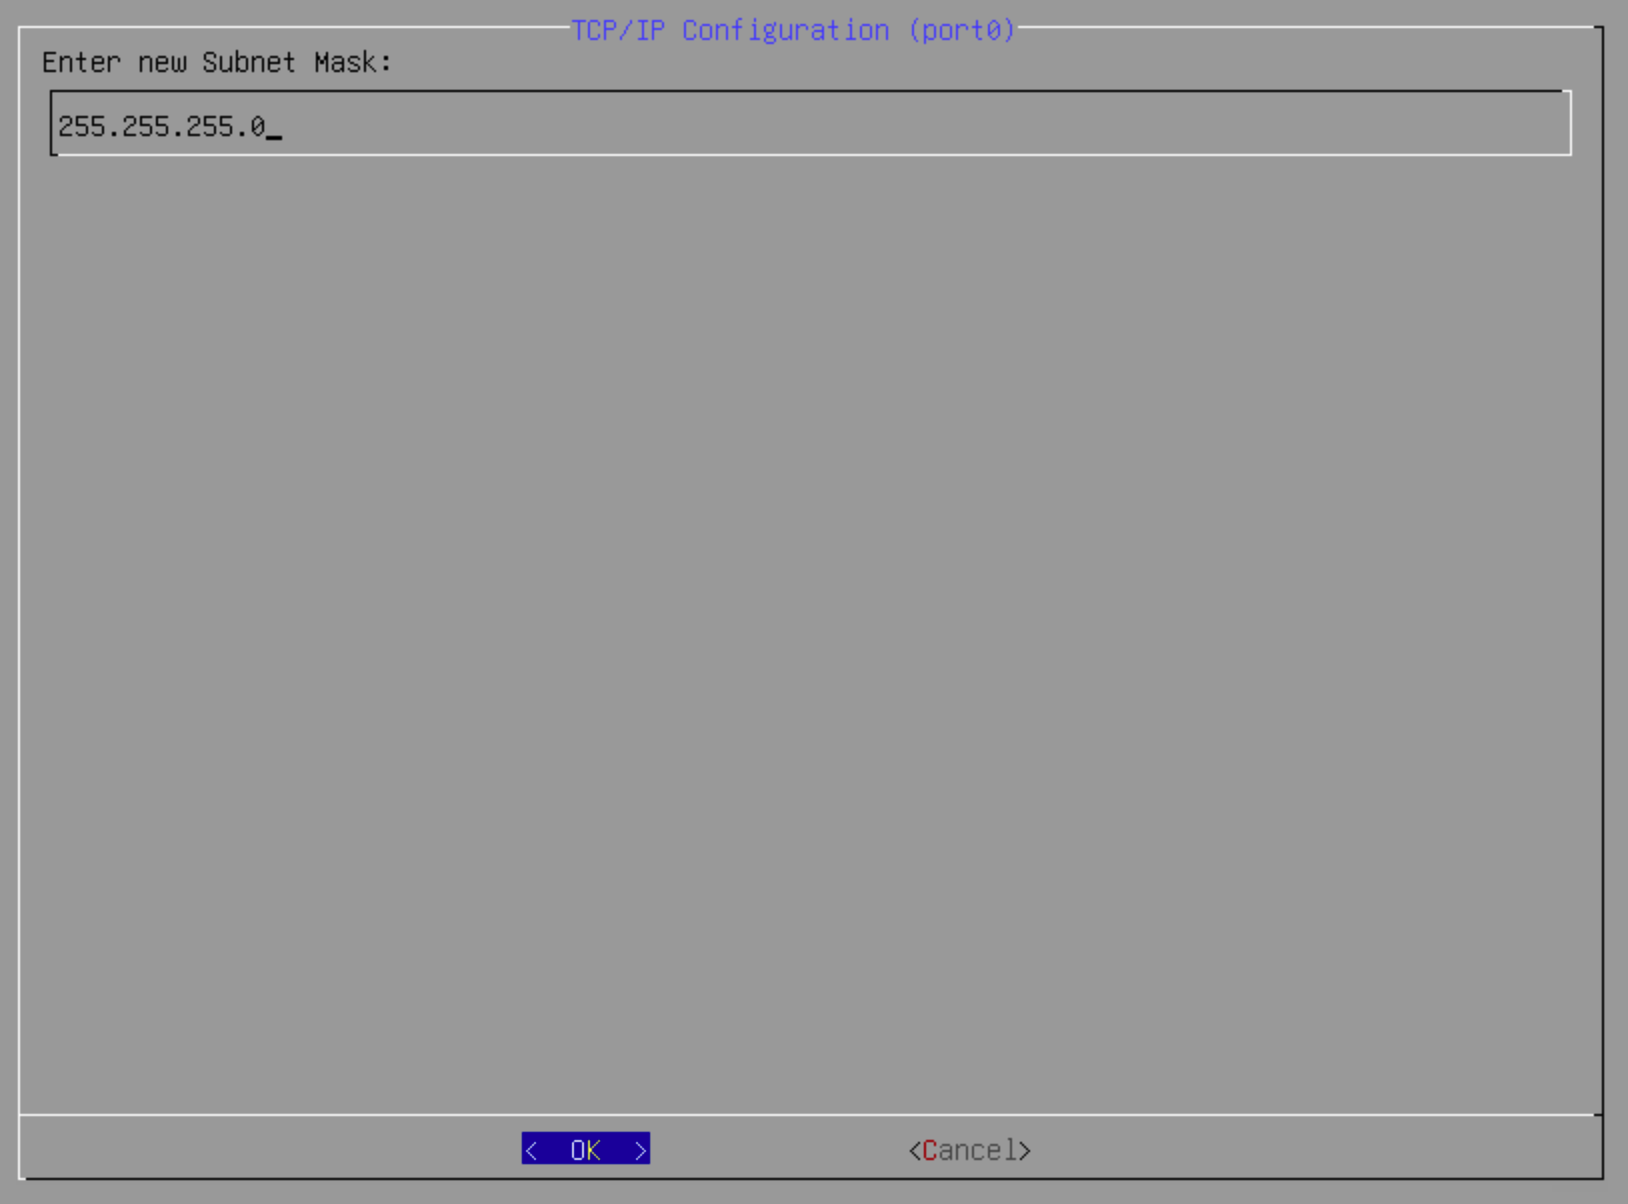
A subnet mask of 255.255.255.0 has been used for our test network. This will vary depending on your network configuration, so ensure the correct subnet mask is applied before proceeding.
Press Enter to move to the next screen.
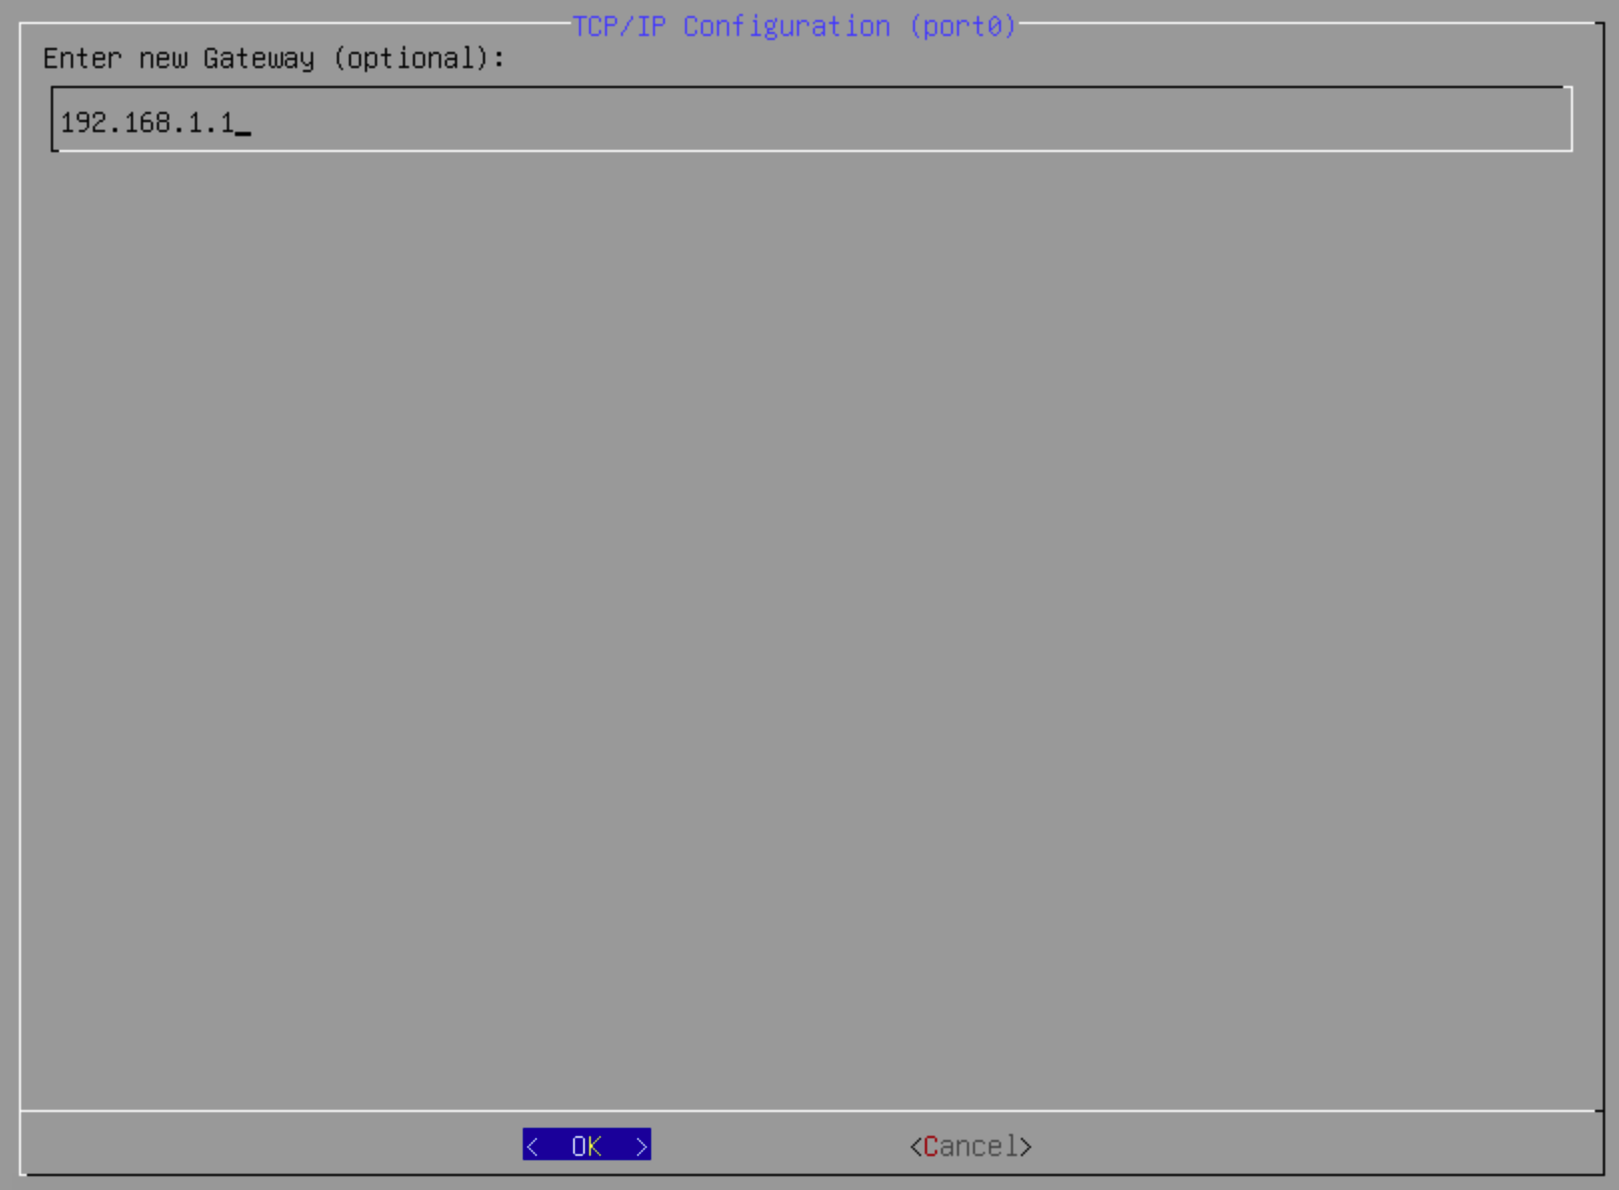
The final screen provides the option to configure the default gateway. In this example, the gateway is set to 192.168.1.1, which allows the system to communicate outside of the 192.168.1.0/24 subnet.
Press Enter to save the configuration.
The network interface is now configured and ready for use. You can repeat this process to assign static IP addresses to additional network interfaces or configure them via the GUI as required.
The base system is now configured and ready for the advanced configuration via the Gui
