Manual Snapshot Creation
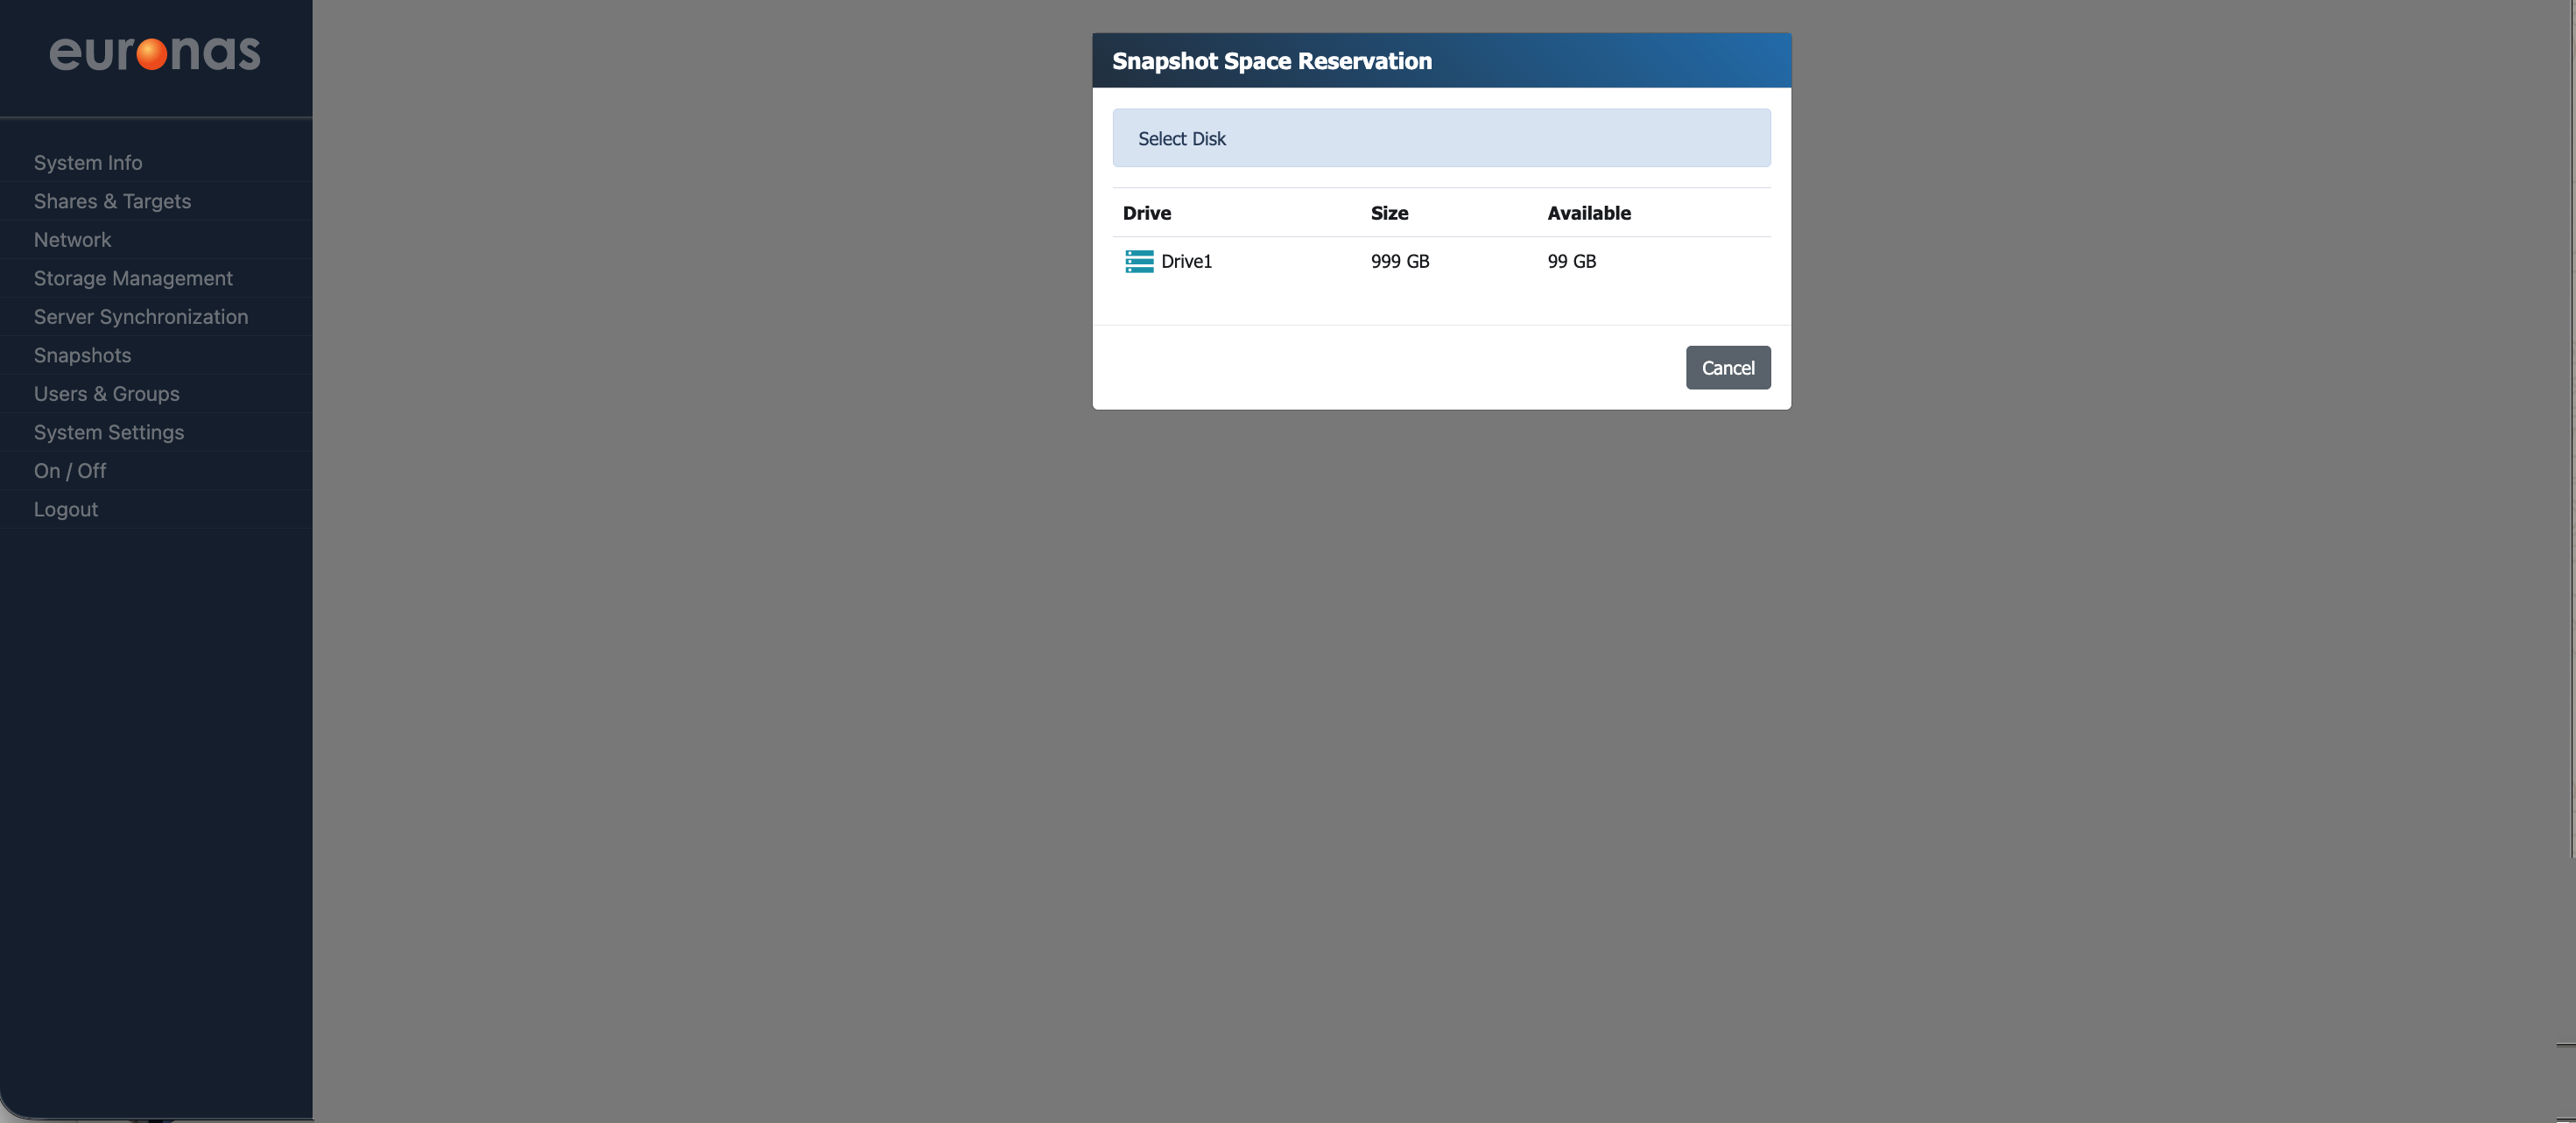
From the Snapshot Management screen, select Reserved Space (XFS) to open the Snapshot Space Reservation wizard.
This step is not required for BTRFS, as it behaves in the same way as ZFS. Both use a copy-on-write model, meaning snapshots do not require pre-allocated space and only consume additional storage as data changes over time.
As a result, there is no need to manually reserve snapshot space, but sufficient free capacity must still be maintained. As mentioned earlier, understanding how quickly your data changes is important, as this directly impacts how much space snapshots will consume over time.
In this example, select Drive1 to continue.
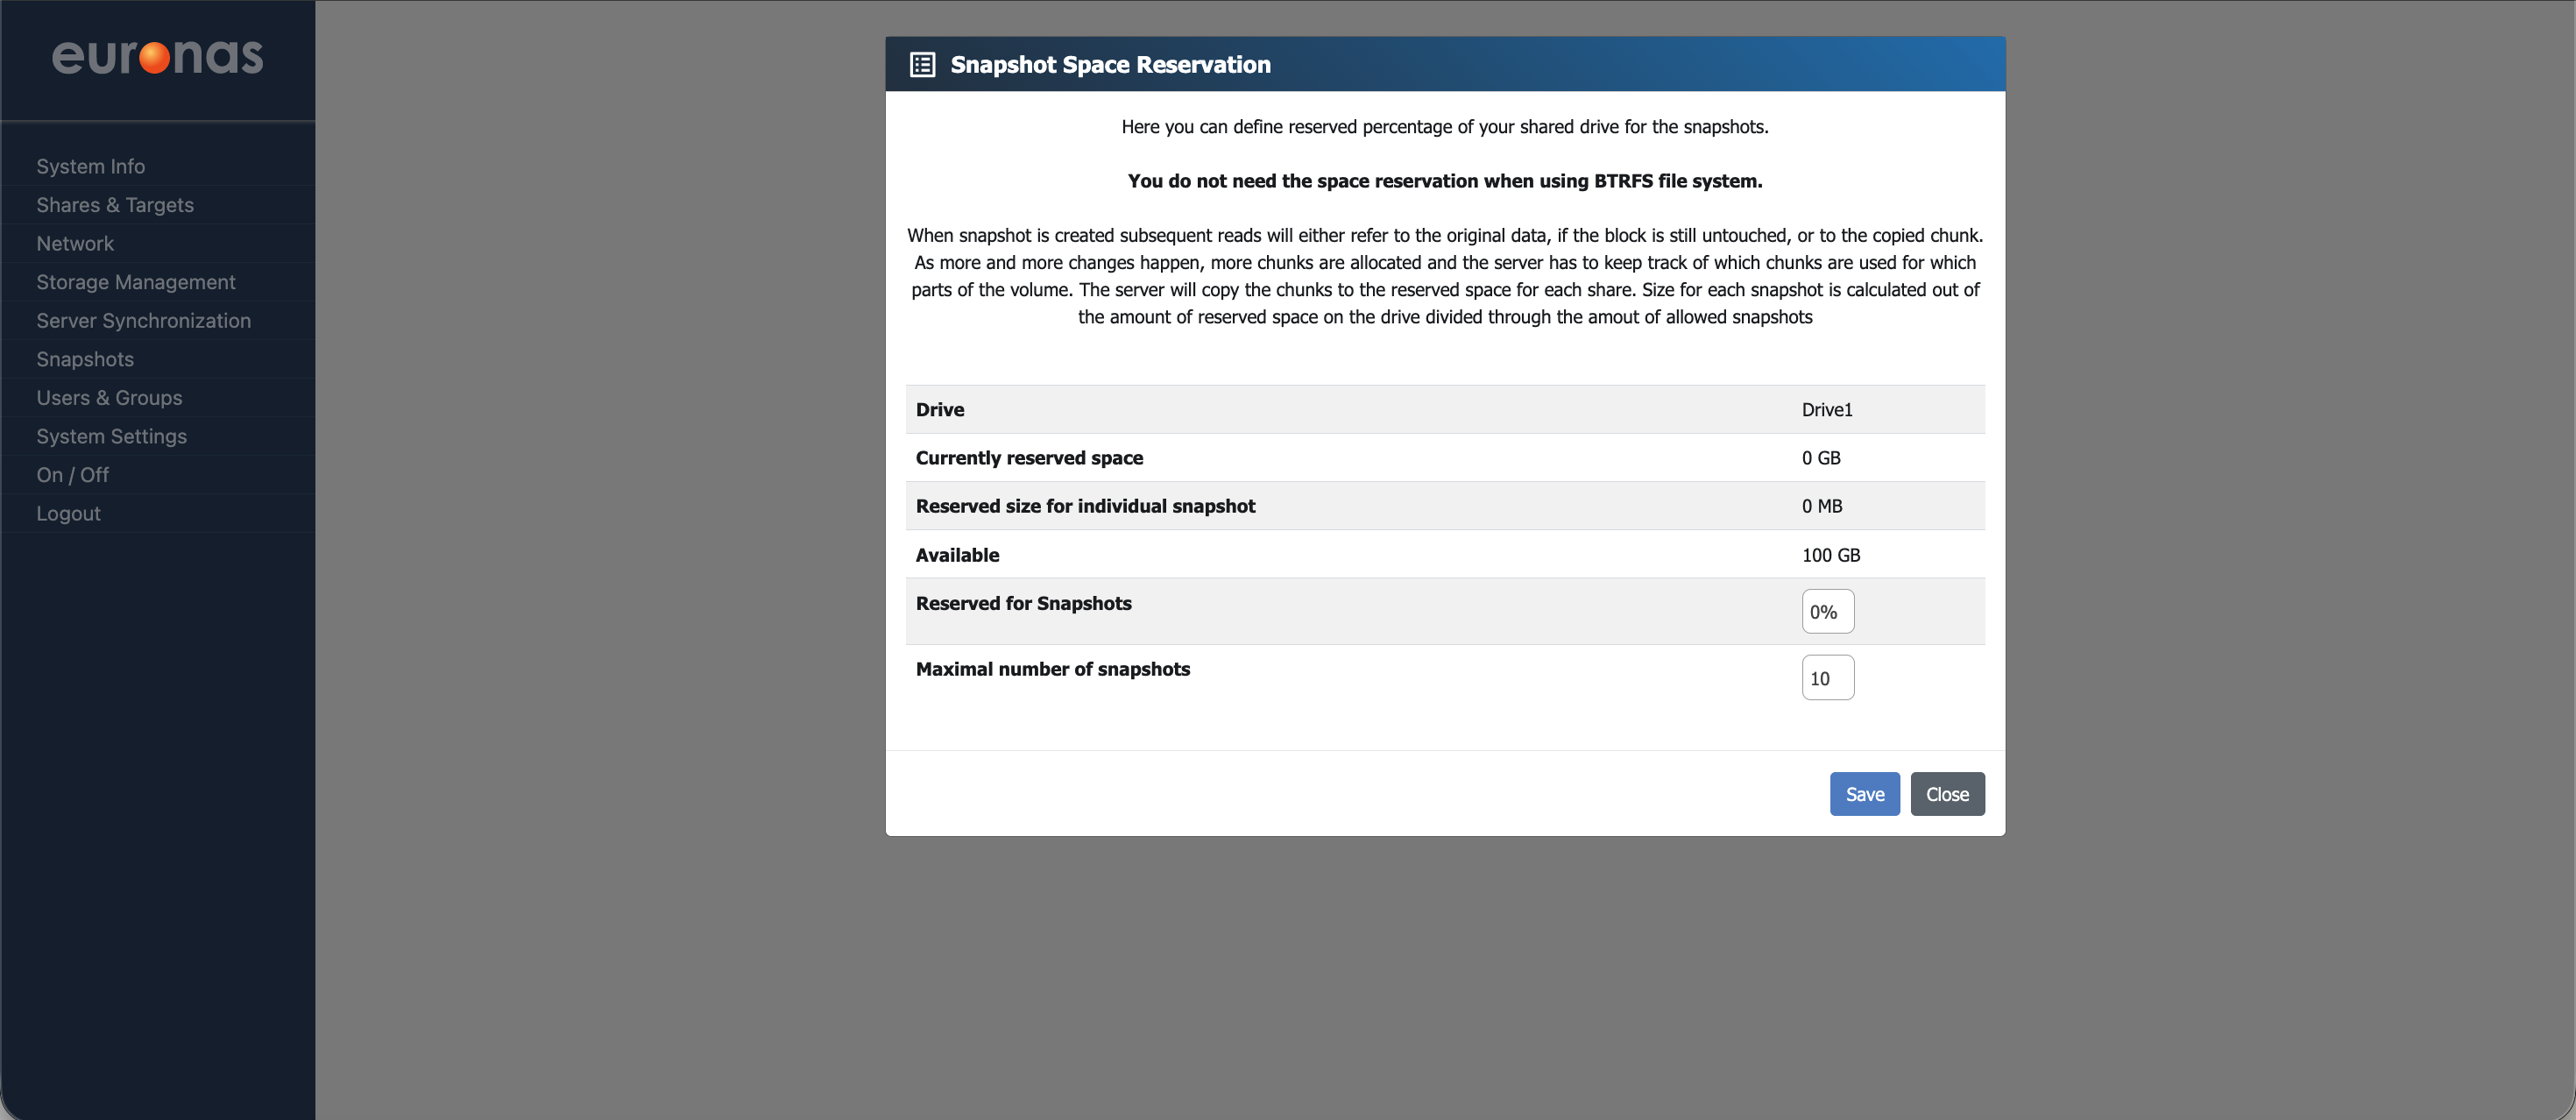
On the Snapshot Space Reservation screen, 100 GB is available. From here, define the percentage of space to be reserved for snapshots, along with the maximum number of snapshots to retain.
In this example, the maximum number of snapshots is set to 10. Once this limit is reached, the system will automatically remove the oldest snapshot as new ones are created, keeping the total within the defined limit.
Select Save, then Close to return to the Snapshot Management screen.
We will now create a manual snapshot. From the Snapshot Management screen, select + Create Snapshot.
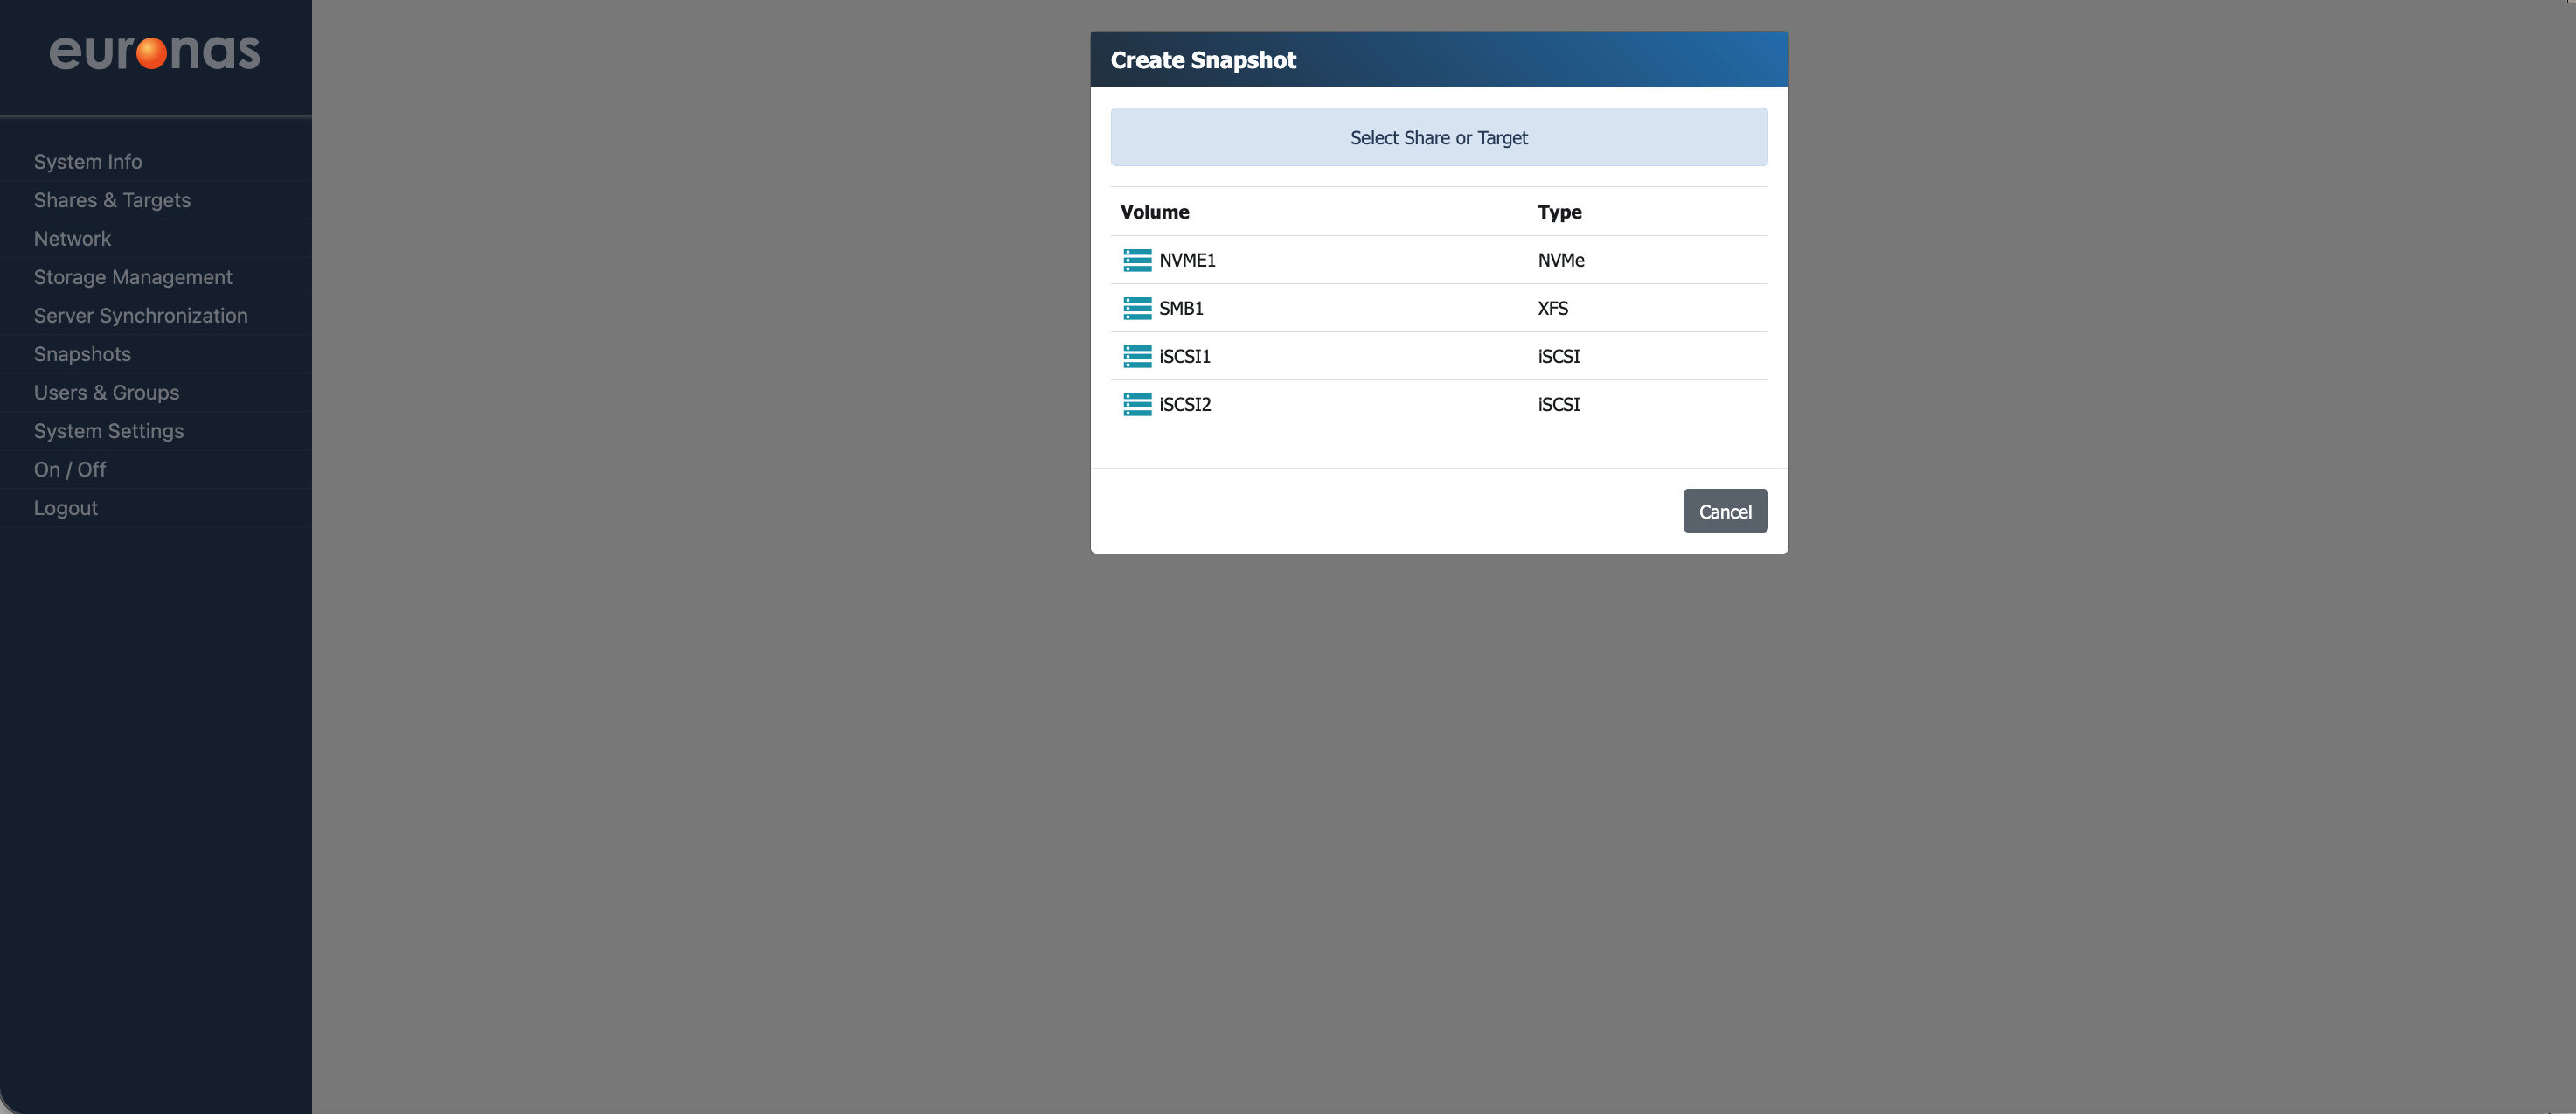
This will open the Create Snapshot wizard. From this screen, select the share or target you want to create a snapshot of.
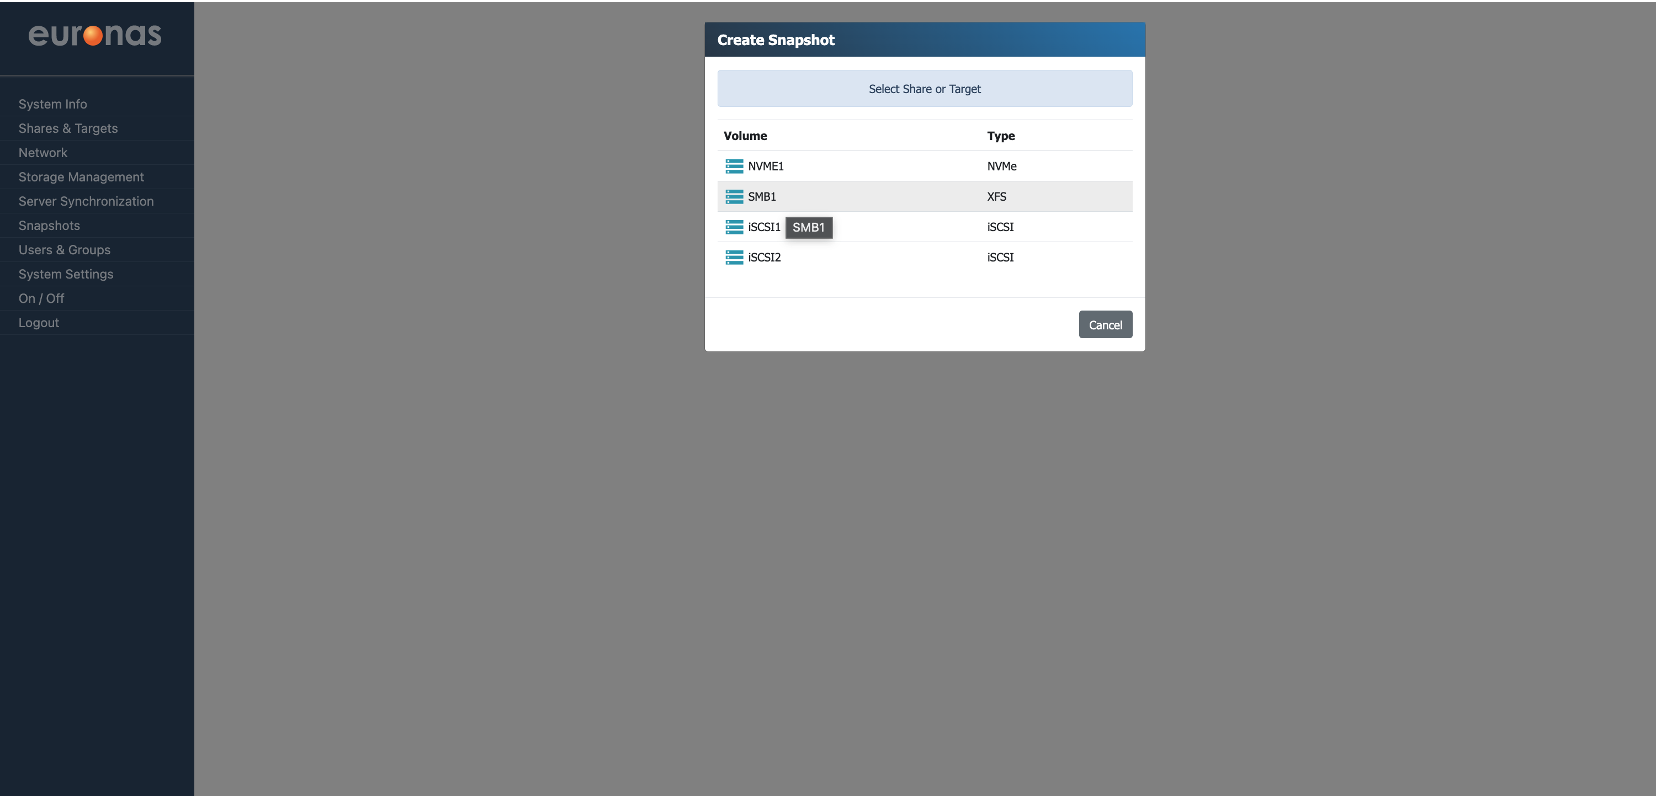
In this example, the SMB share SMB1 has been selected
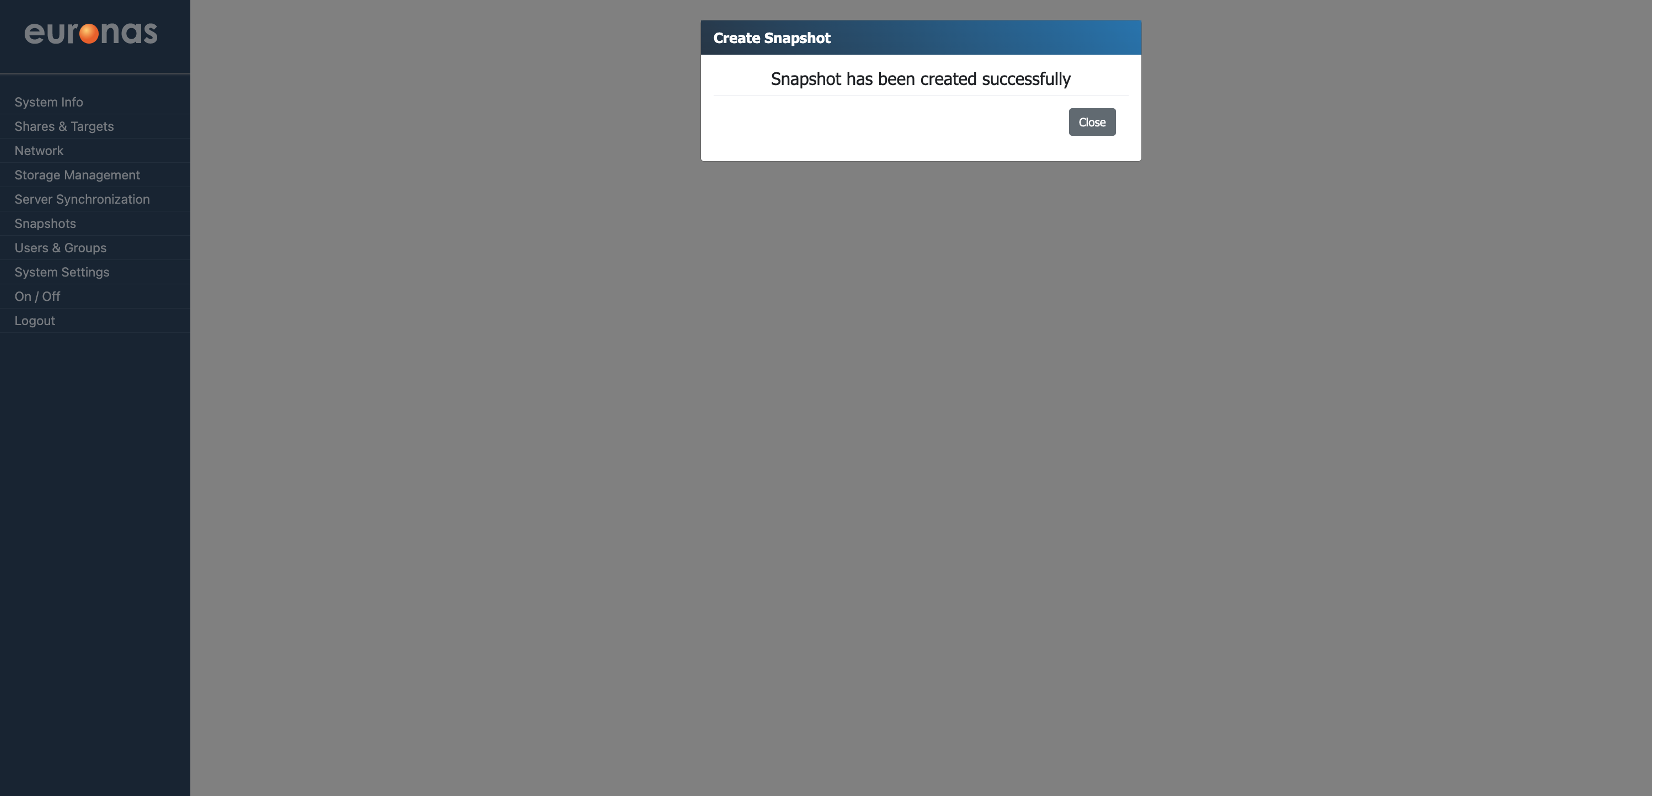
Once you select the share, the system will create the snapshot and display a confirmation message to indicate it has completed successfully.
Select Close to return to the Snapshot Management screen.
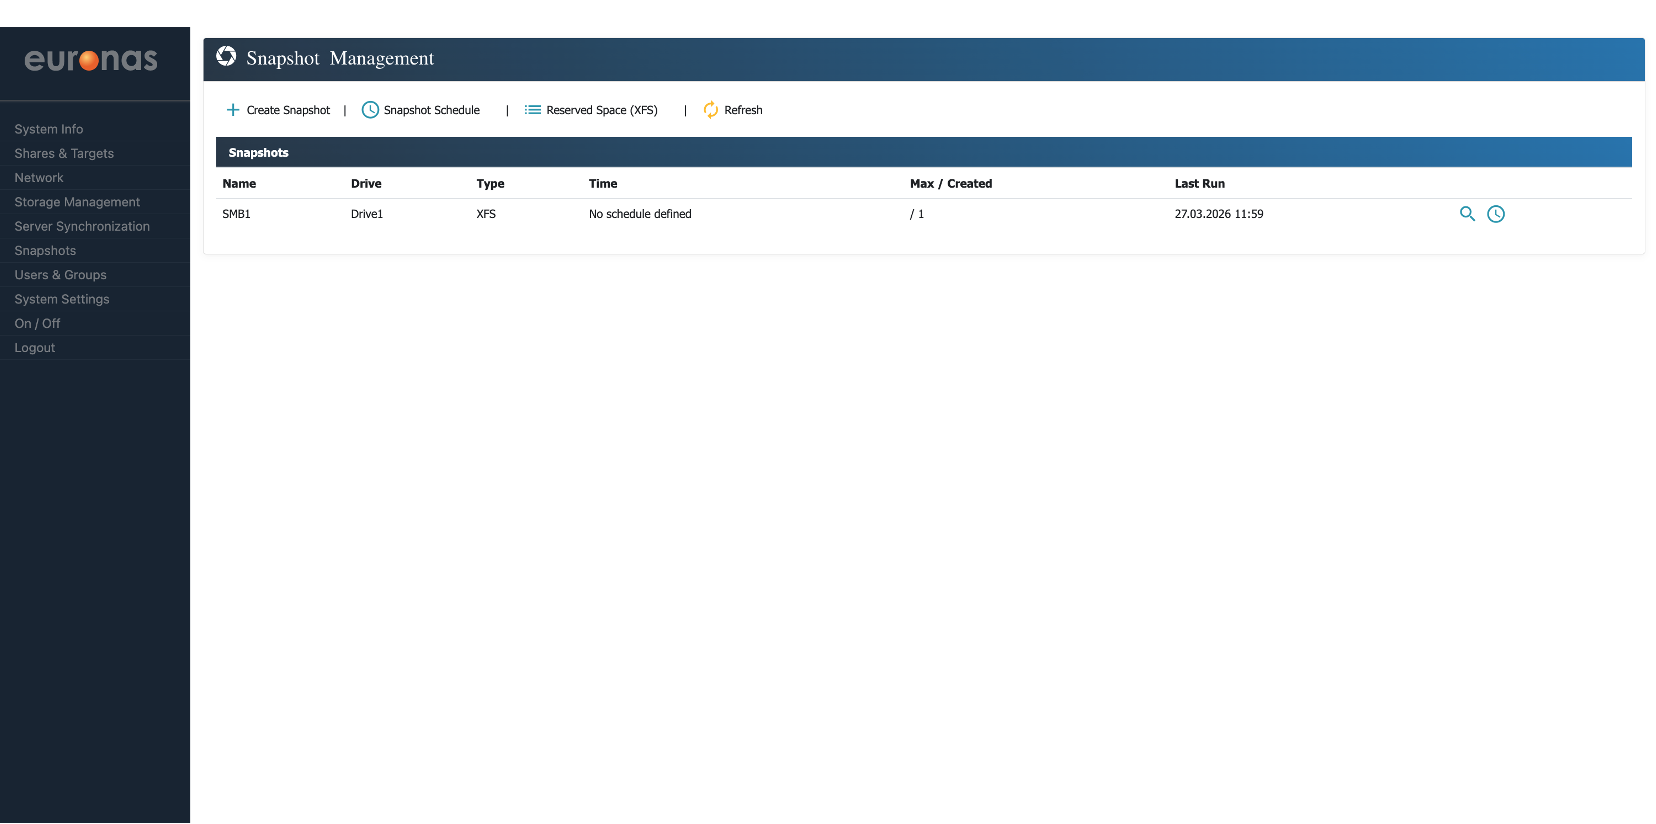
As shown, the snapshot has been successfully created. The table also displays how many snapshots currently exist for the selected share or target.